
Overview
-
The property sits in the shadow of a mountain, so humidity tends to run high in summer. For that reason, we decided to install a dehumidifier that can run continuously, 24 hours a day.
-
No successor model had been released for many years, but in 2020 Daikin launched a new product, the Daikin Karaie. Unlike ordinary dehumidifiers, its big selling point is that you never have to empty a water tank.
-
The 2020 rainy season in particular brought about 20 consecutive days of rain or overcast skies, with one humid day after another.
-
To keep installation costs down, we decided to do the work ourselves. With the right tools you can install it on your own, so here is how we did it.
-
Humid air tends to rise, so we installed the dehumidifier on the second floor.
-
The job took about three hours.
Daikin JKT10VS-W Karaie - View on Rakuten
Where to Install It
“Warm, humid air” tends to collect upstairs (on the second floor).
There are two reasons for this.
- Temperature (the main reason): Warm air is less dense and lighter than cold air, so it rises through the house (the stack effect).
- Moisture (water vapor): This is less well known, but water vapor (H₂O) is lighter than nitrogen (N₂) and oxygen (O₂), the main components of air. So at the same temperature, humid air is lighter than dry air.
Preparation
First, buy the unit. I researched a lot of options, but in the end I bought it from a shop on kakaku.com that had it in stock.
Next, gather the tools. The following are essential.
Power Drill
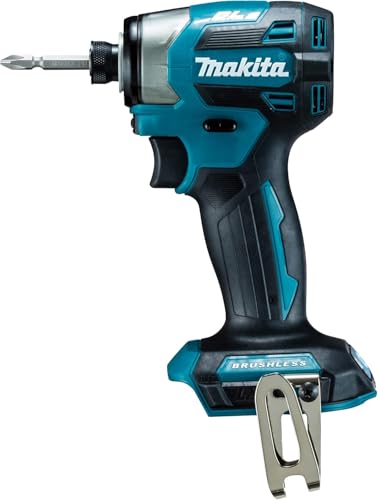
Spirit Level

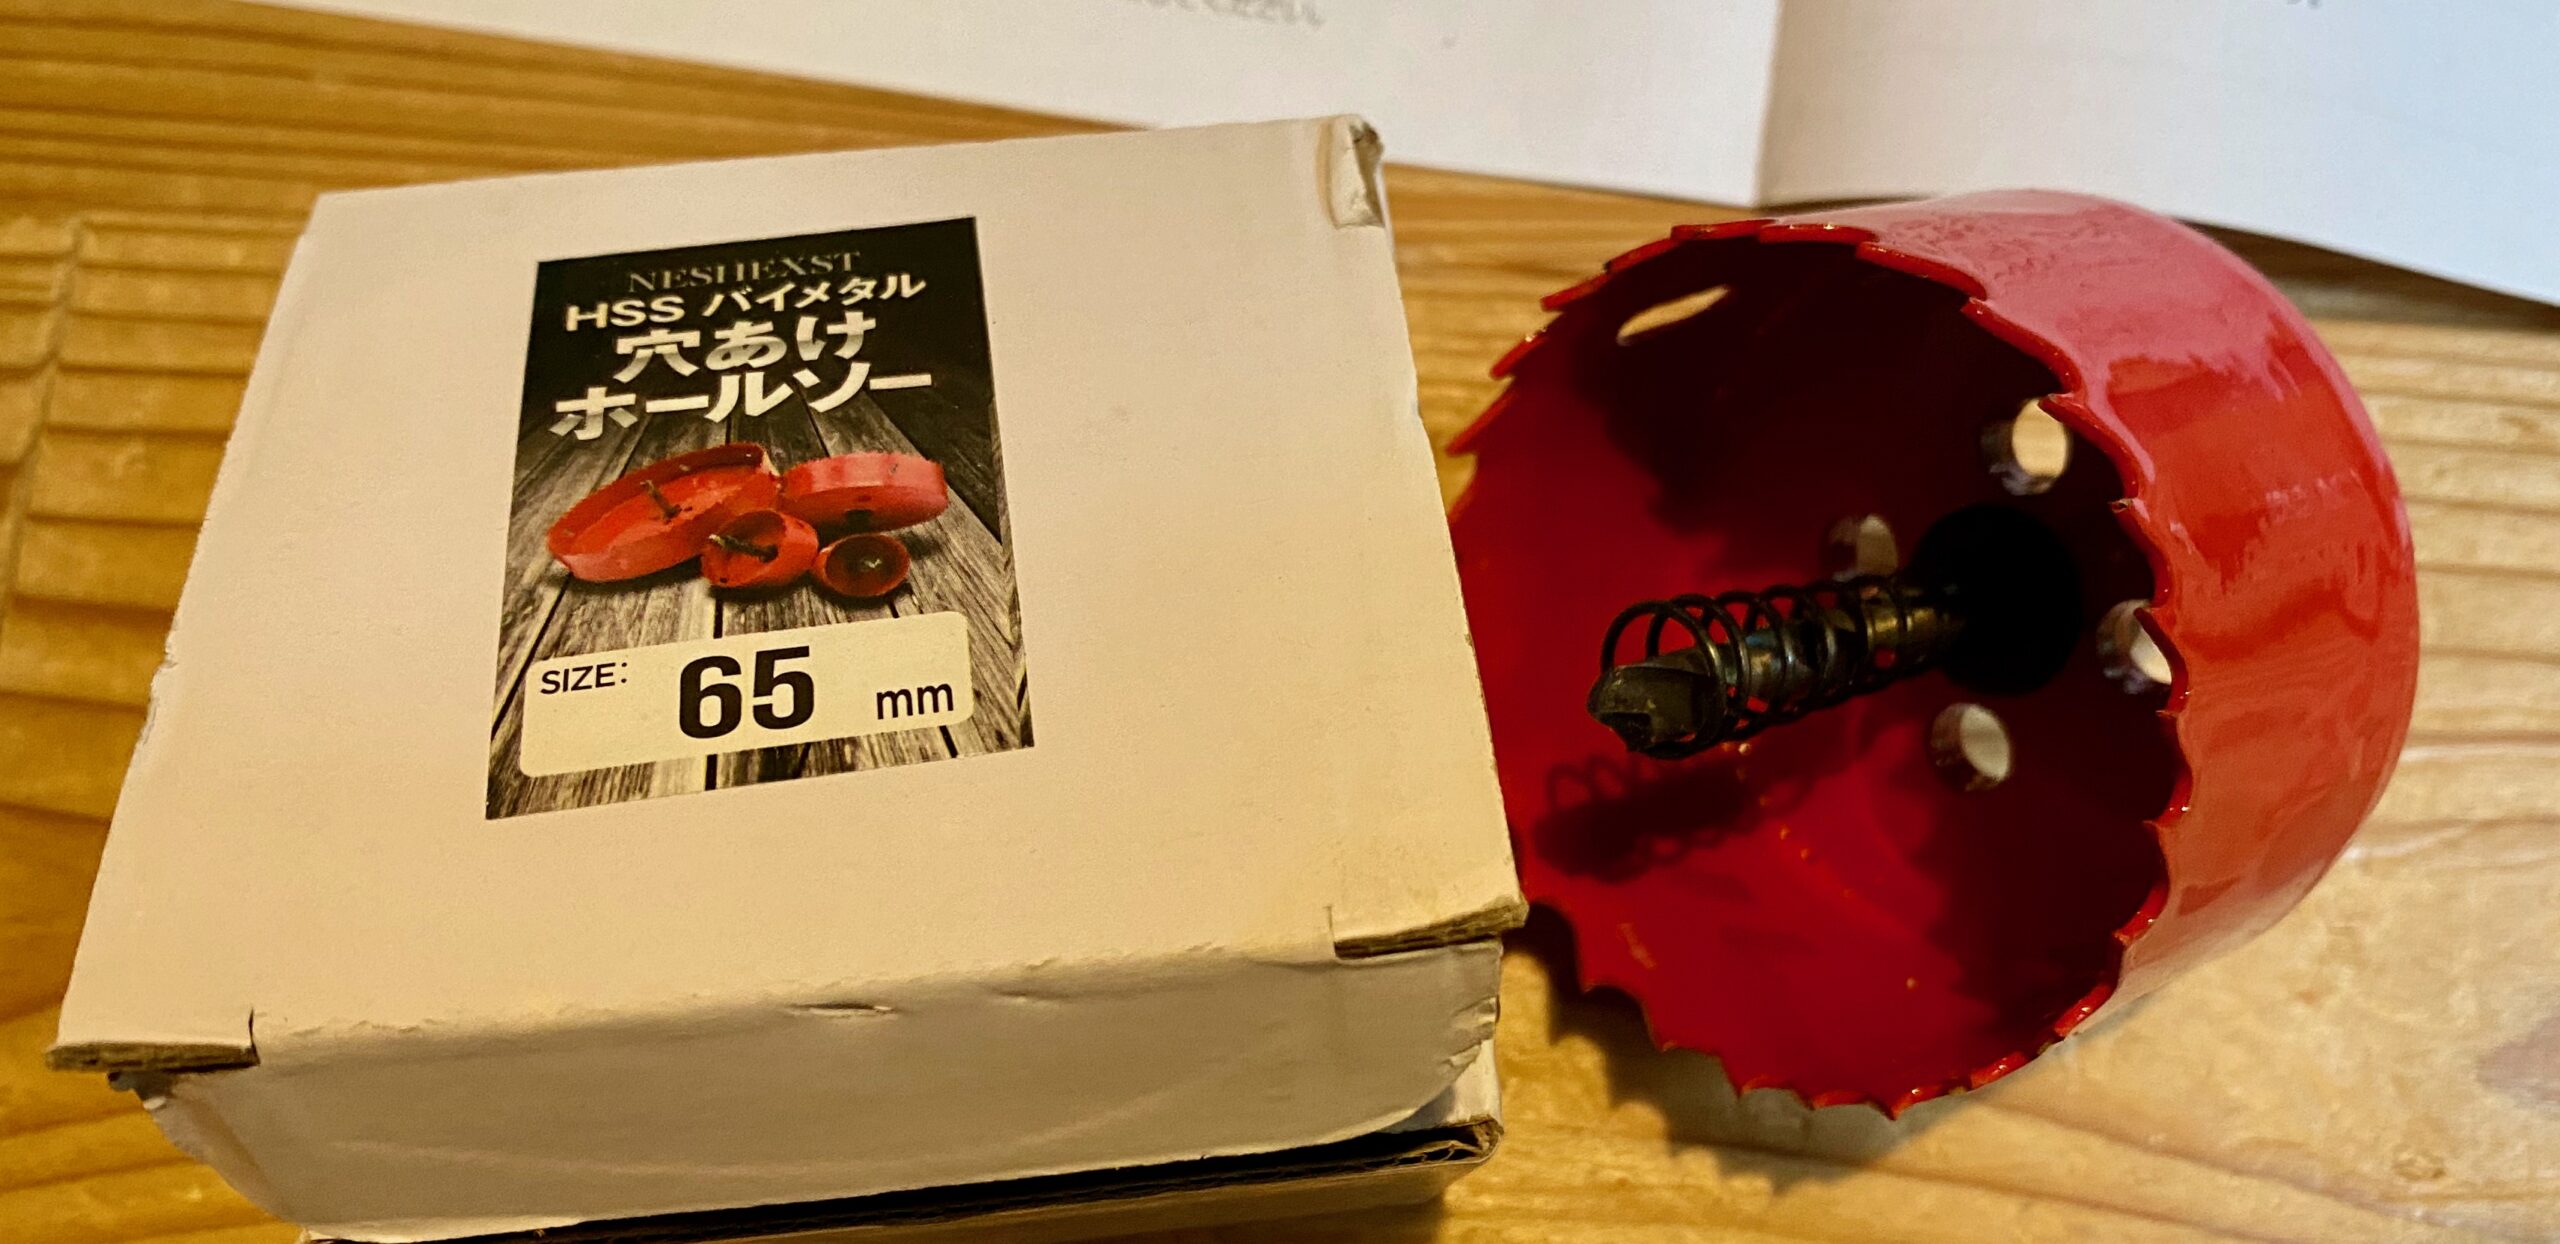
Hole Saw
I bought this one on Amazon.

Other Essentials
- Drill bit (for pilot holes)
- Stepladder
- Stud finder

- Masking tape
- Power outlet
- Something to cut the hose with, such as a saw or wire cutters
You will also need putty to seal around the hose. It costs about ¥50 in the air-conditioner section of a home improvement store. The area to fill is small, so I bought the smallest pack, and there was still some left over.
Installation
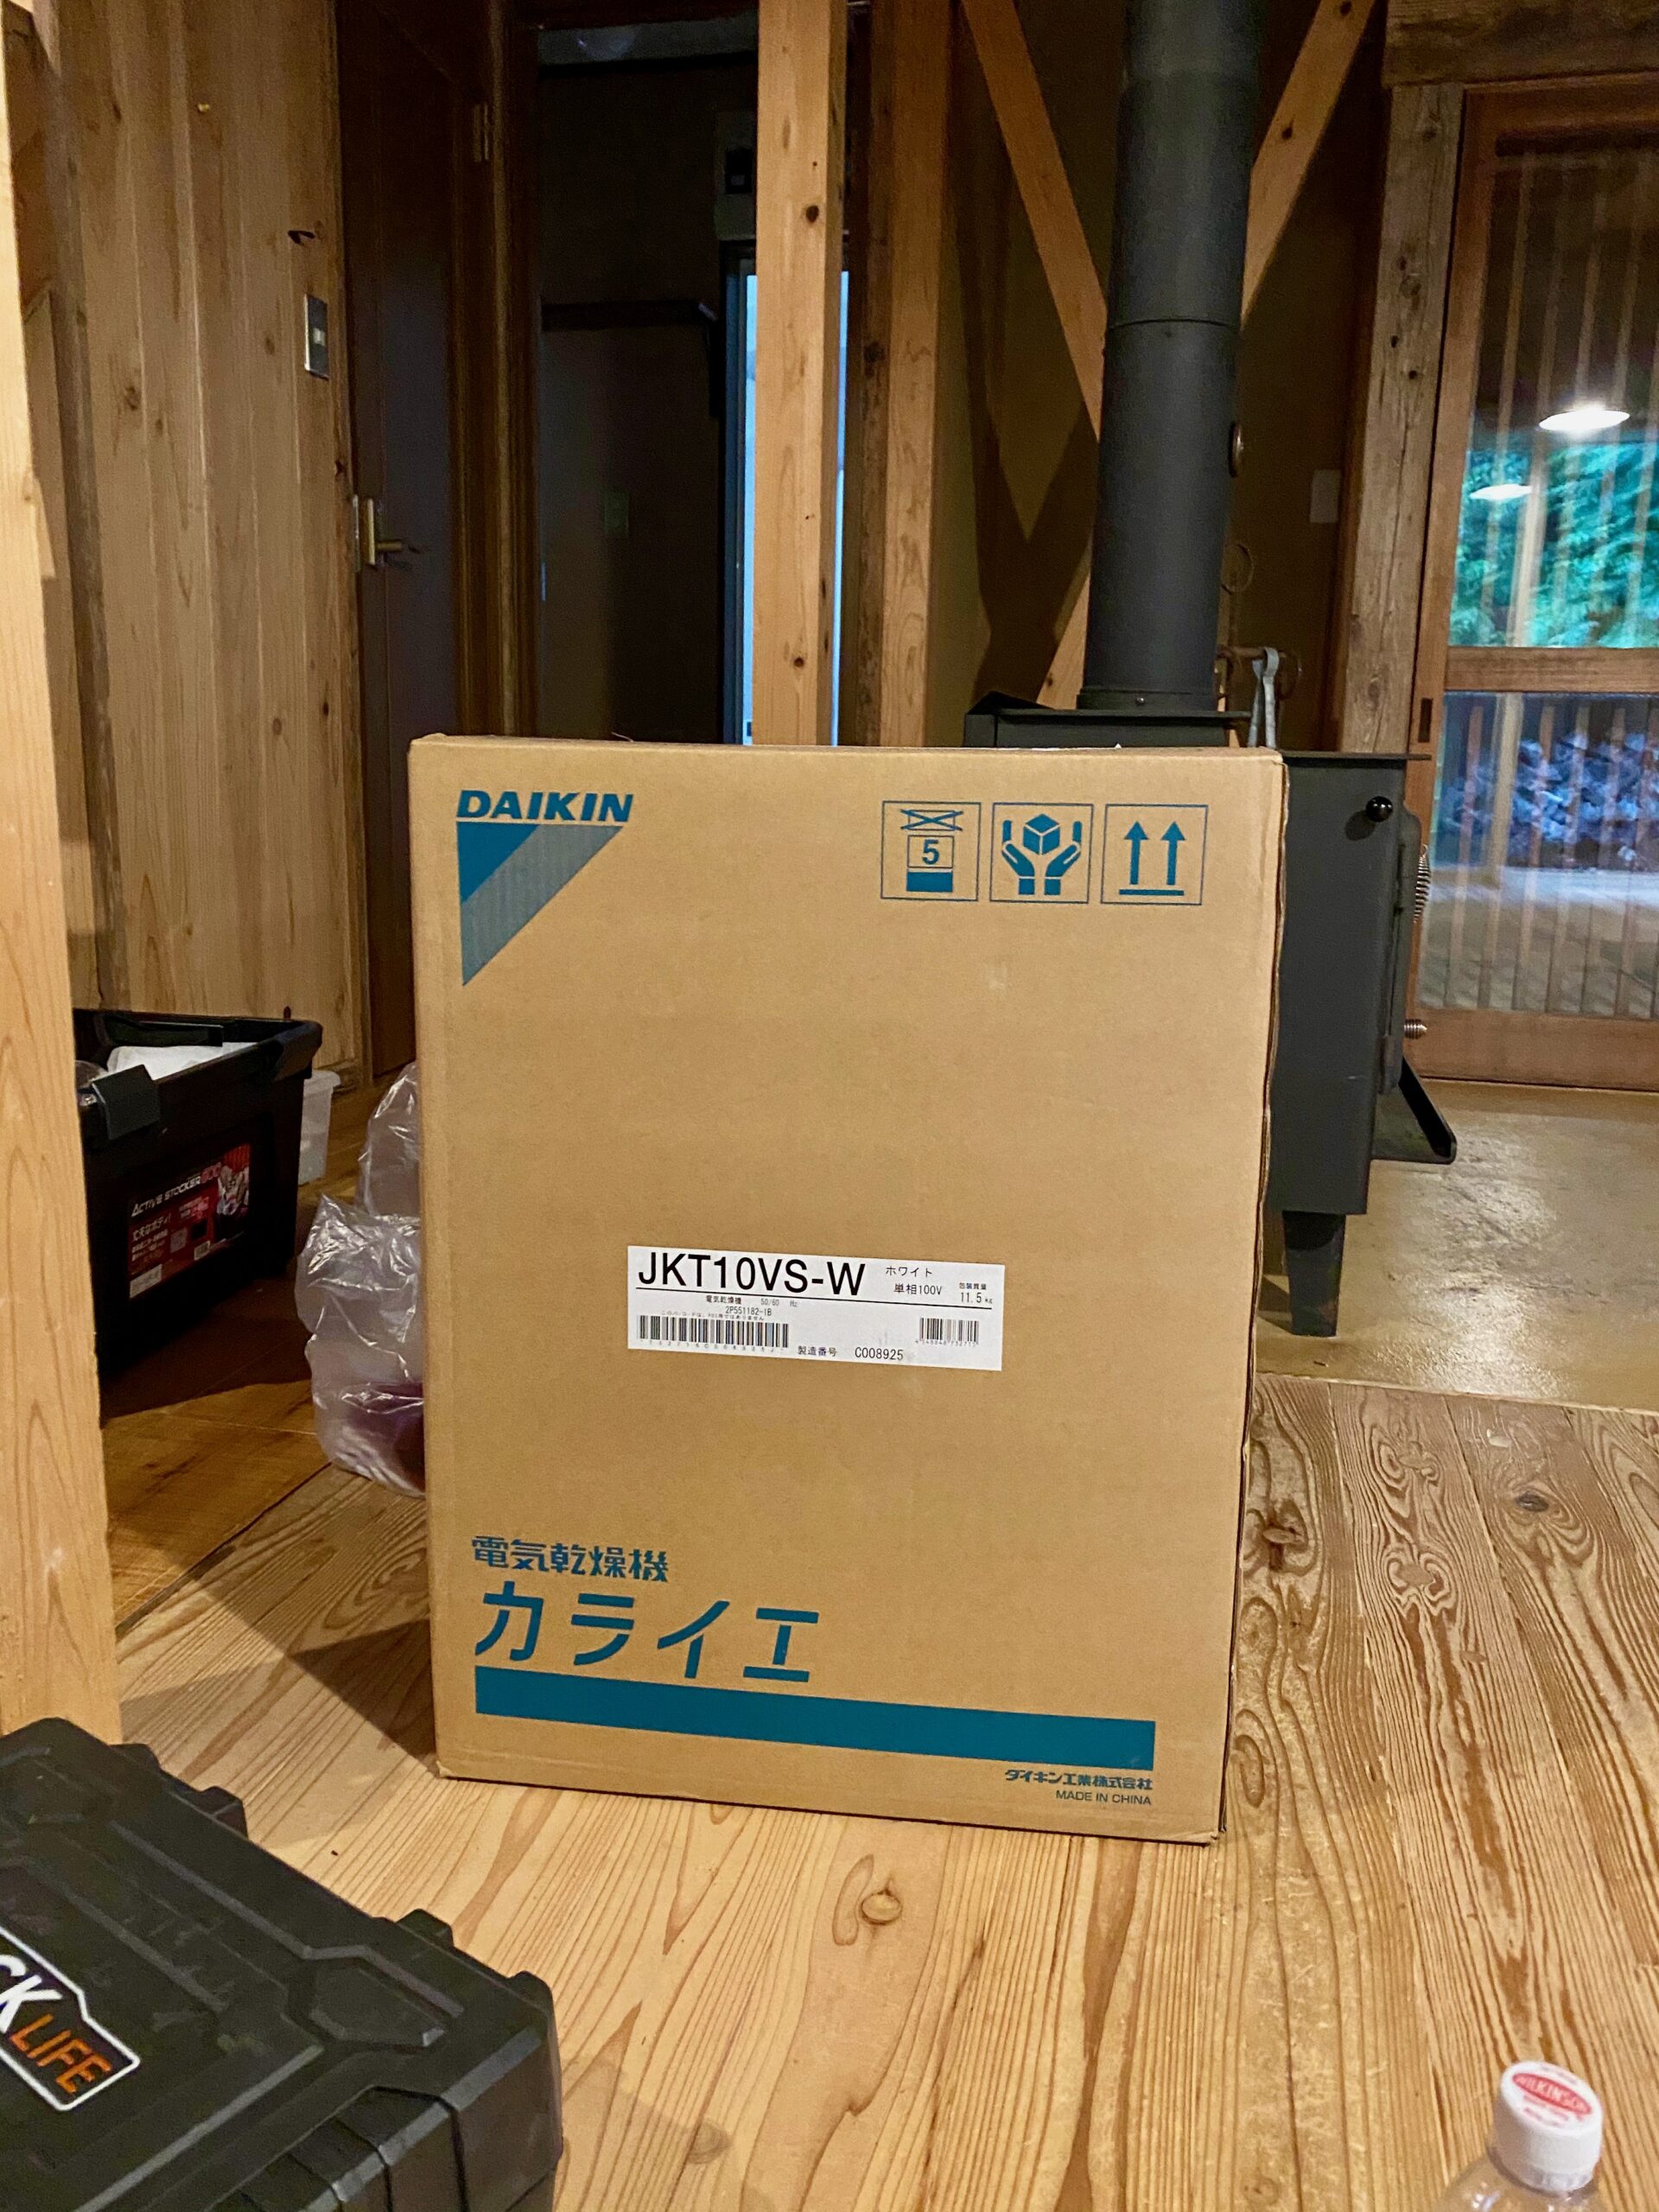
The Karaie box is pretty big.
This is the hole saw I bought. It cuts a 65 mm hole.
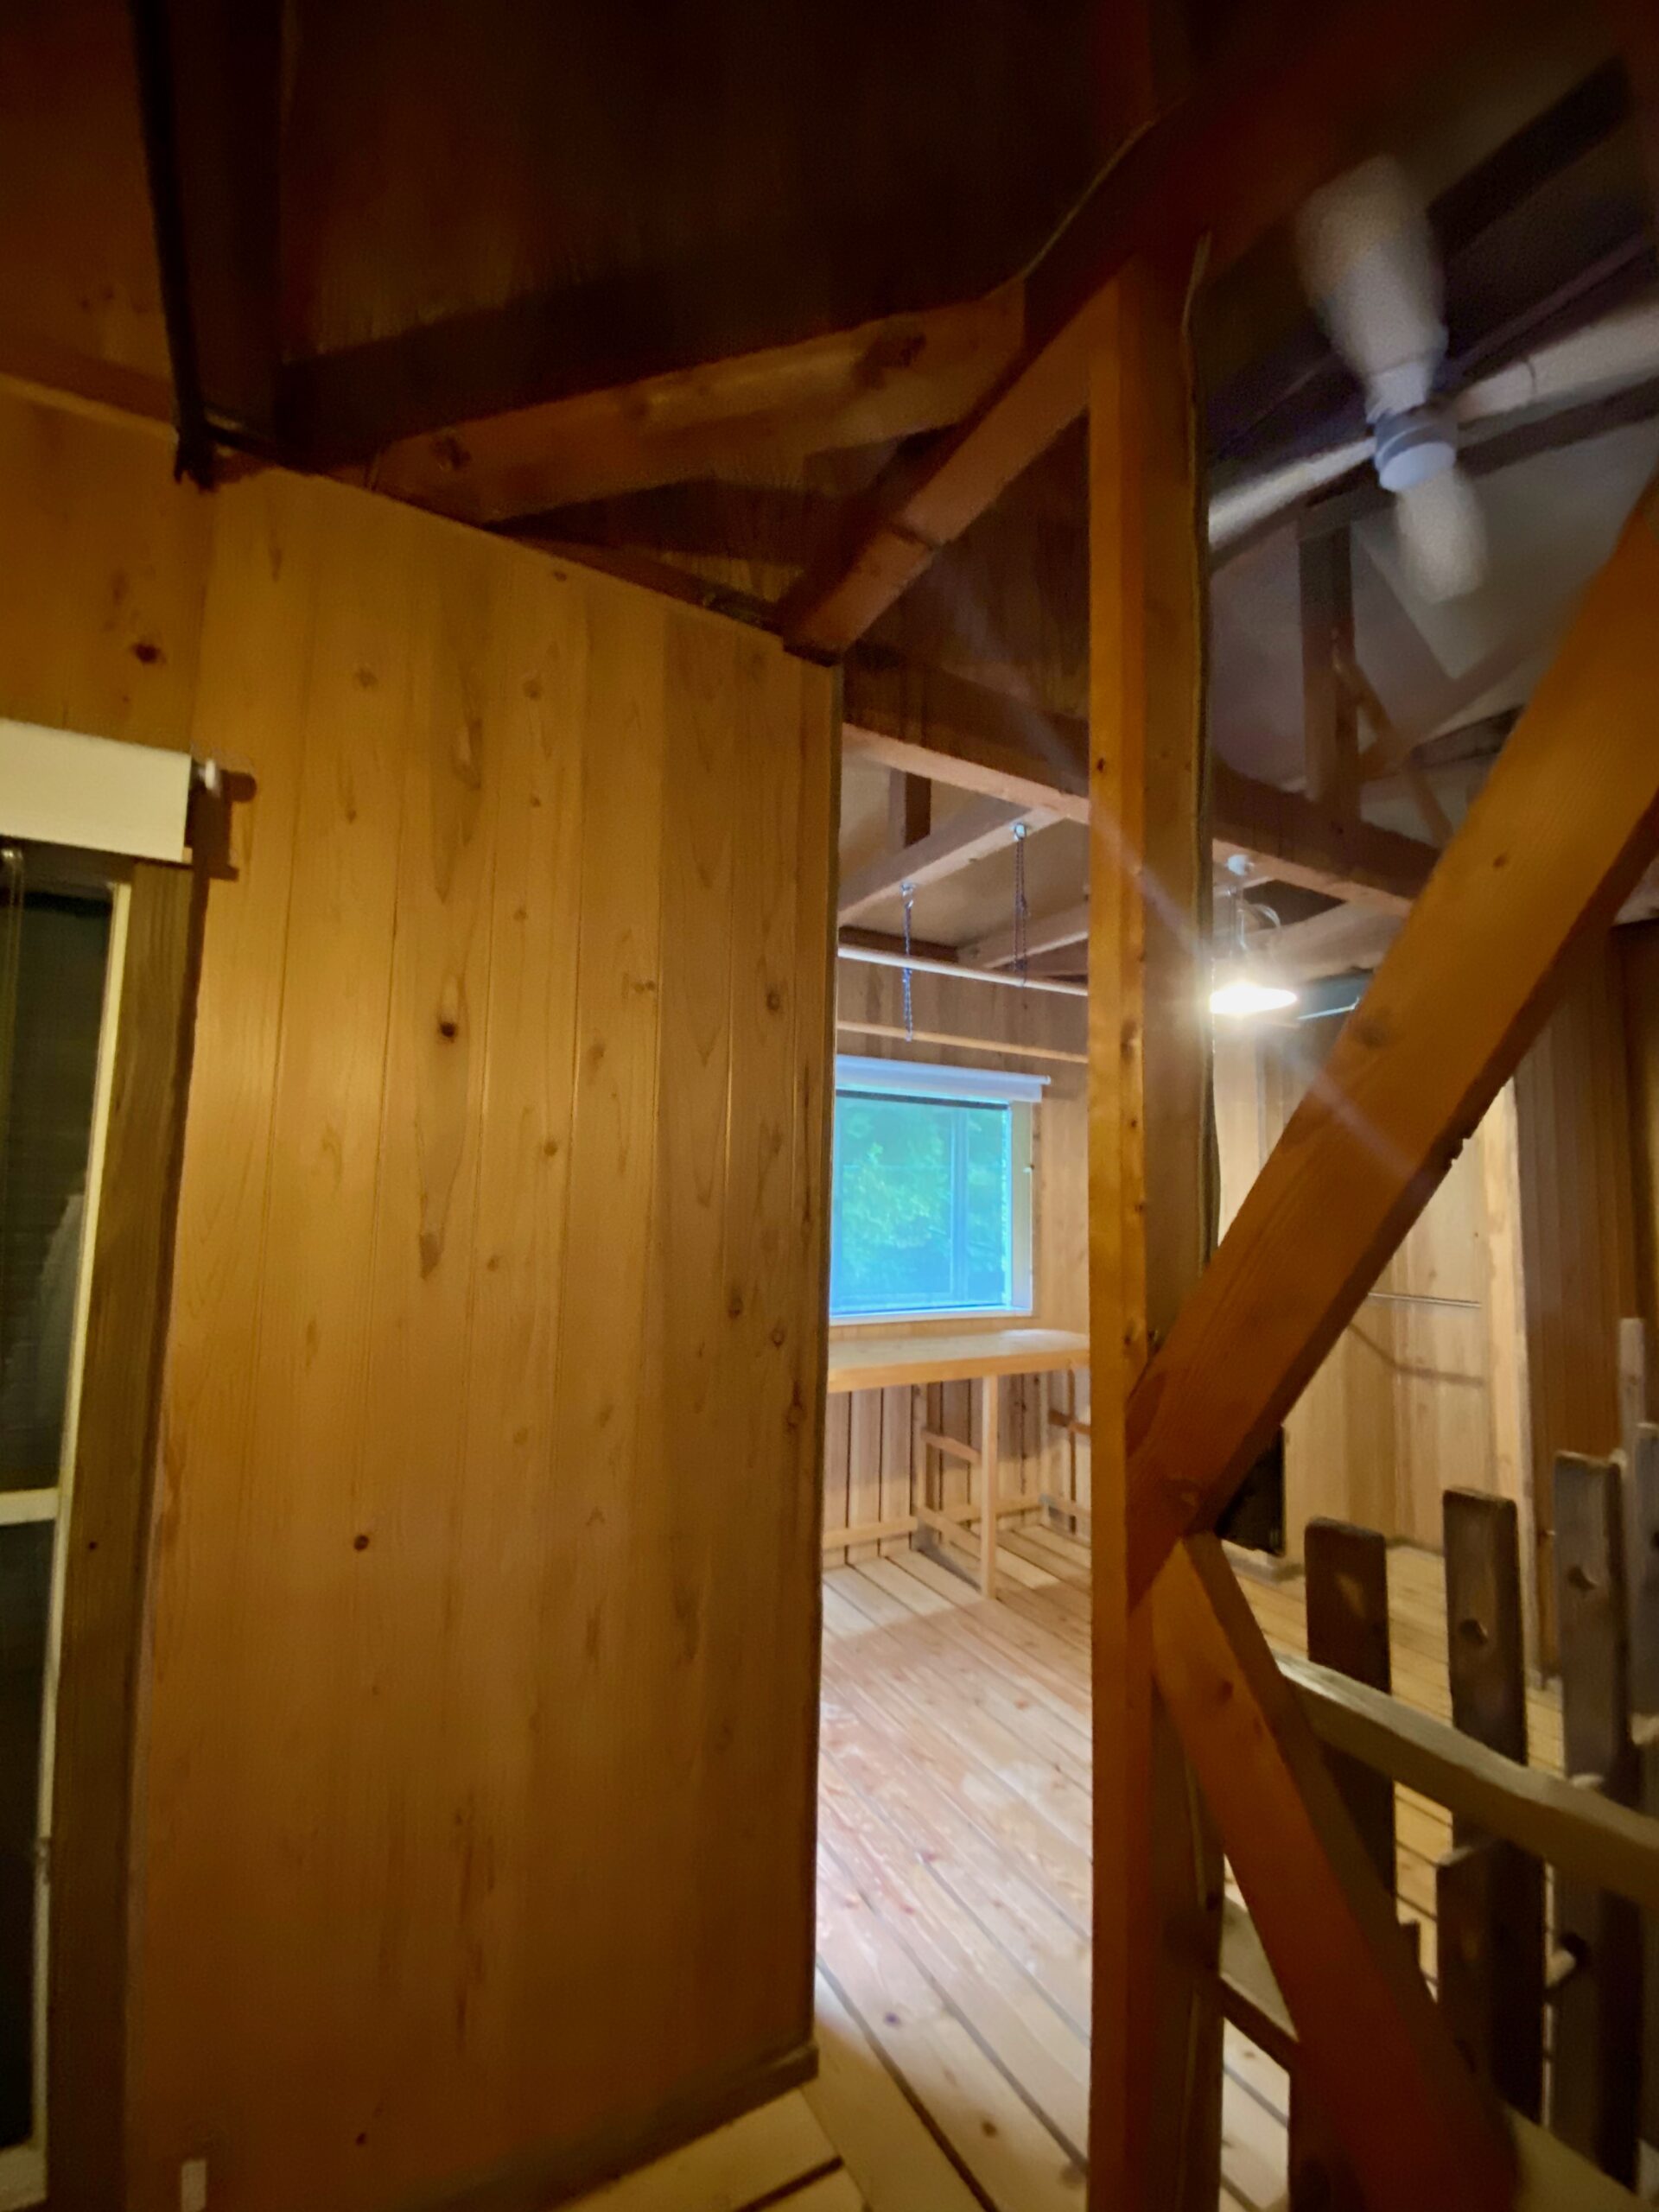
Choose where to mount the Karaie. Some of the work has to be done from outside, so pick a spot that opens onto the balcony.
Check what is behind the wall so you don’t drill through a stud.
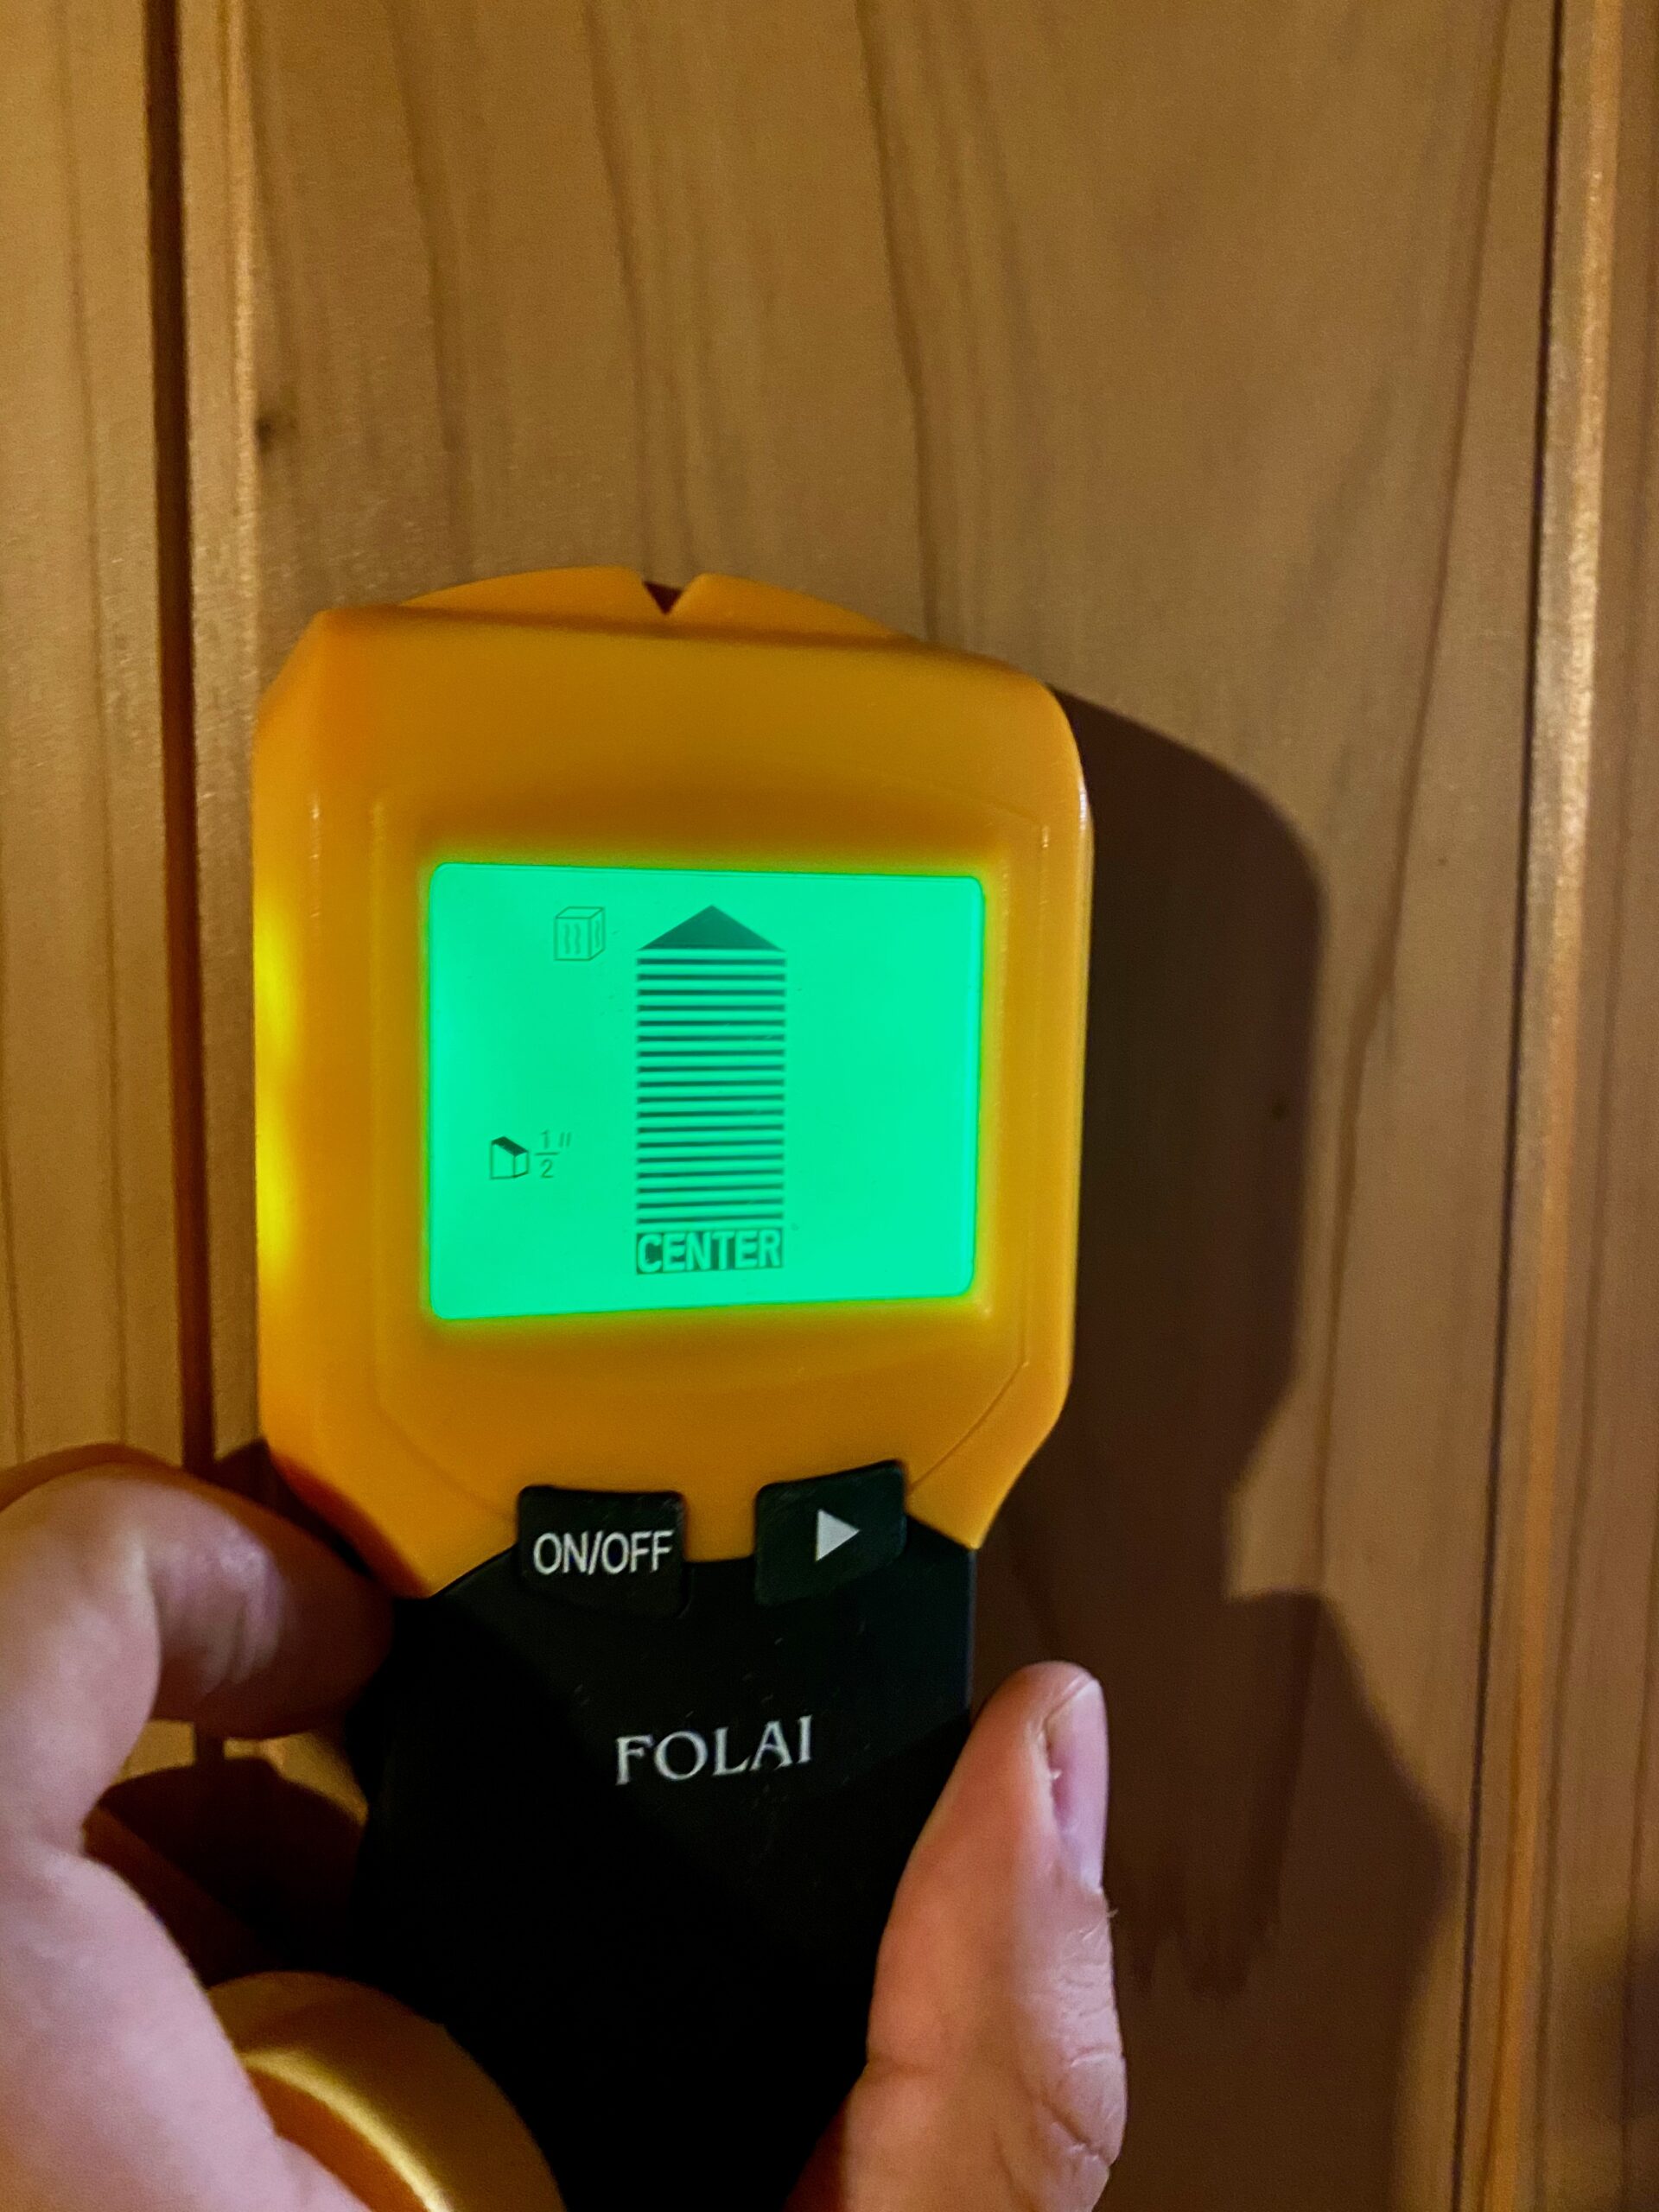
Since the hose runs straight out of the Karaie unit, positioning is critical. The manual specifies clearances above and on both sides, so be sure to check them.
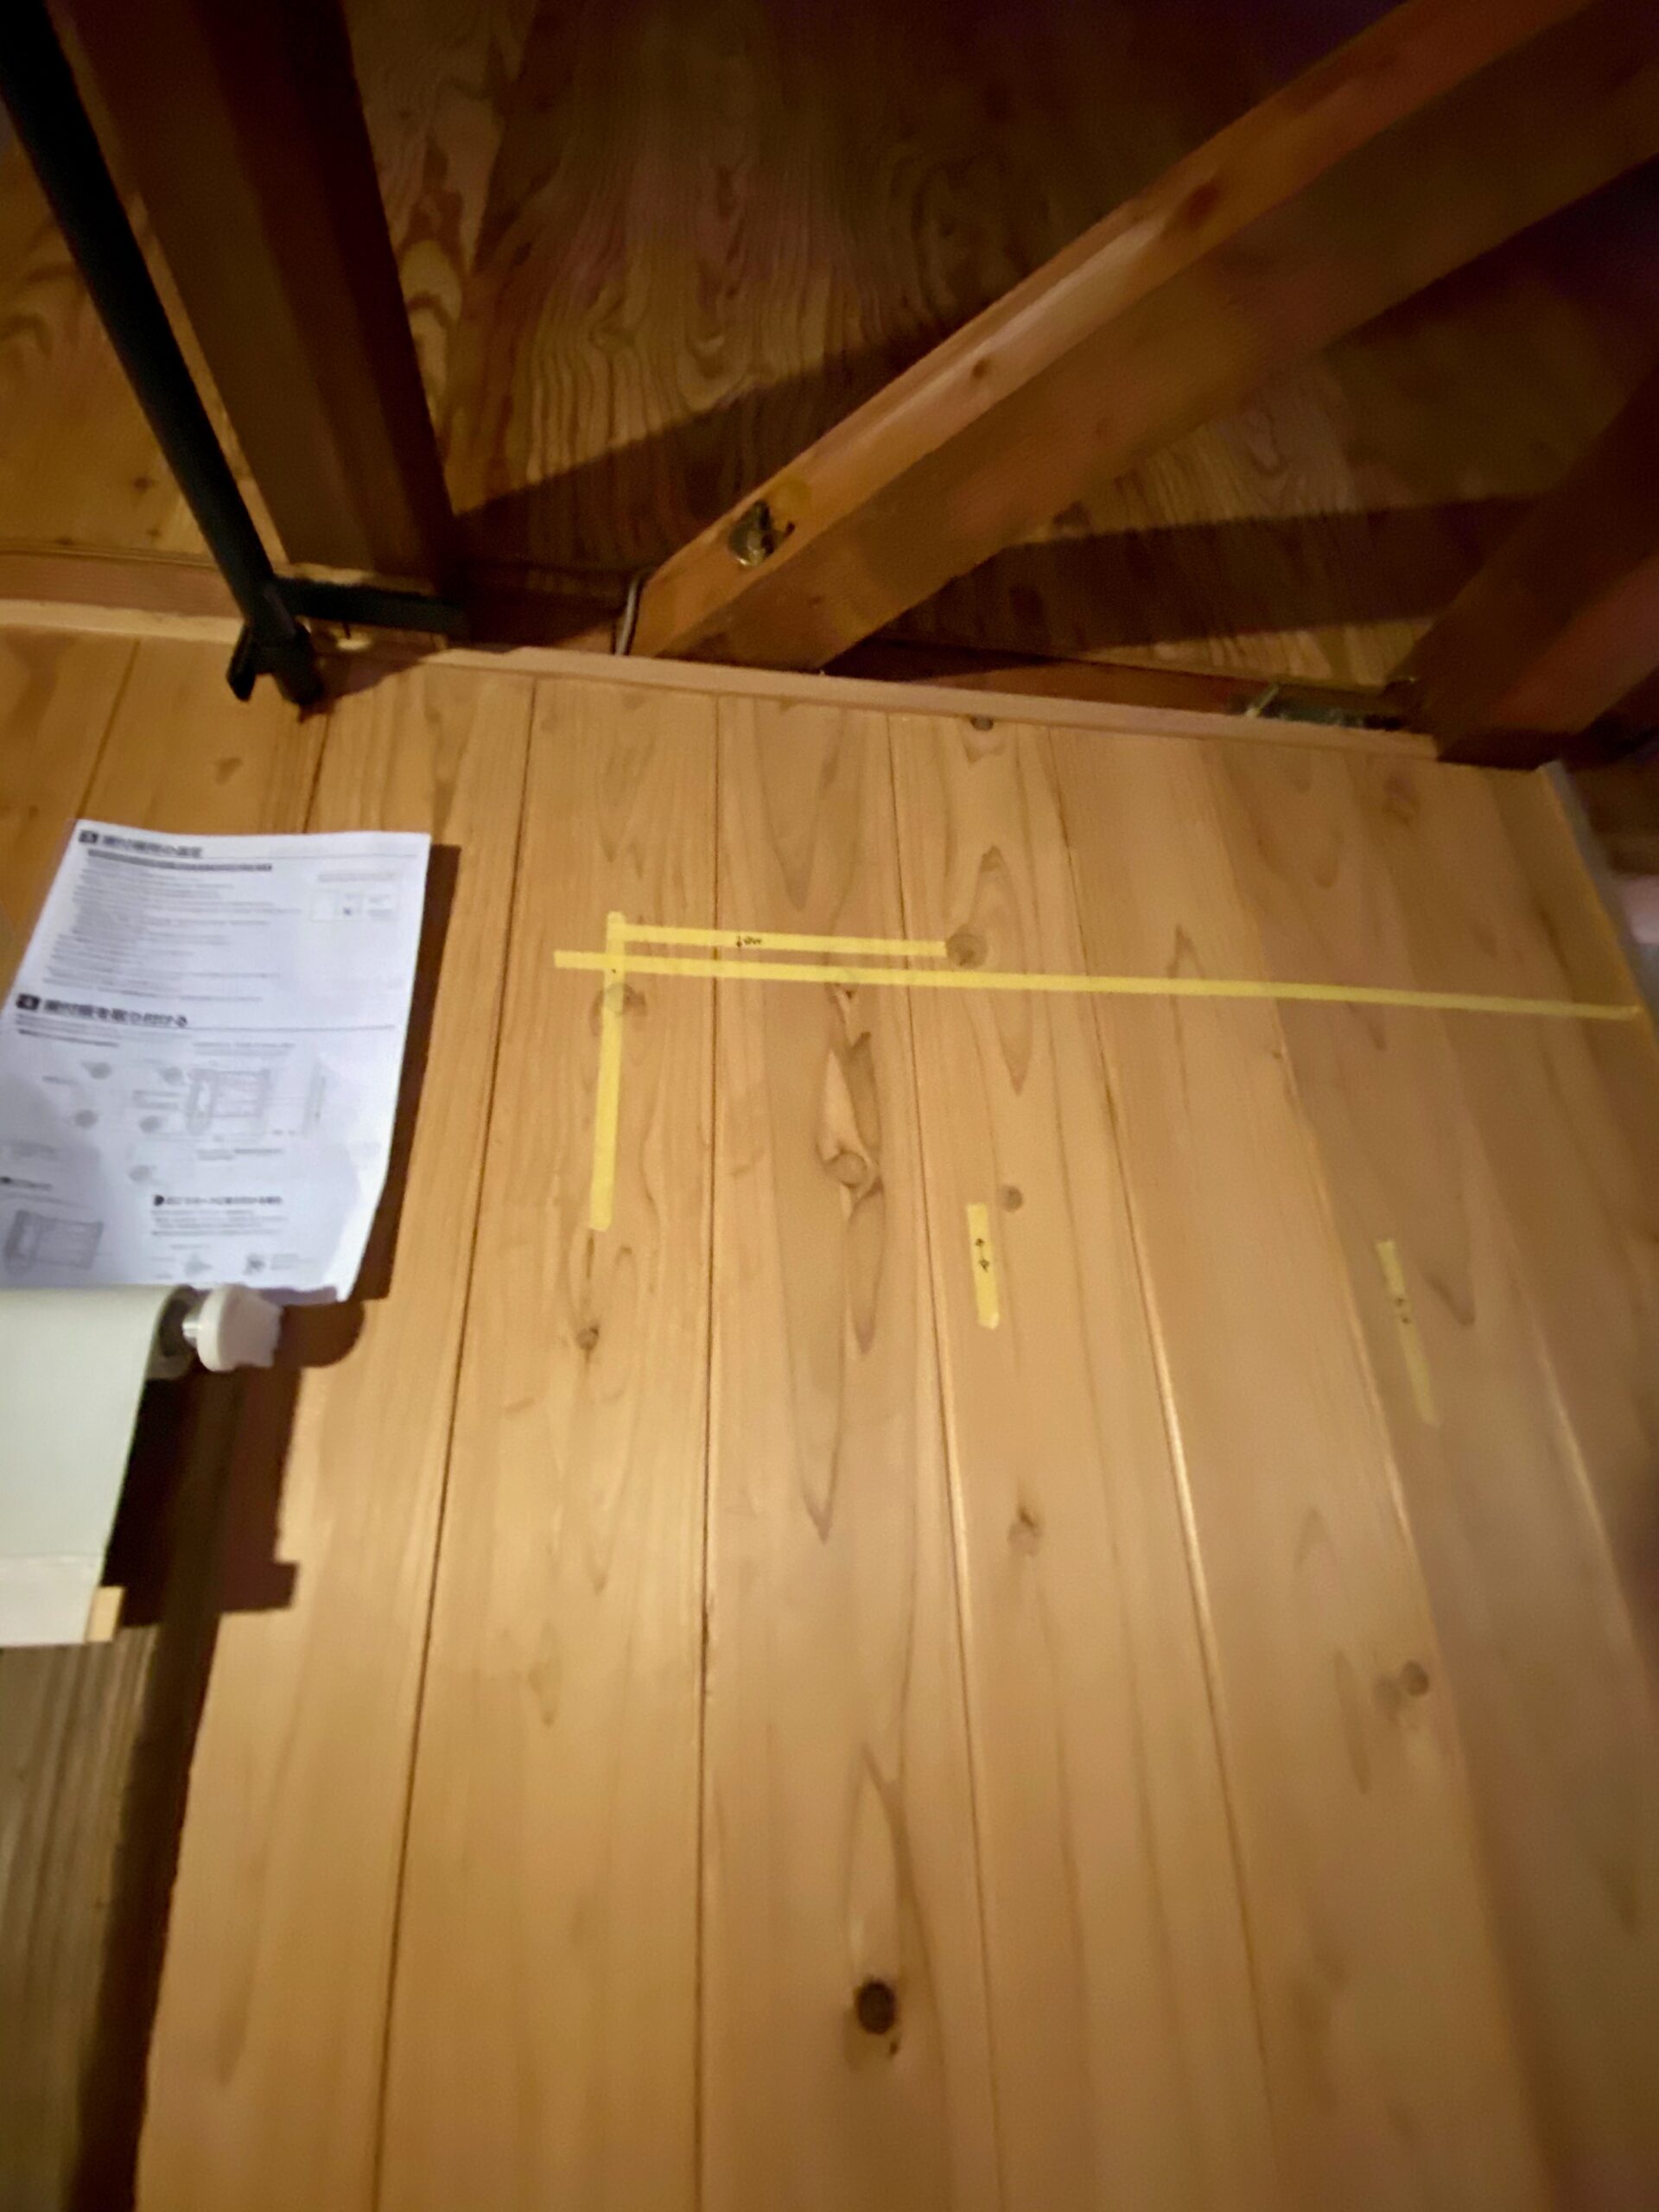
The black dot marks the center.
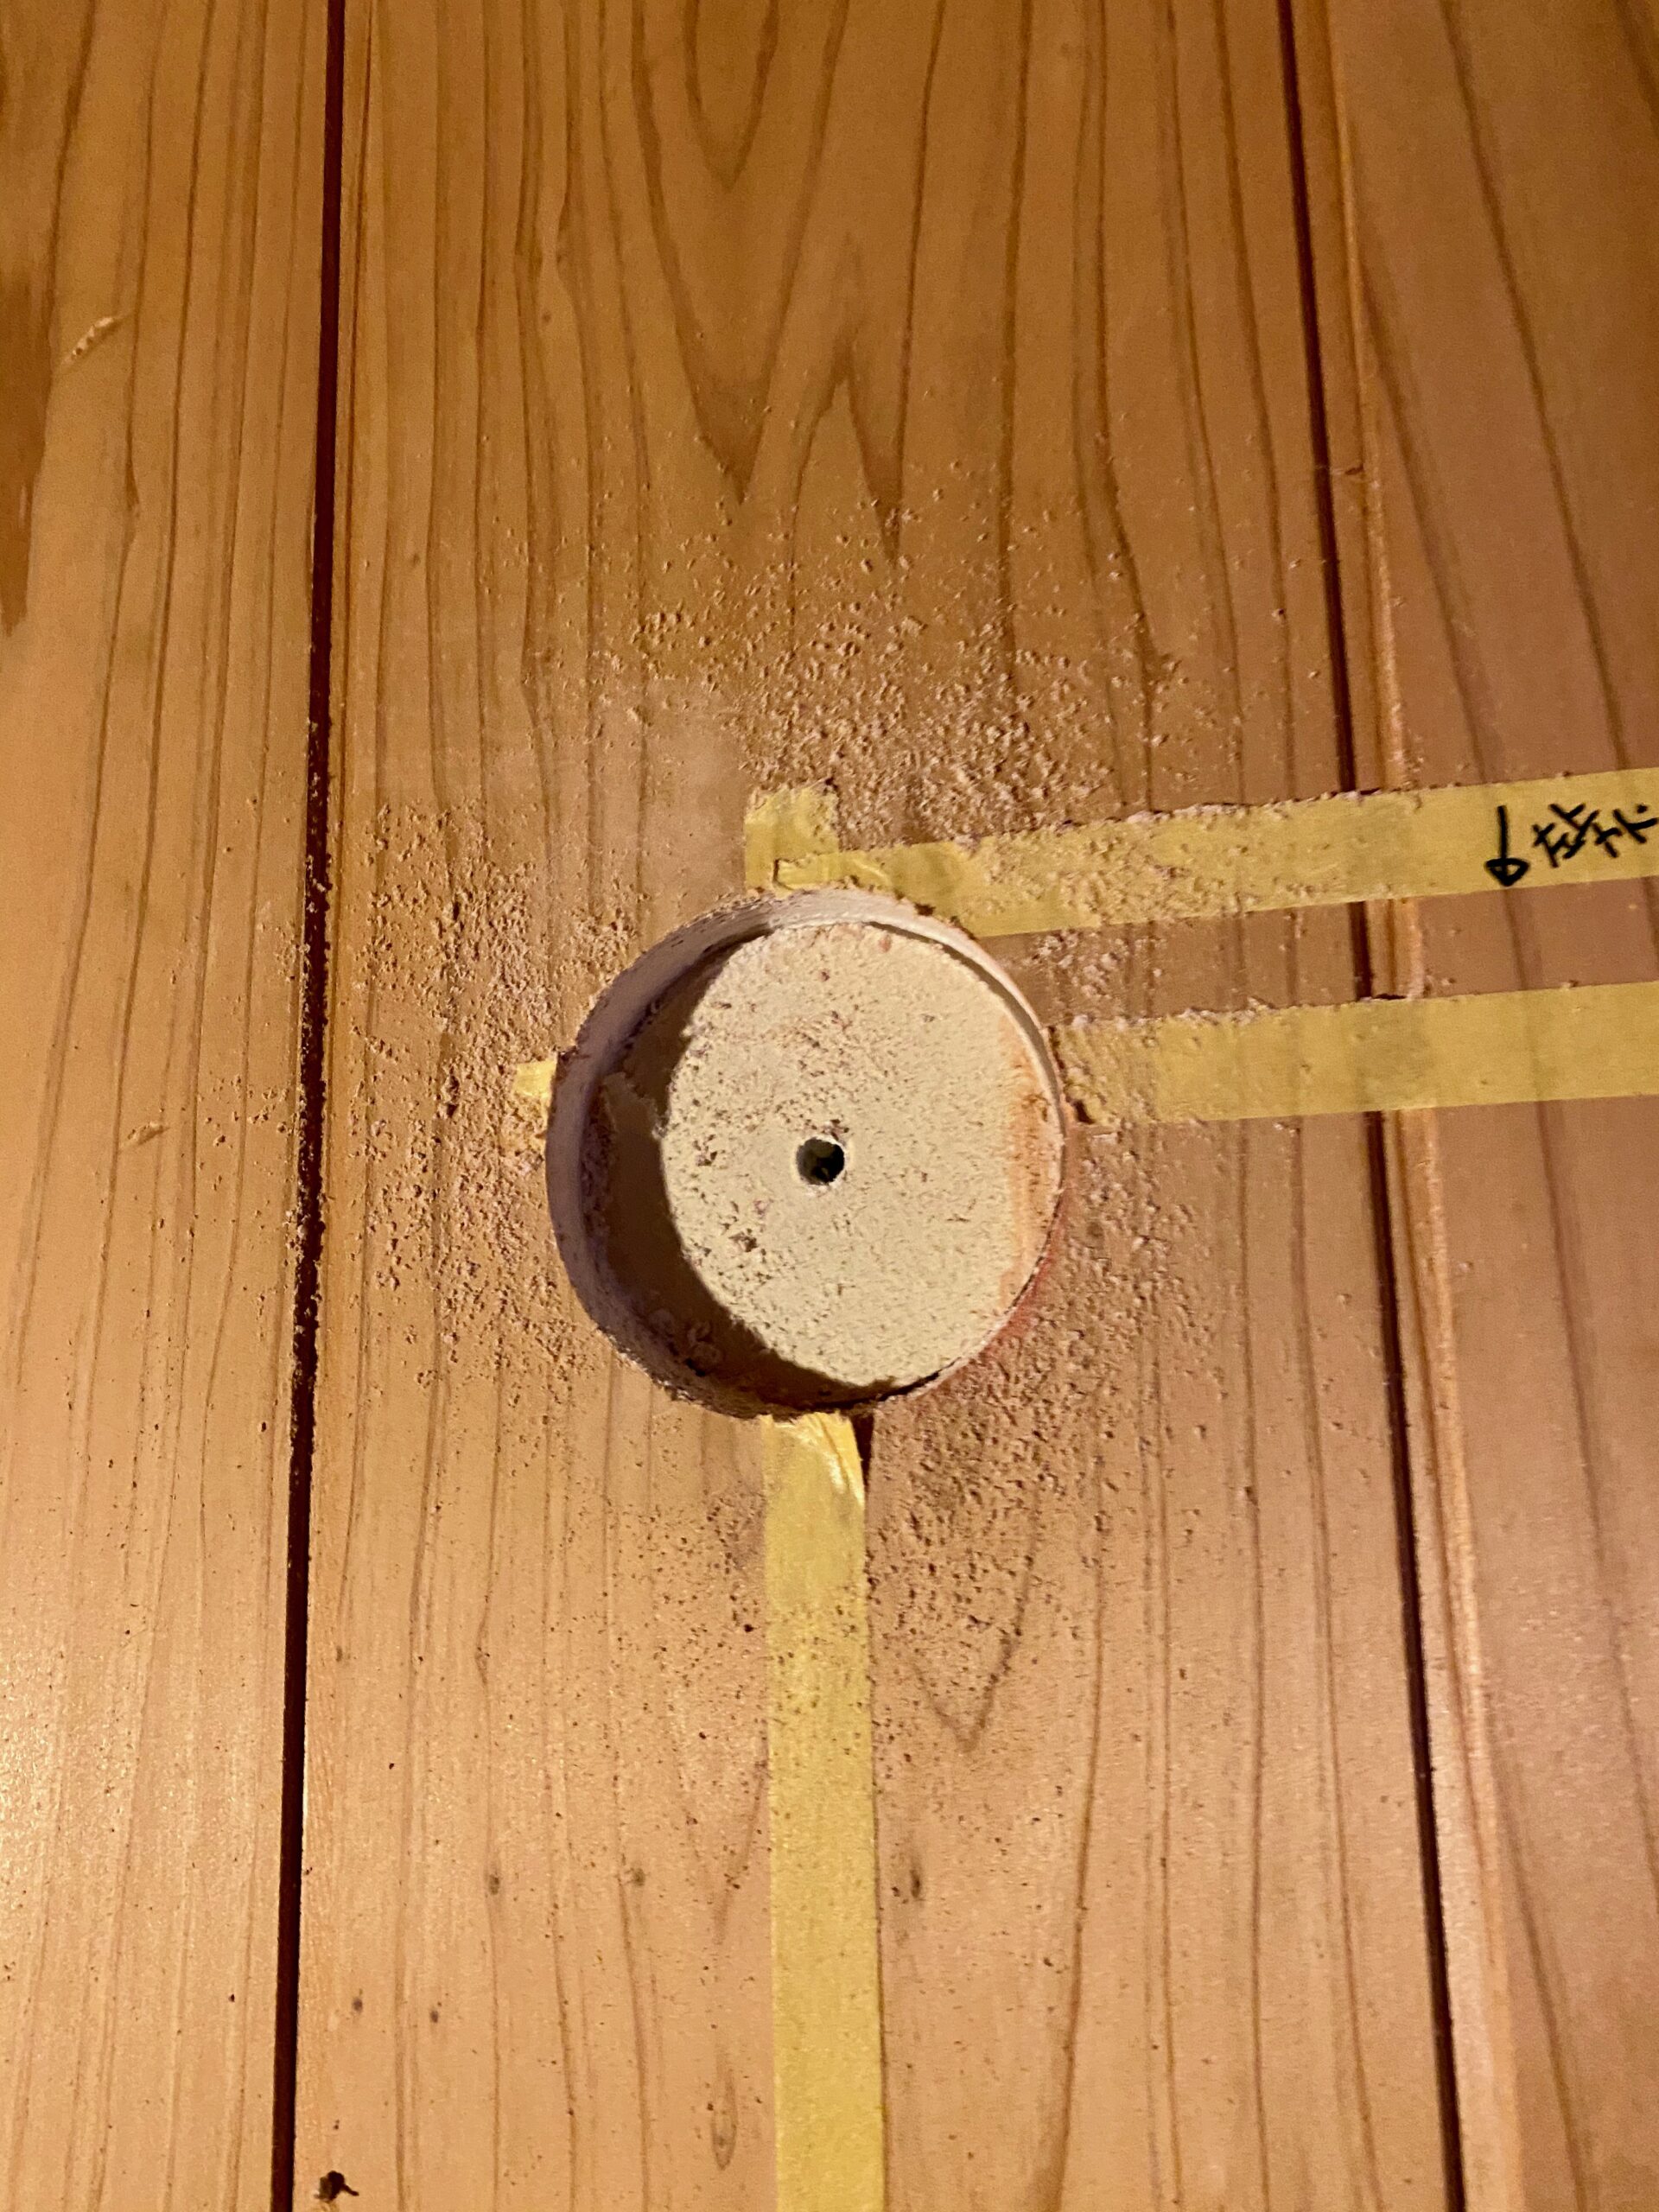
Cut it out.
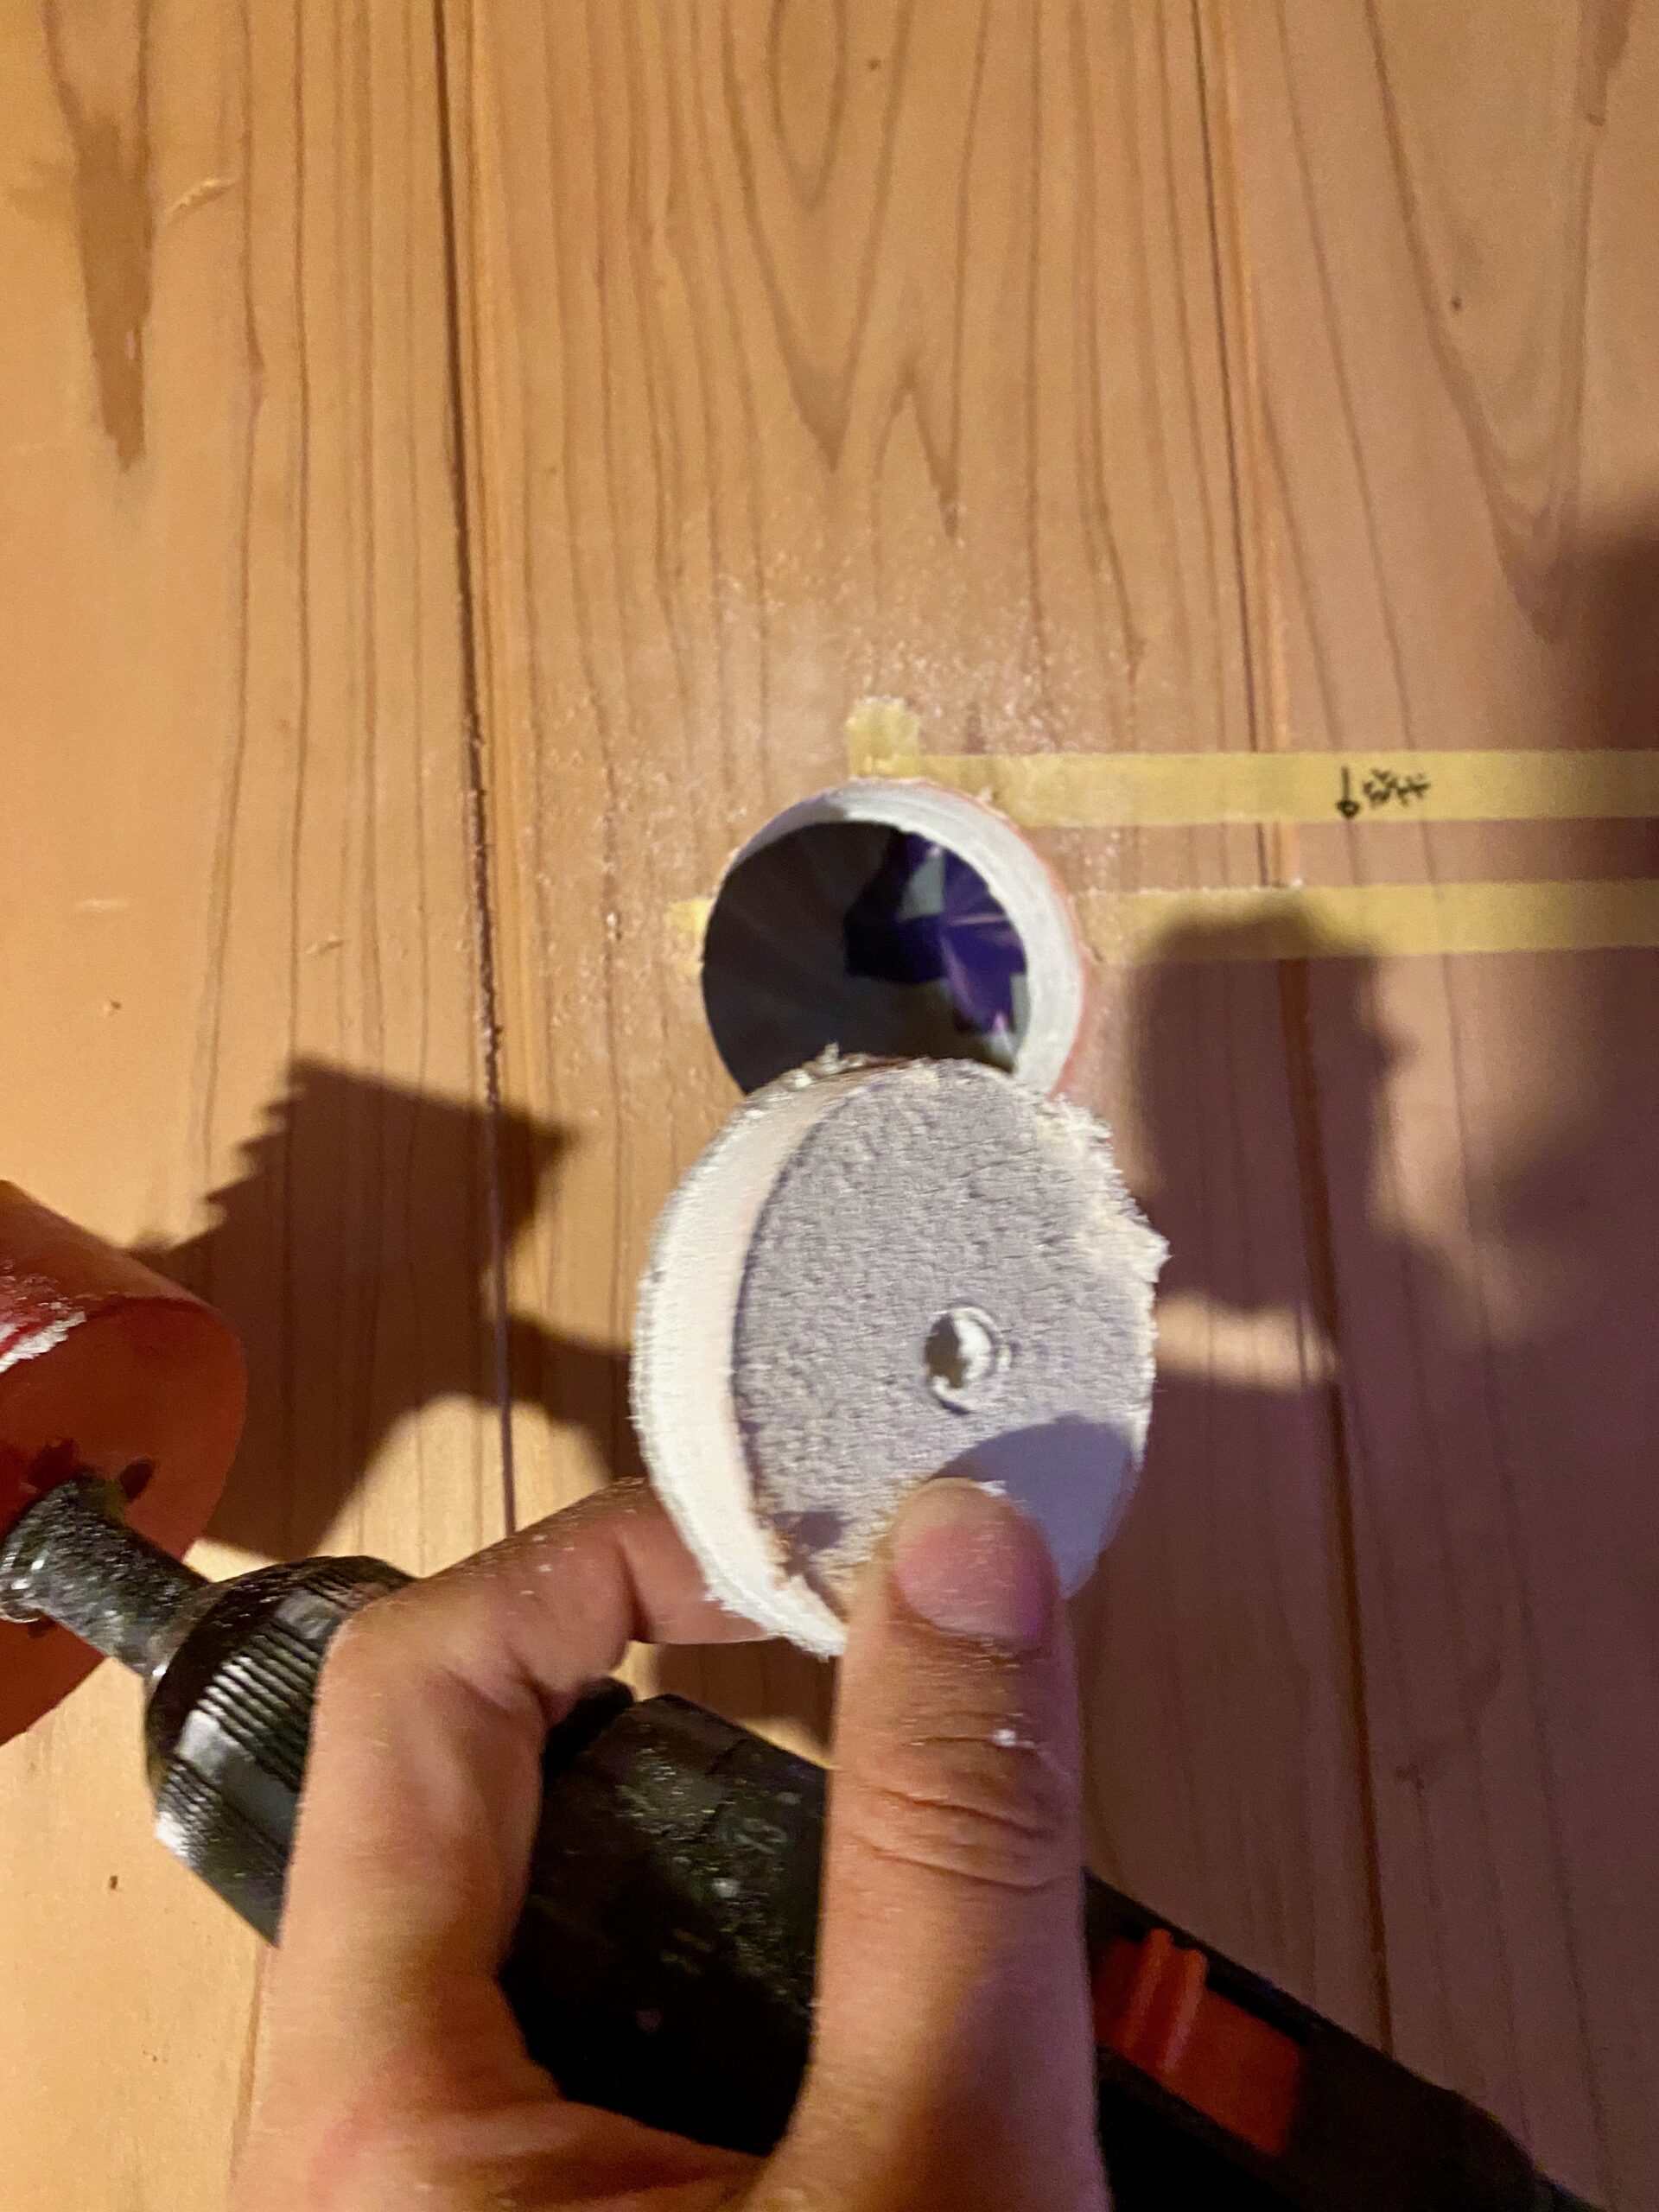
Insulation came out.
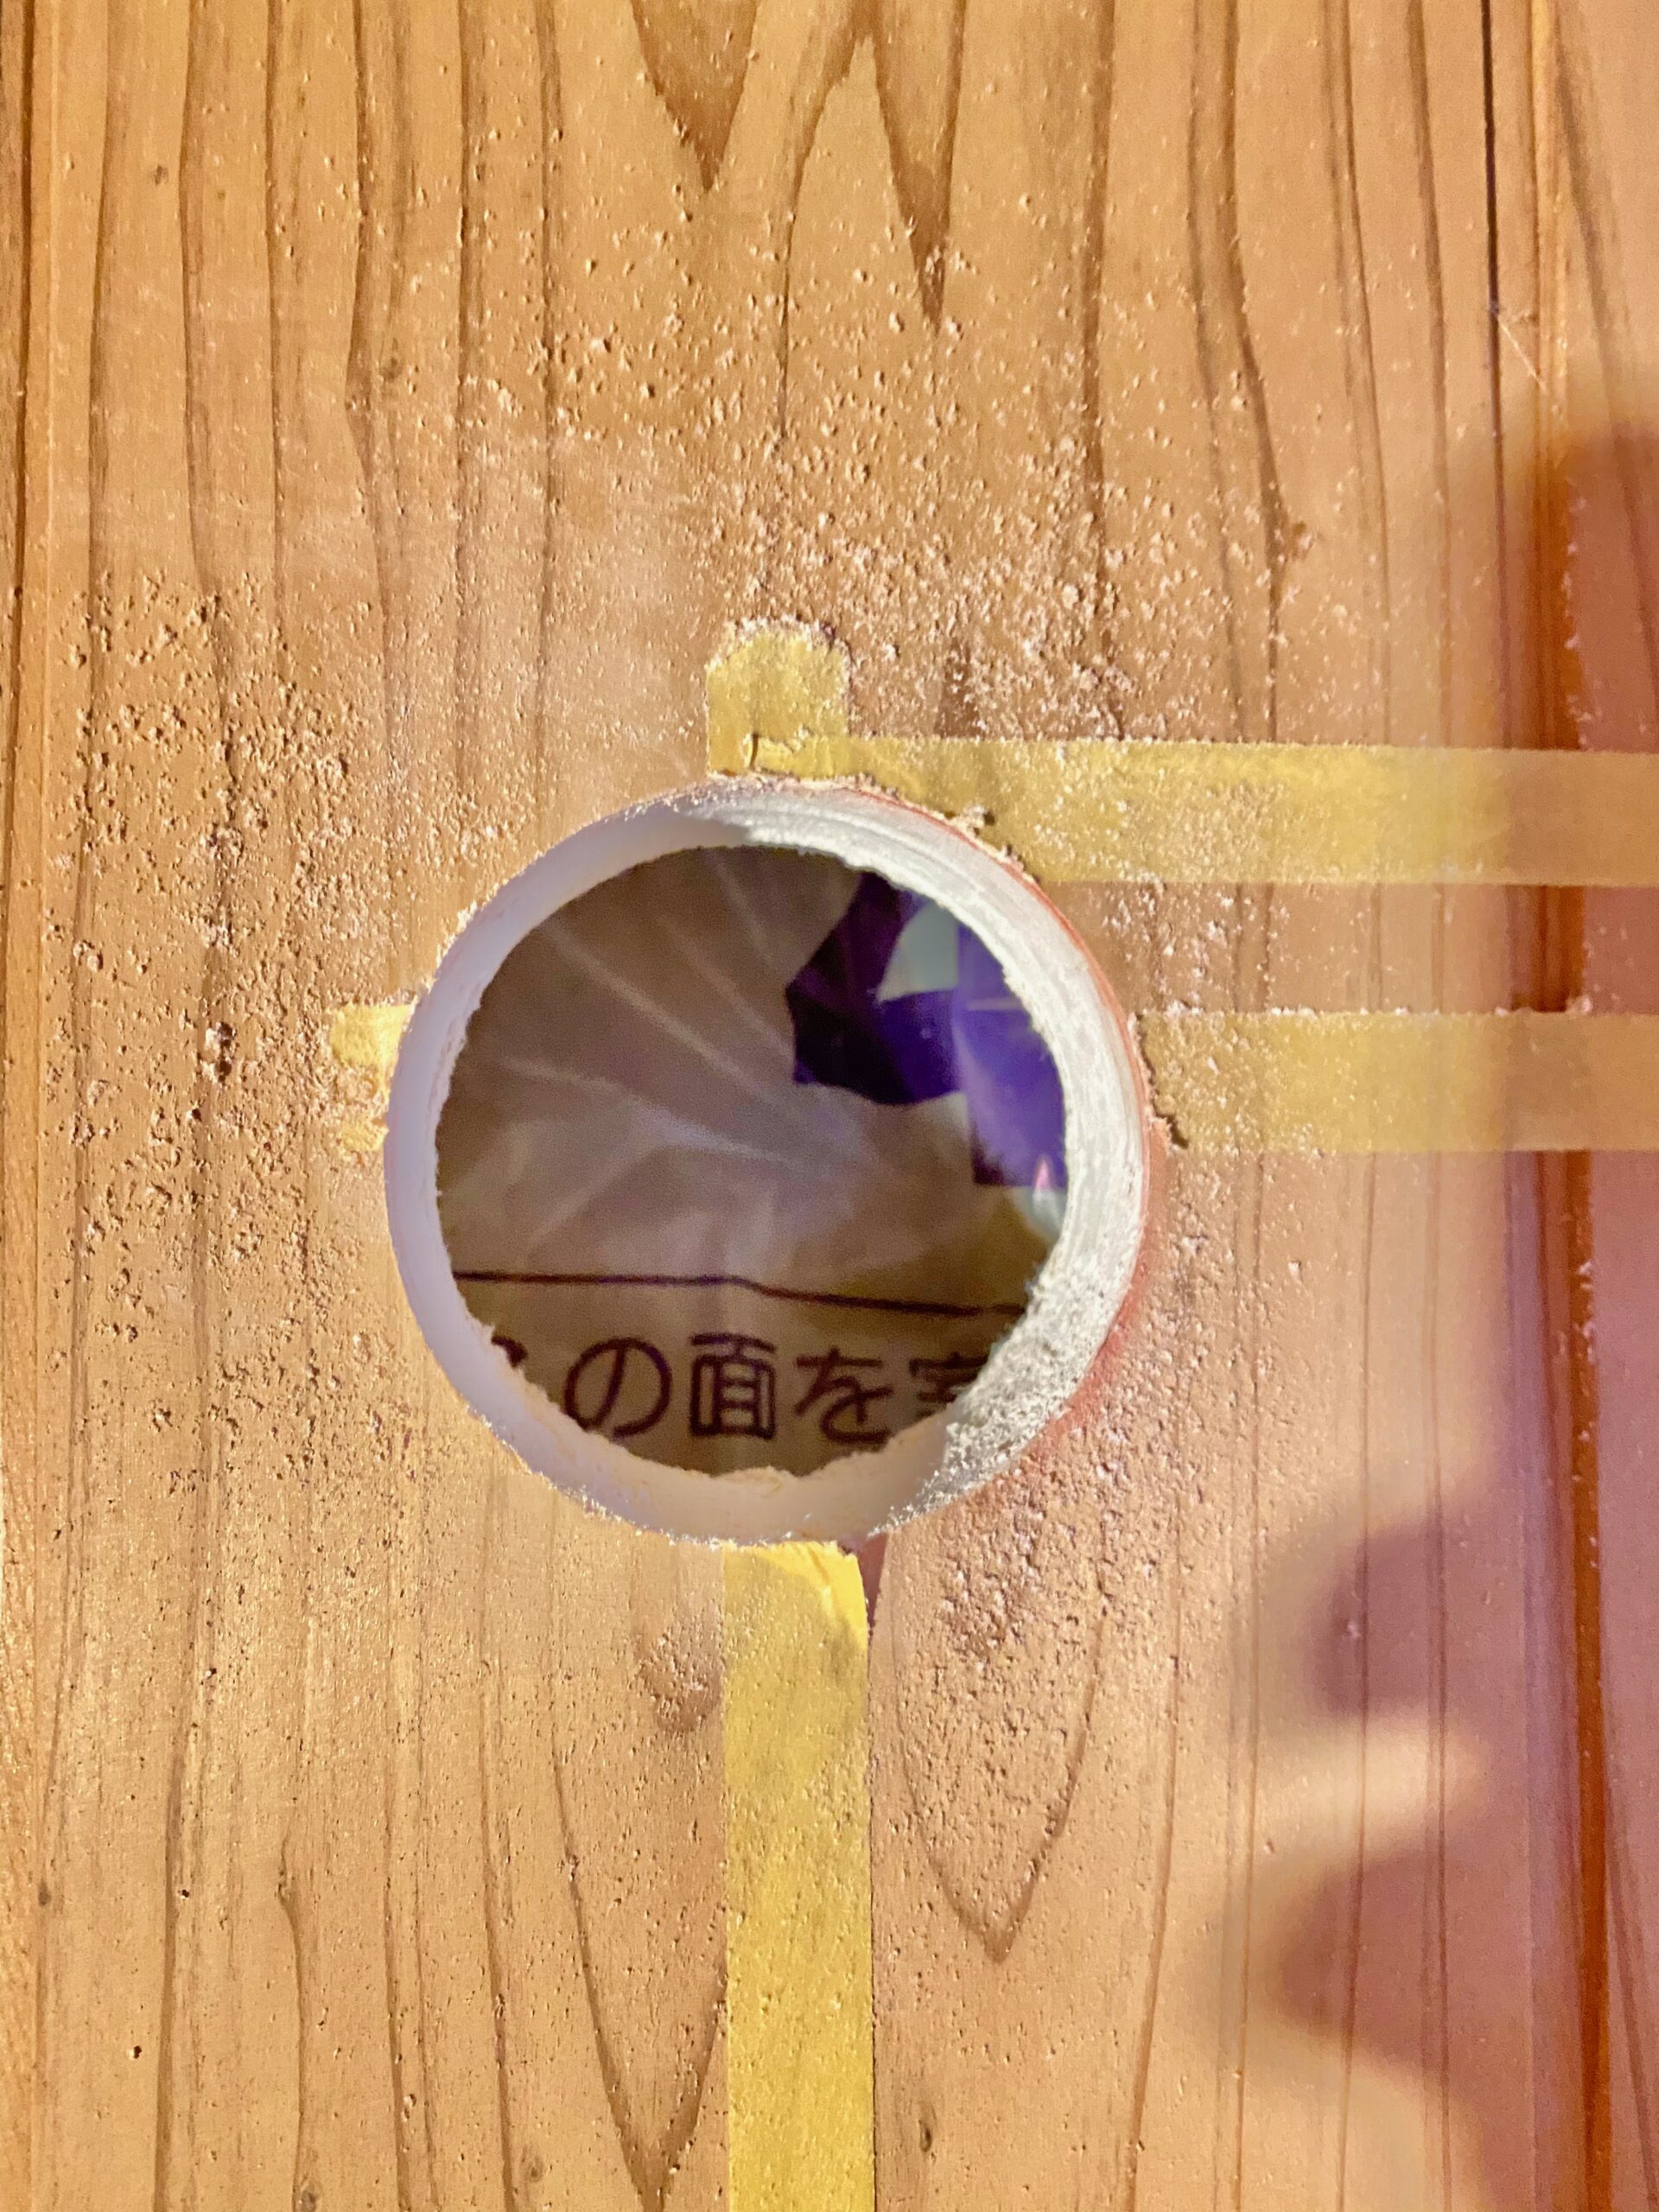
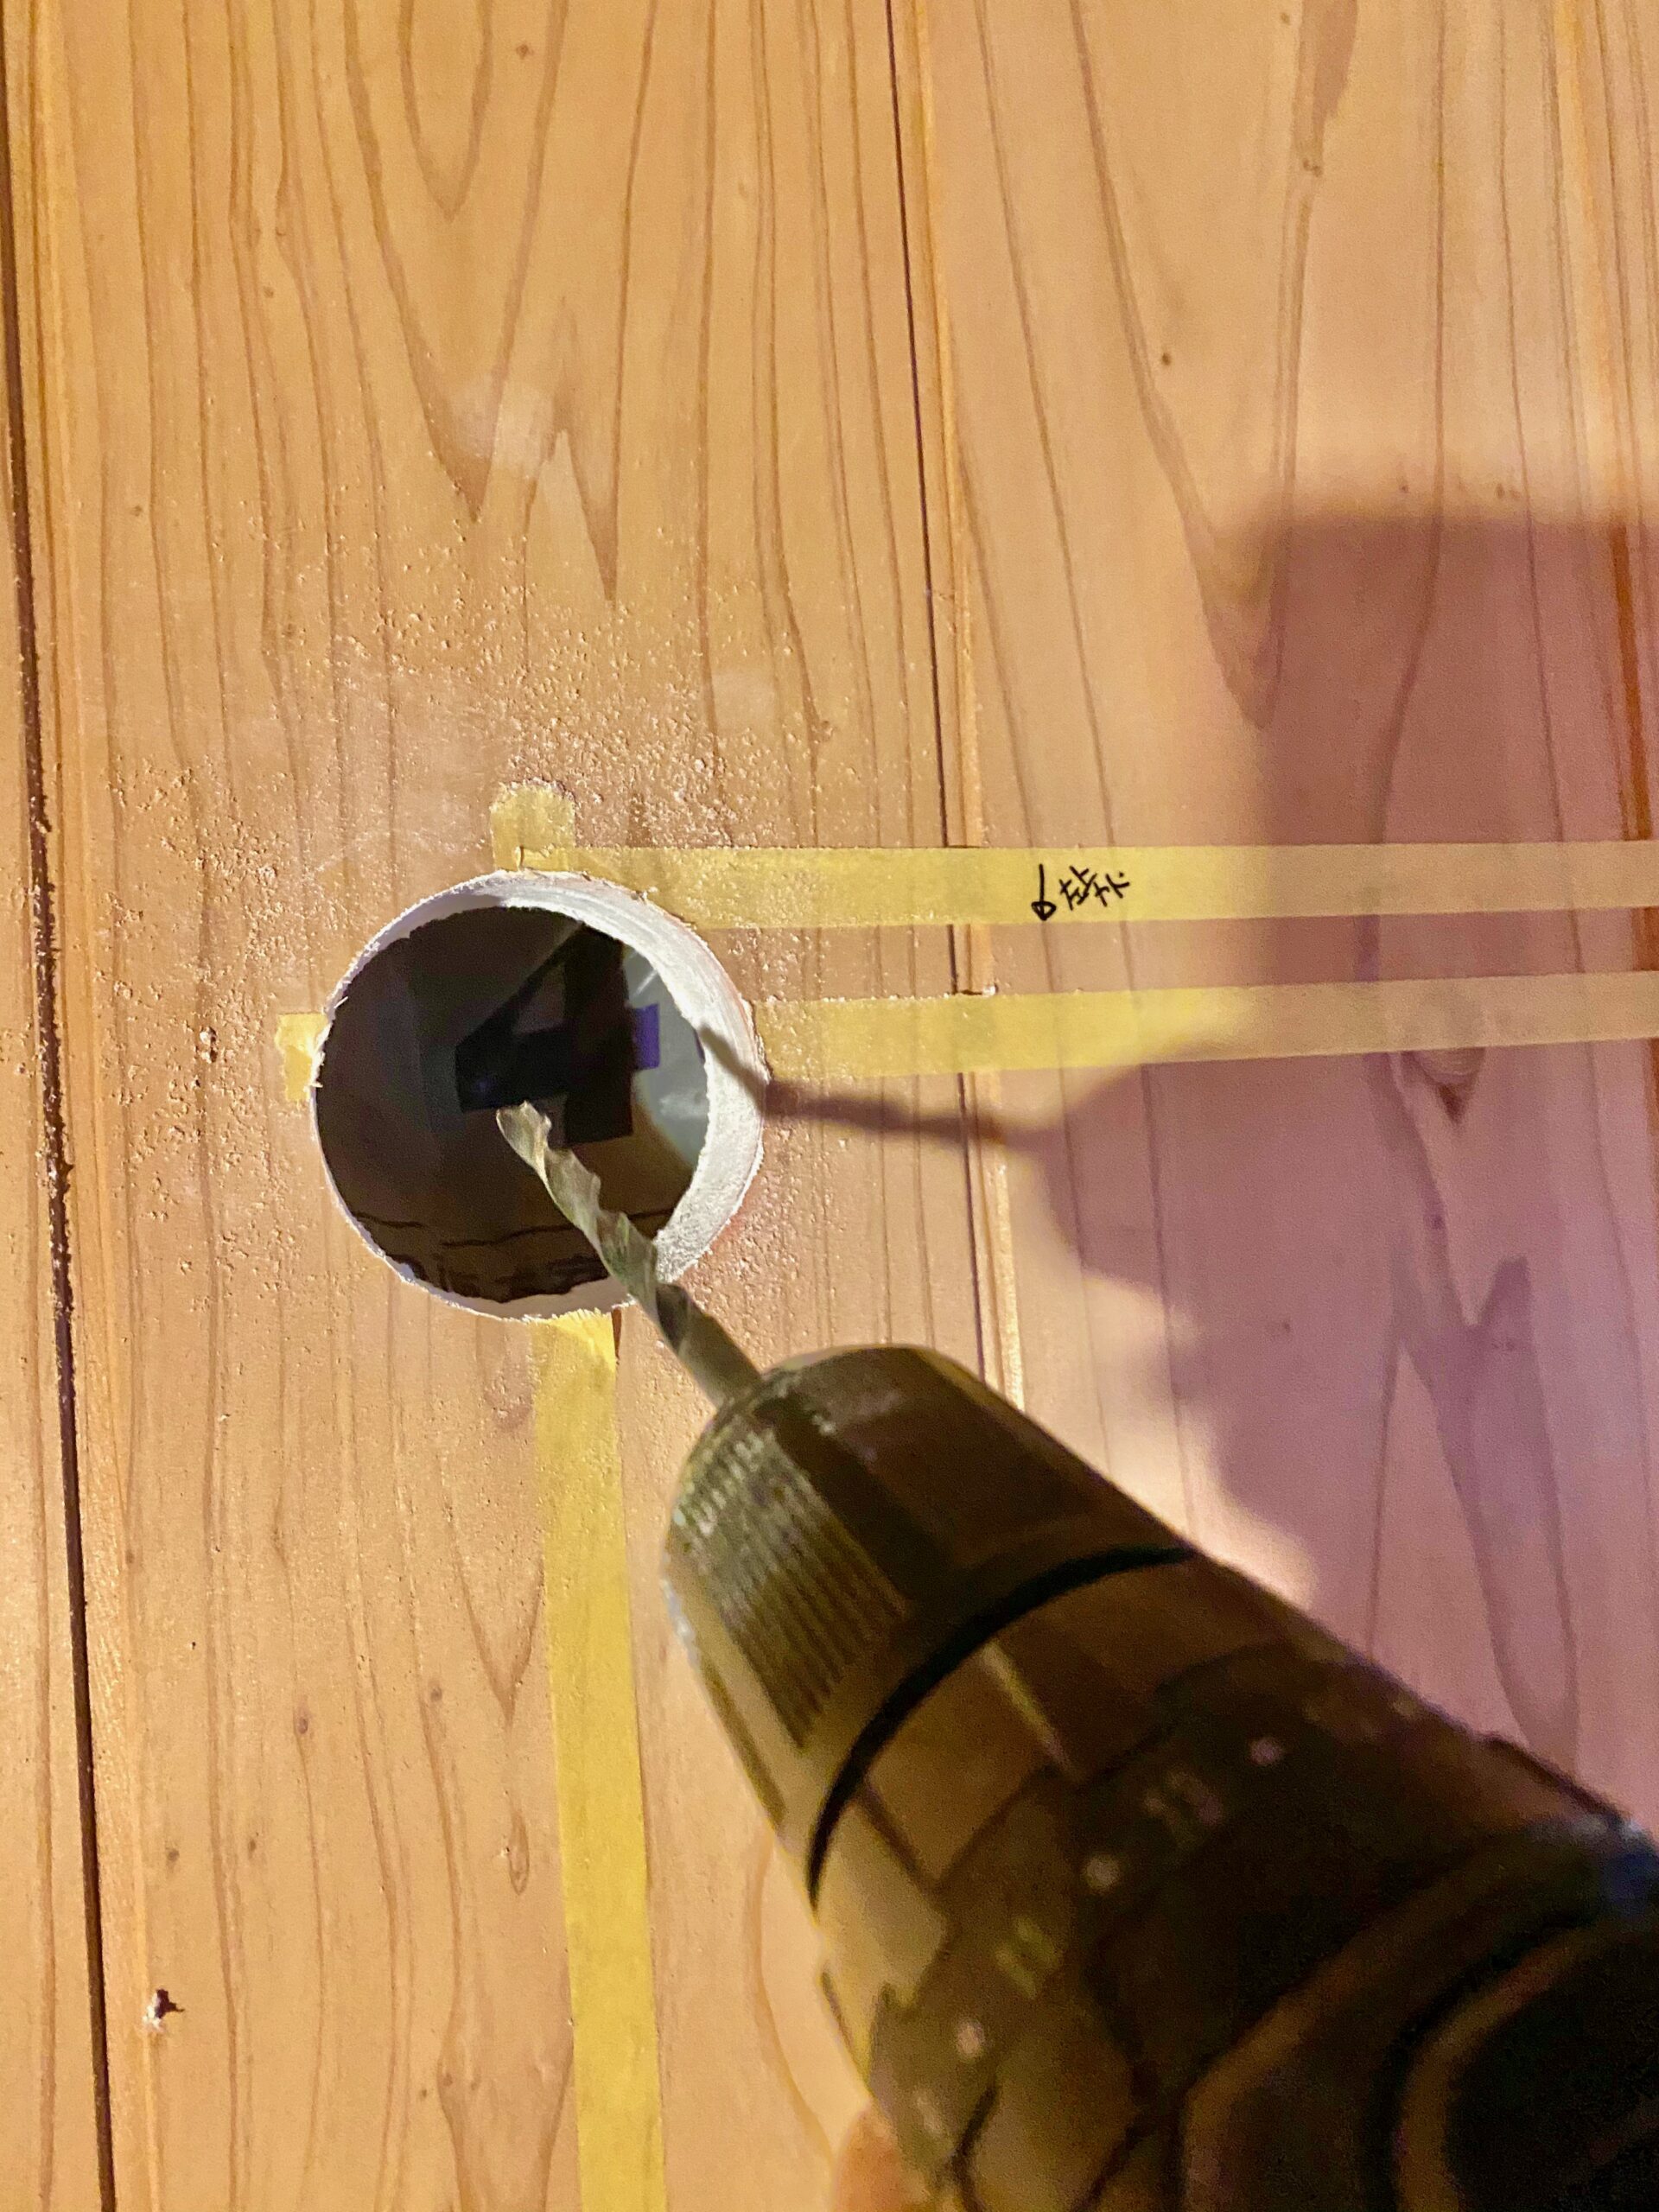
When I tried to drill through it, the drill kept pulling the plastic sheeting in, so I widened the hole by hand.
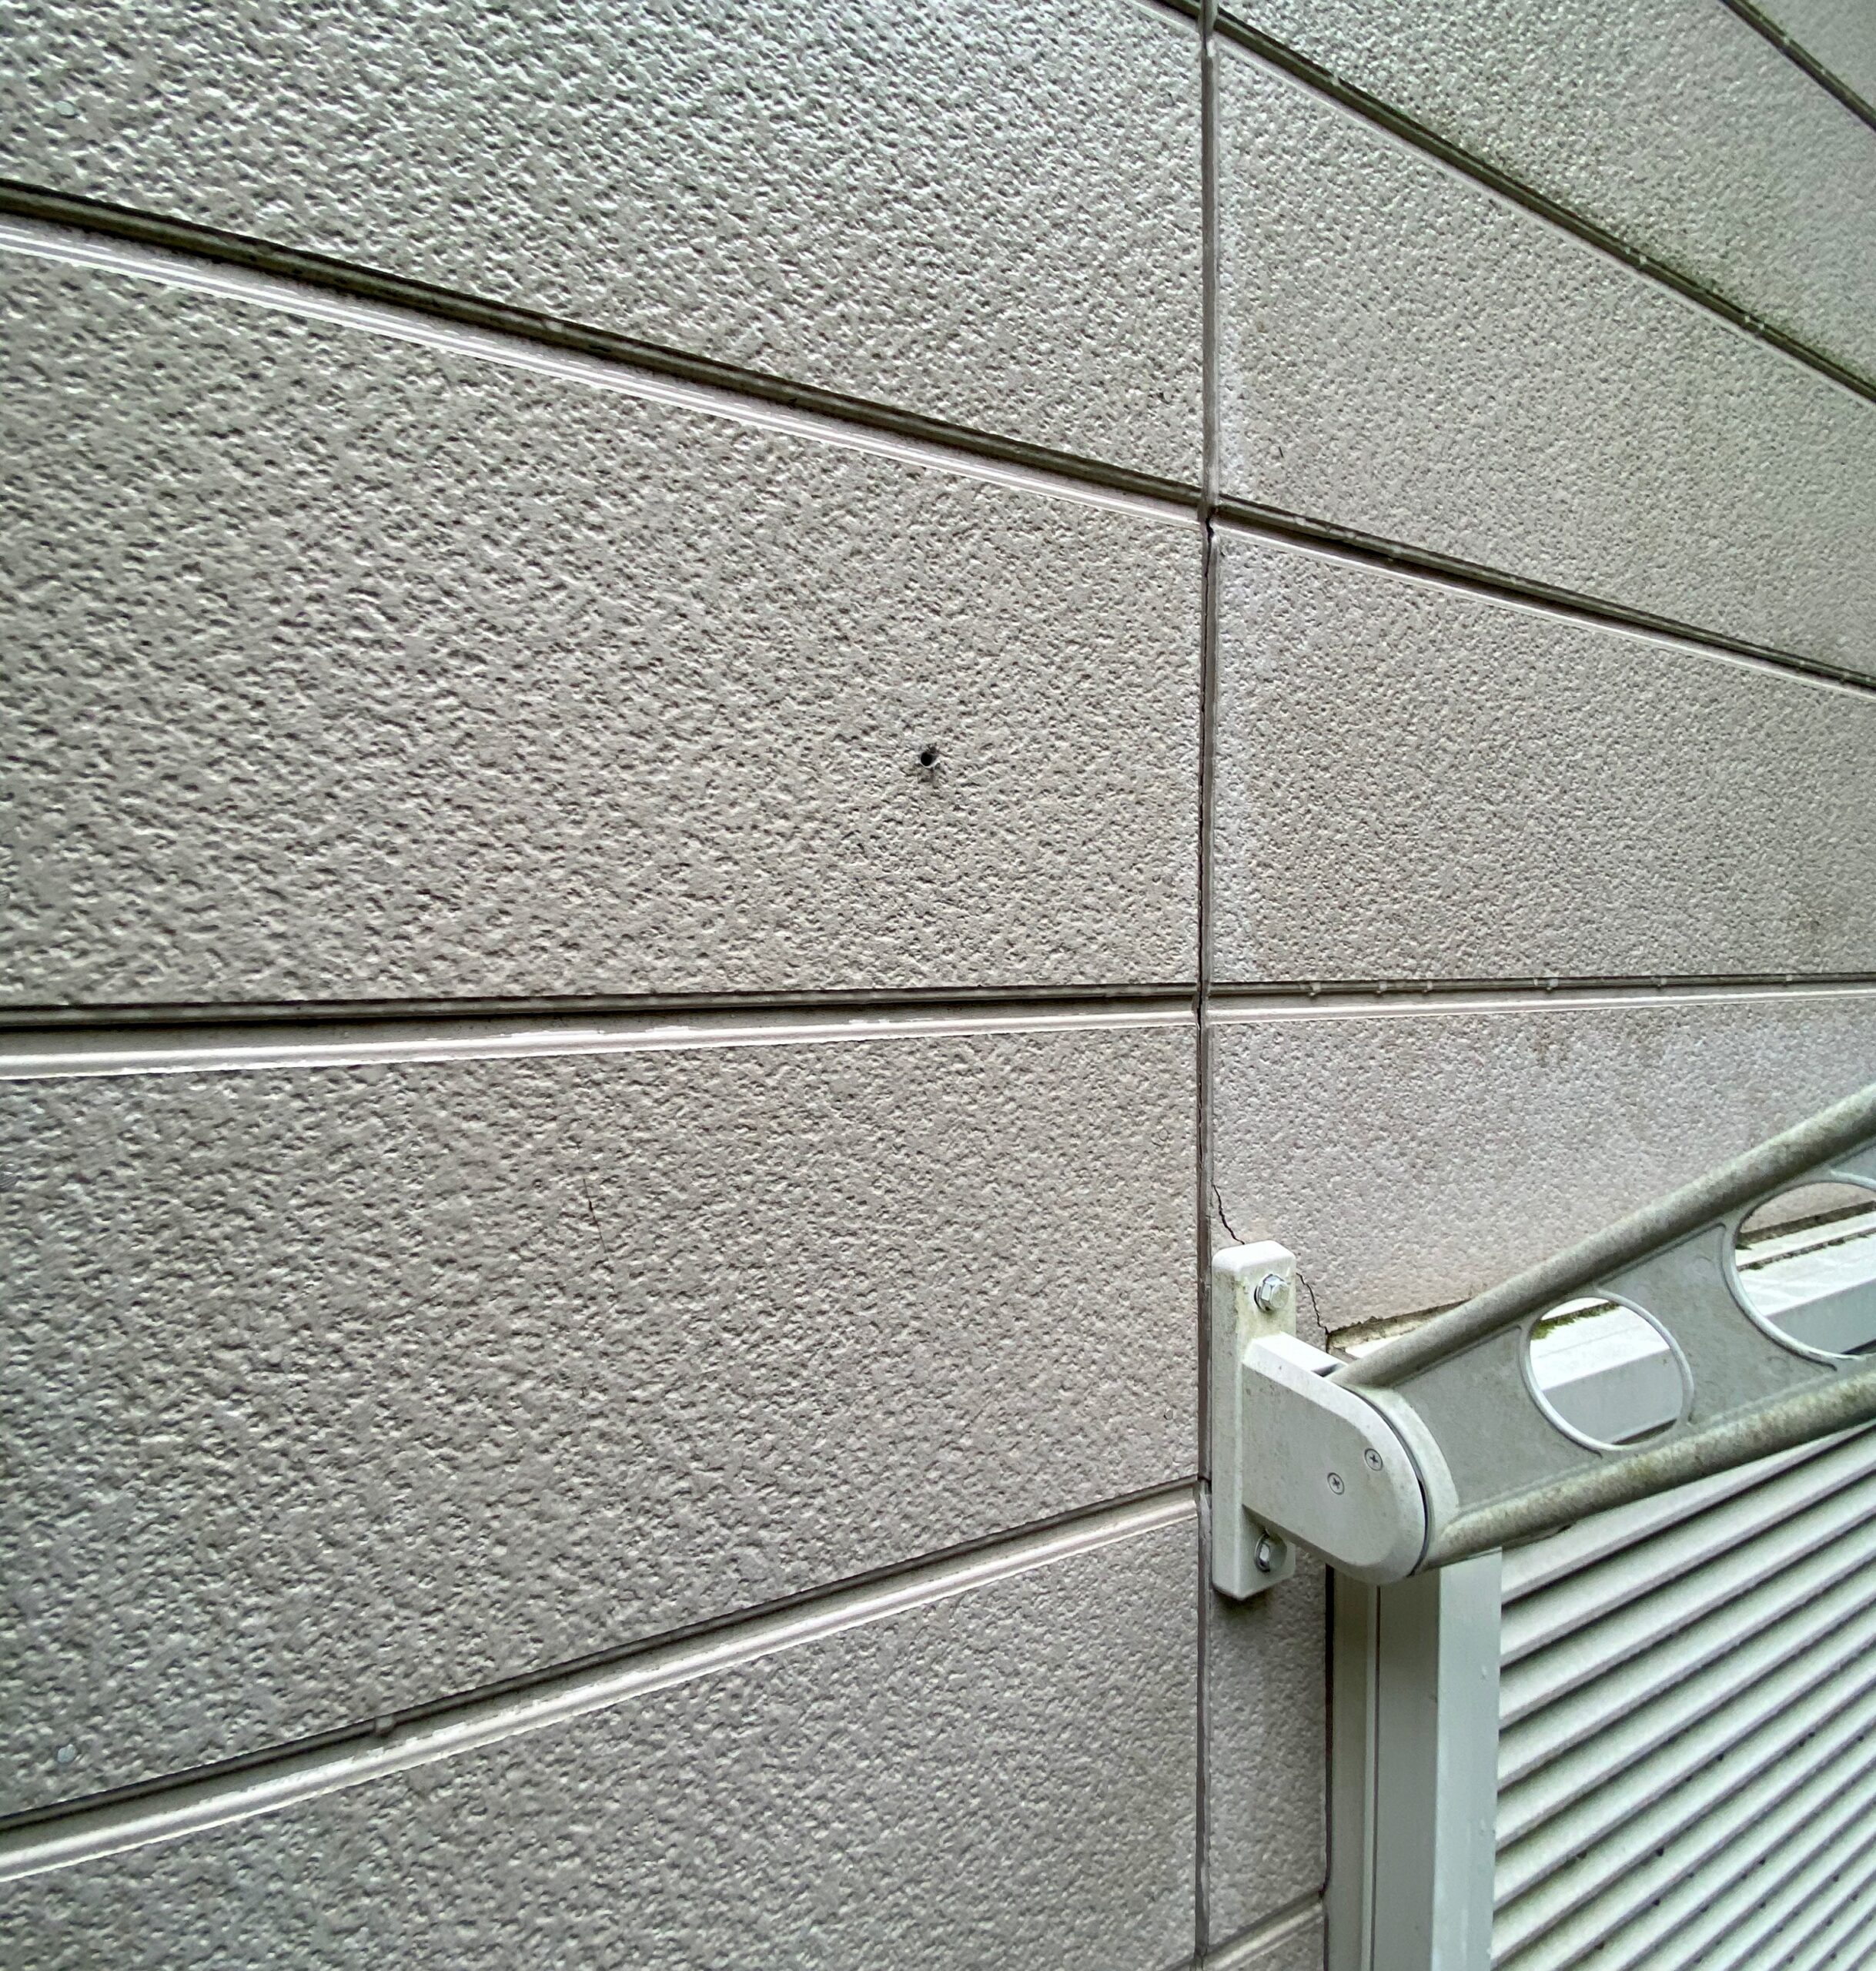
To cut the hole from the balcony side as well, drill a guide hole at the center. The hose needs to slope downward, so make this hole slightly lower.
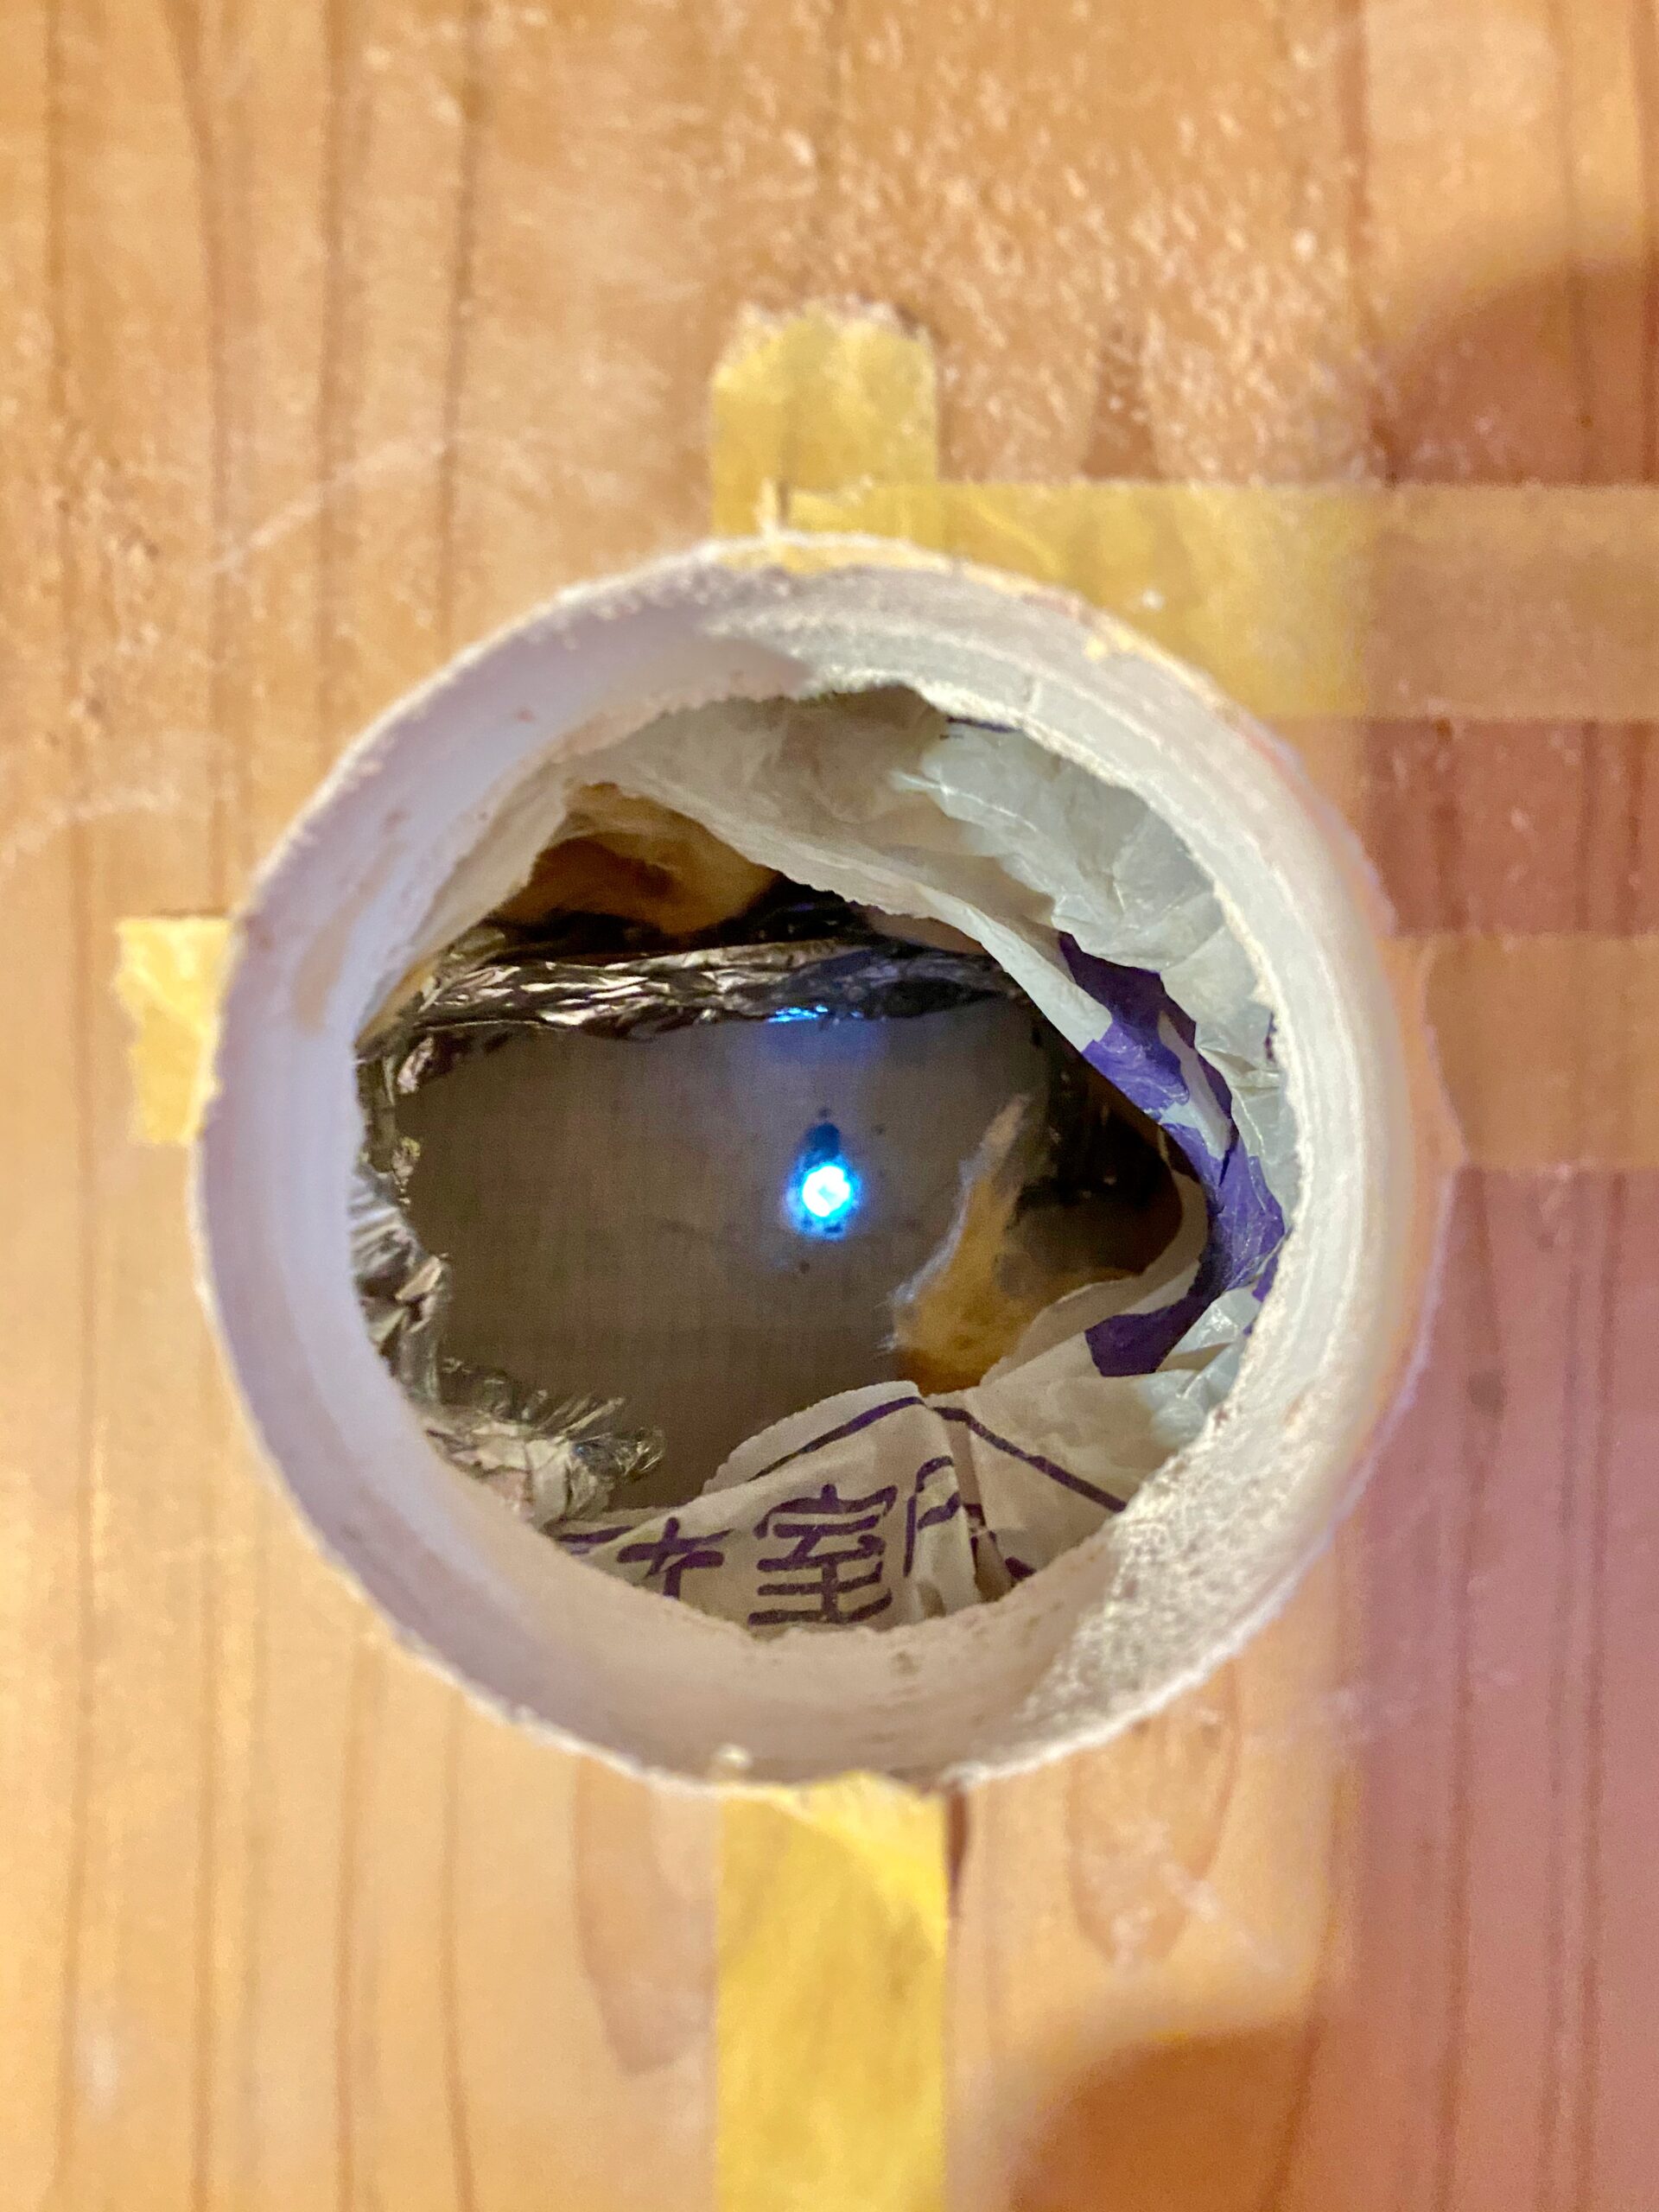
You can see through to the other side, and outside air comes in.
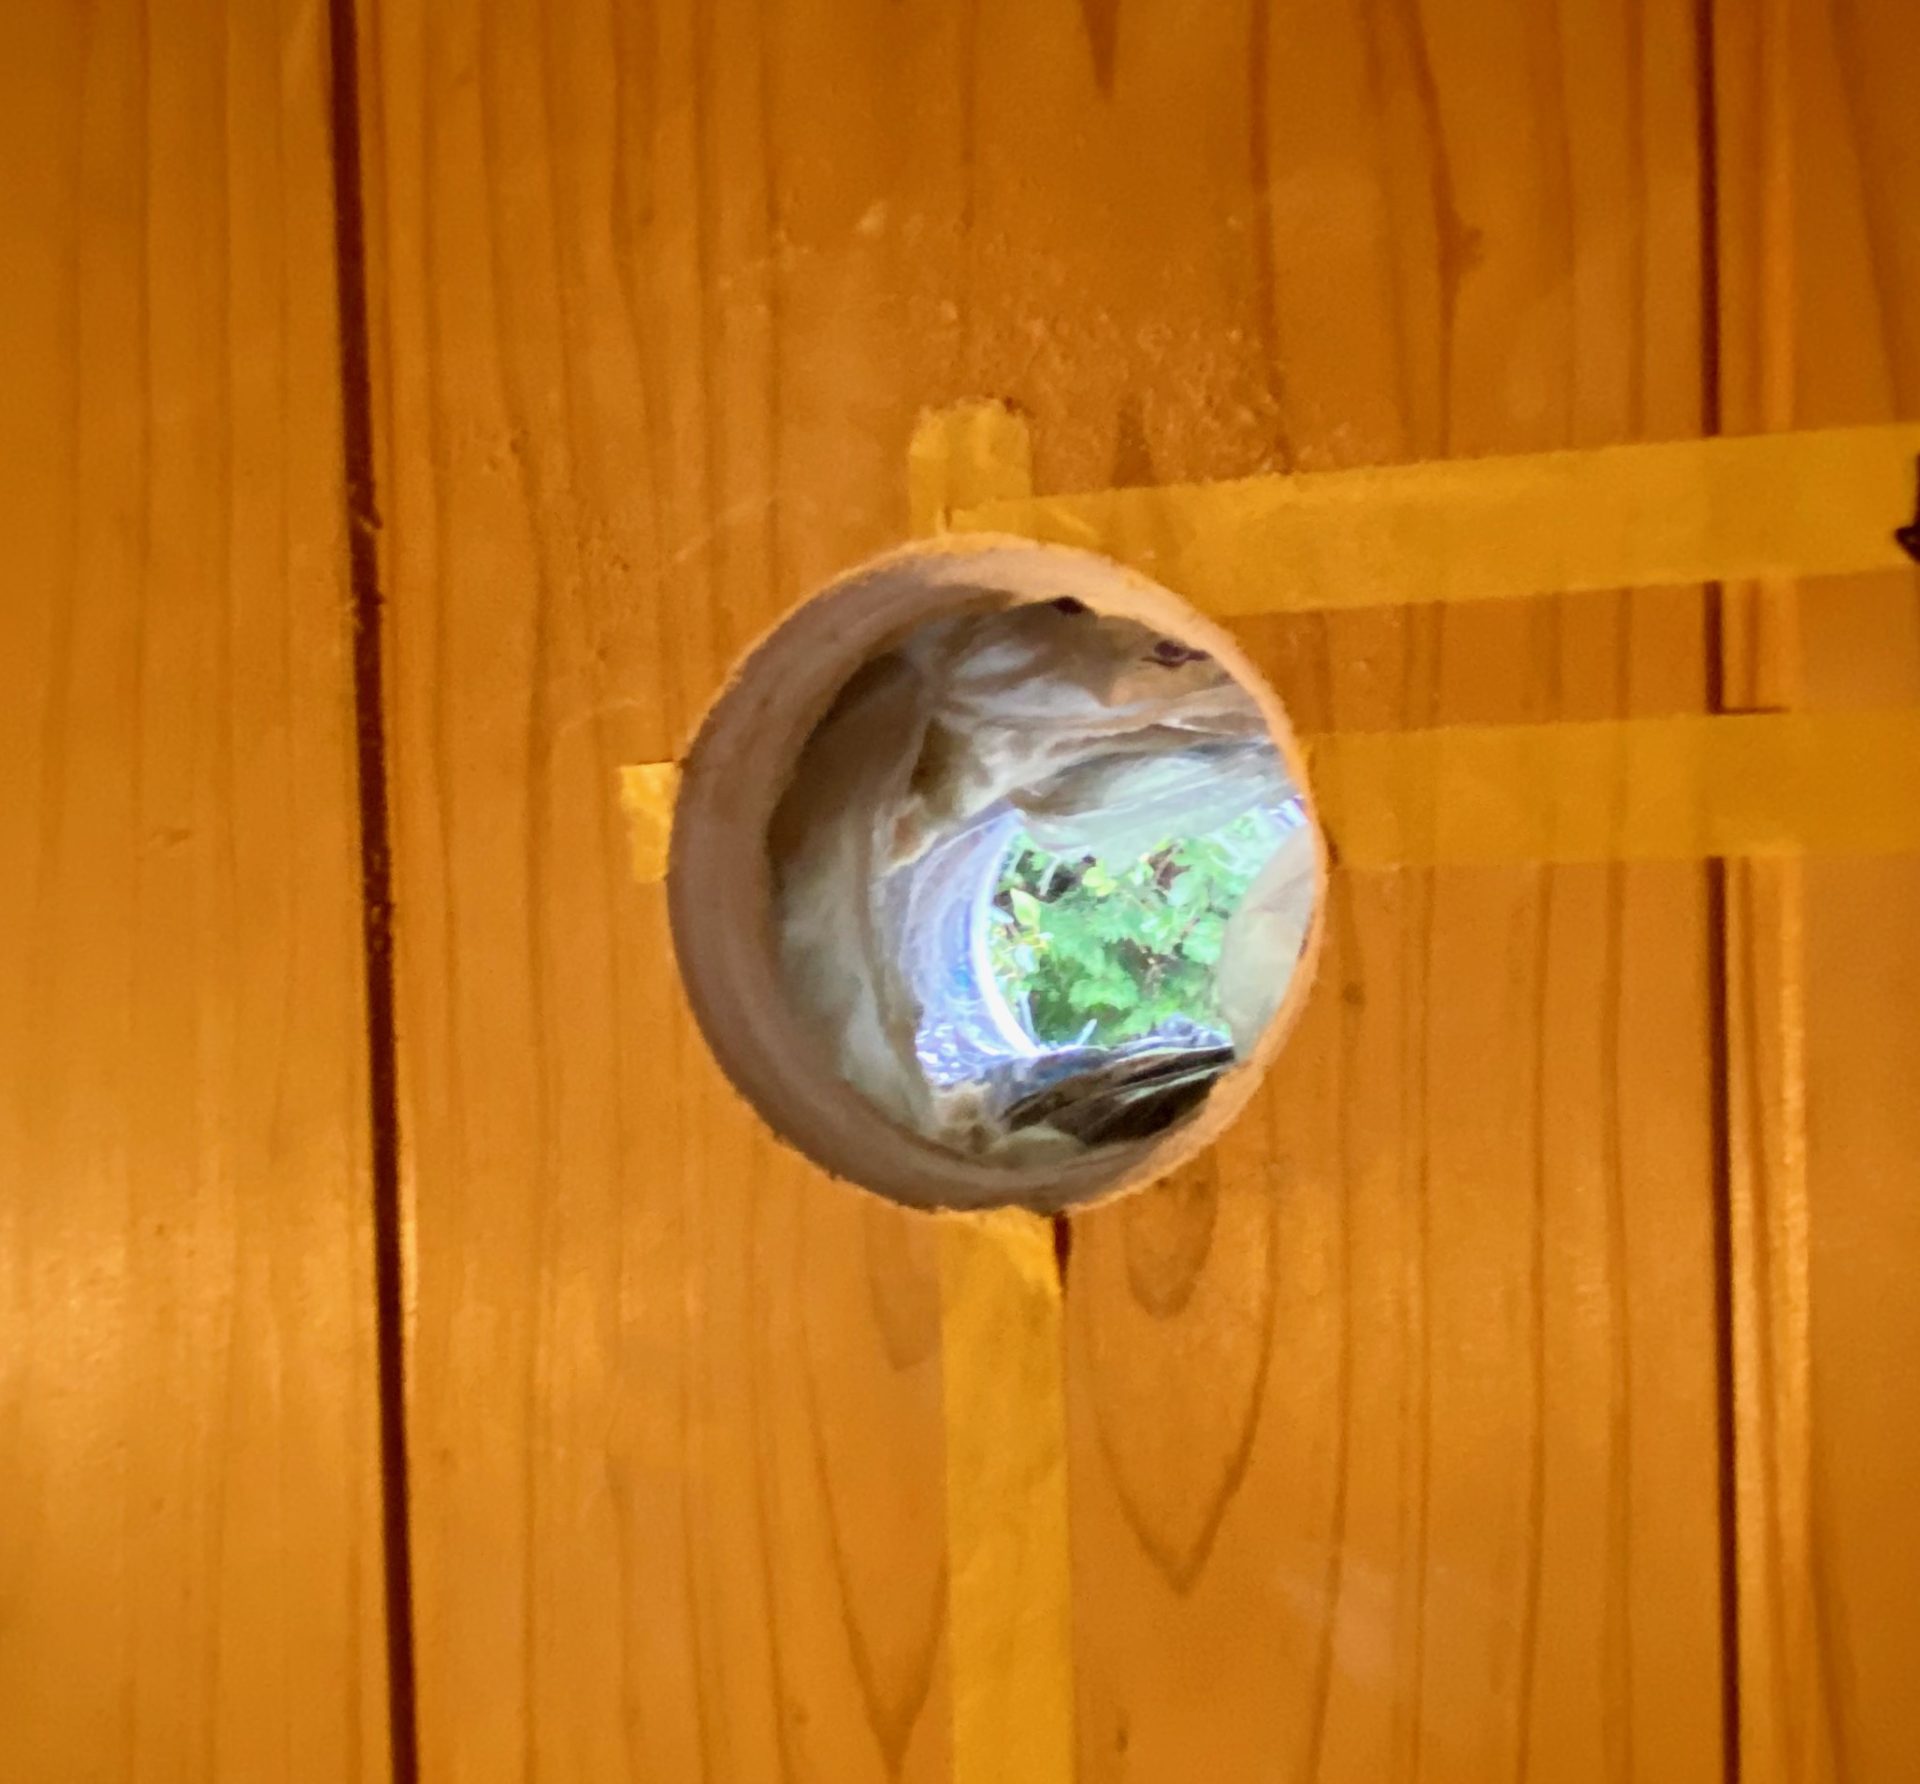
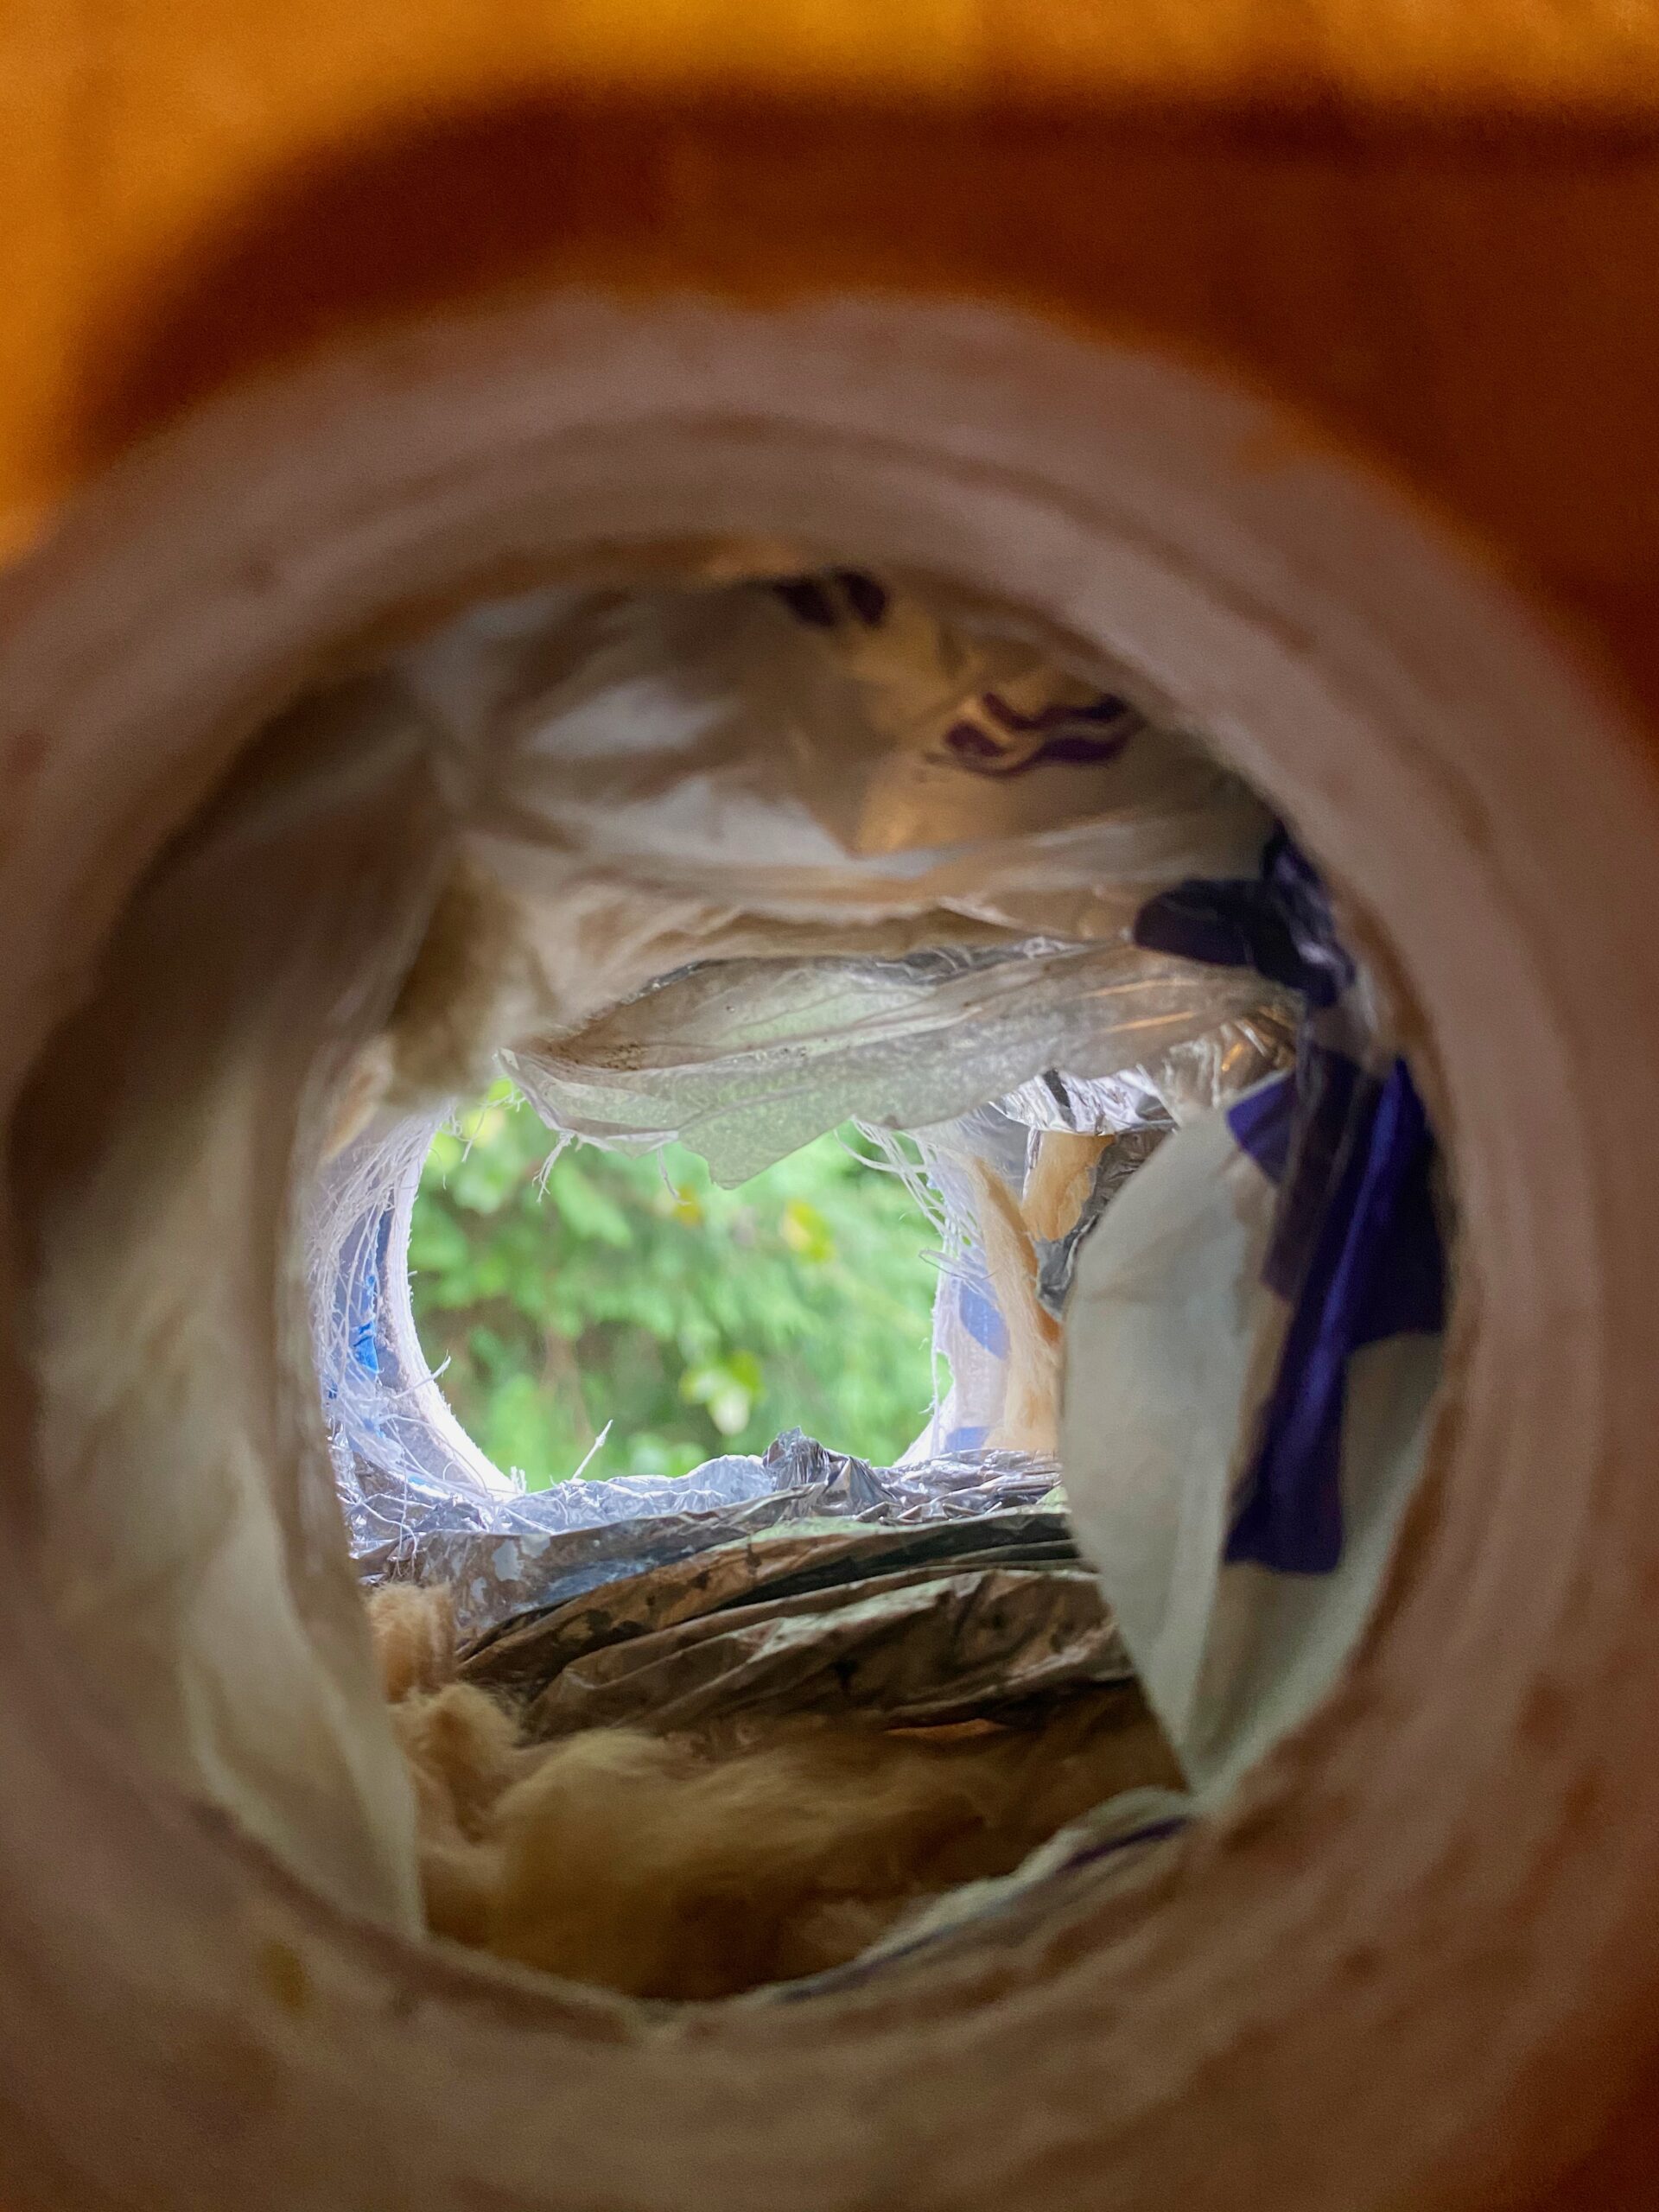
The hole through the exterior wall is done.
With the hole made, tape up the mounting bracket for the Karaie, whose position relative to the hole is fixed.
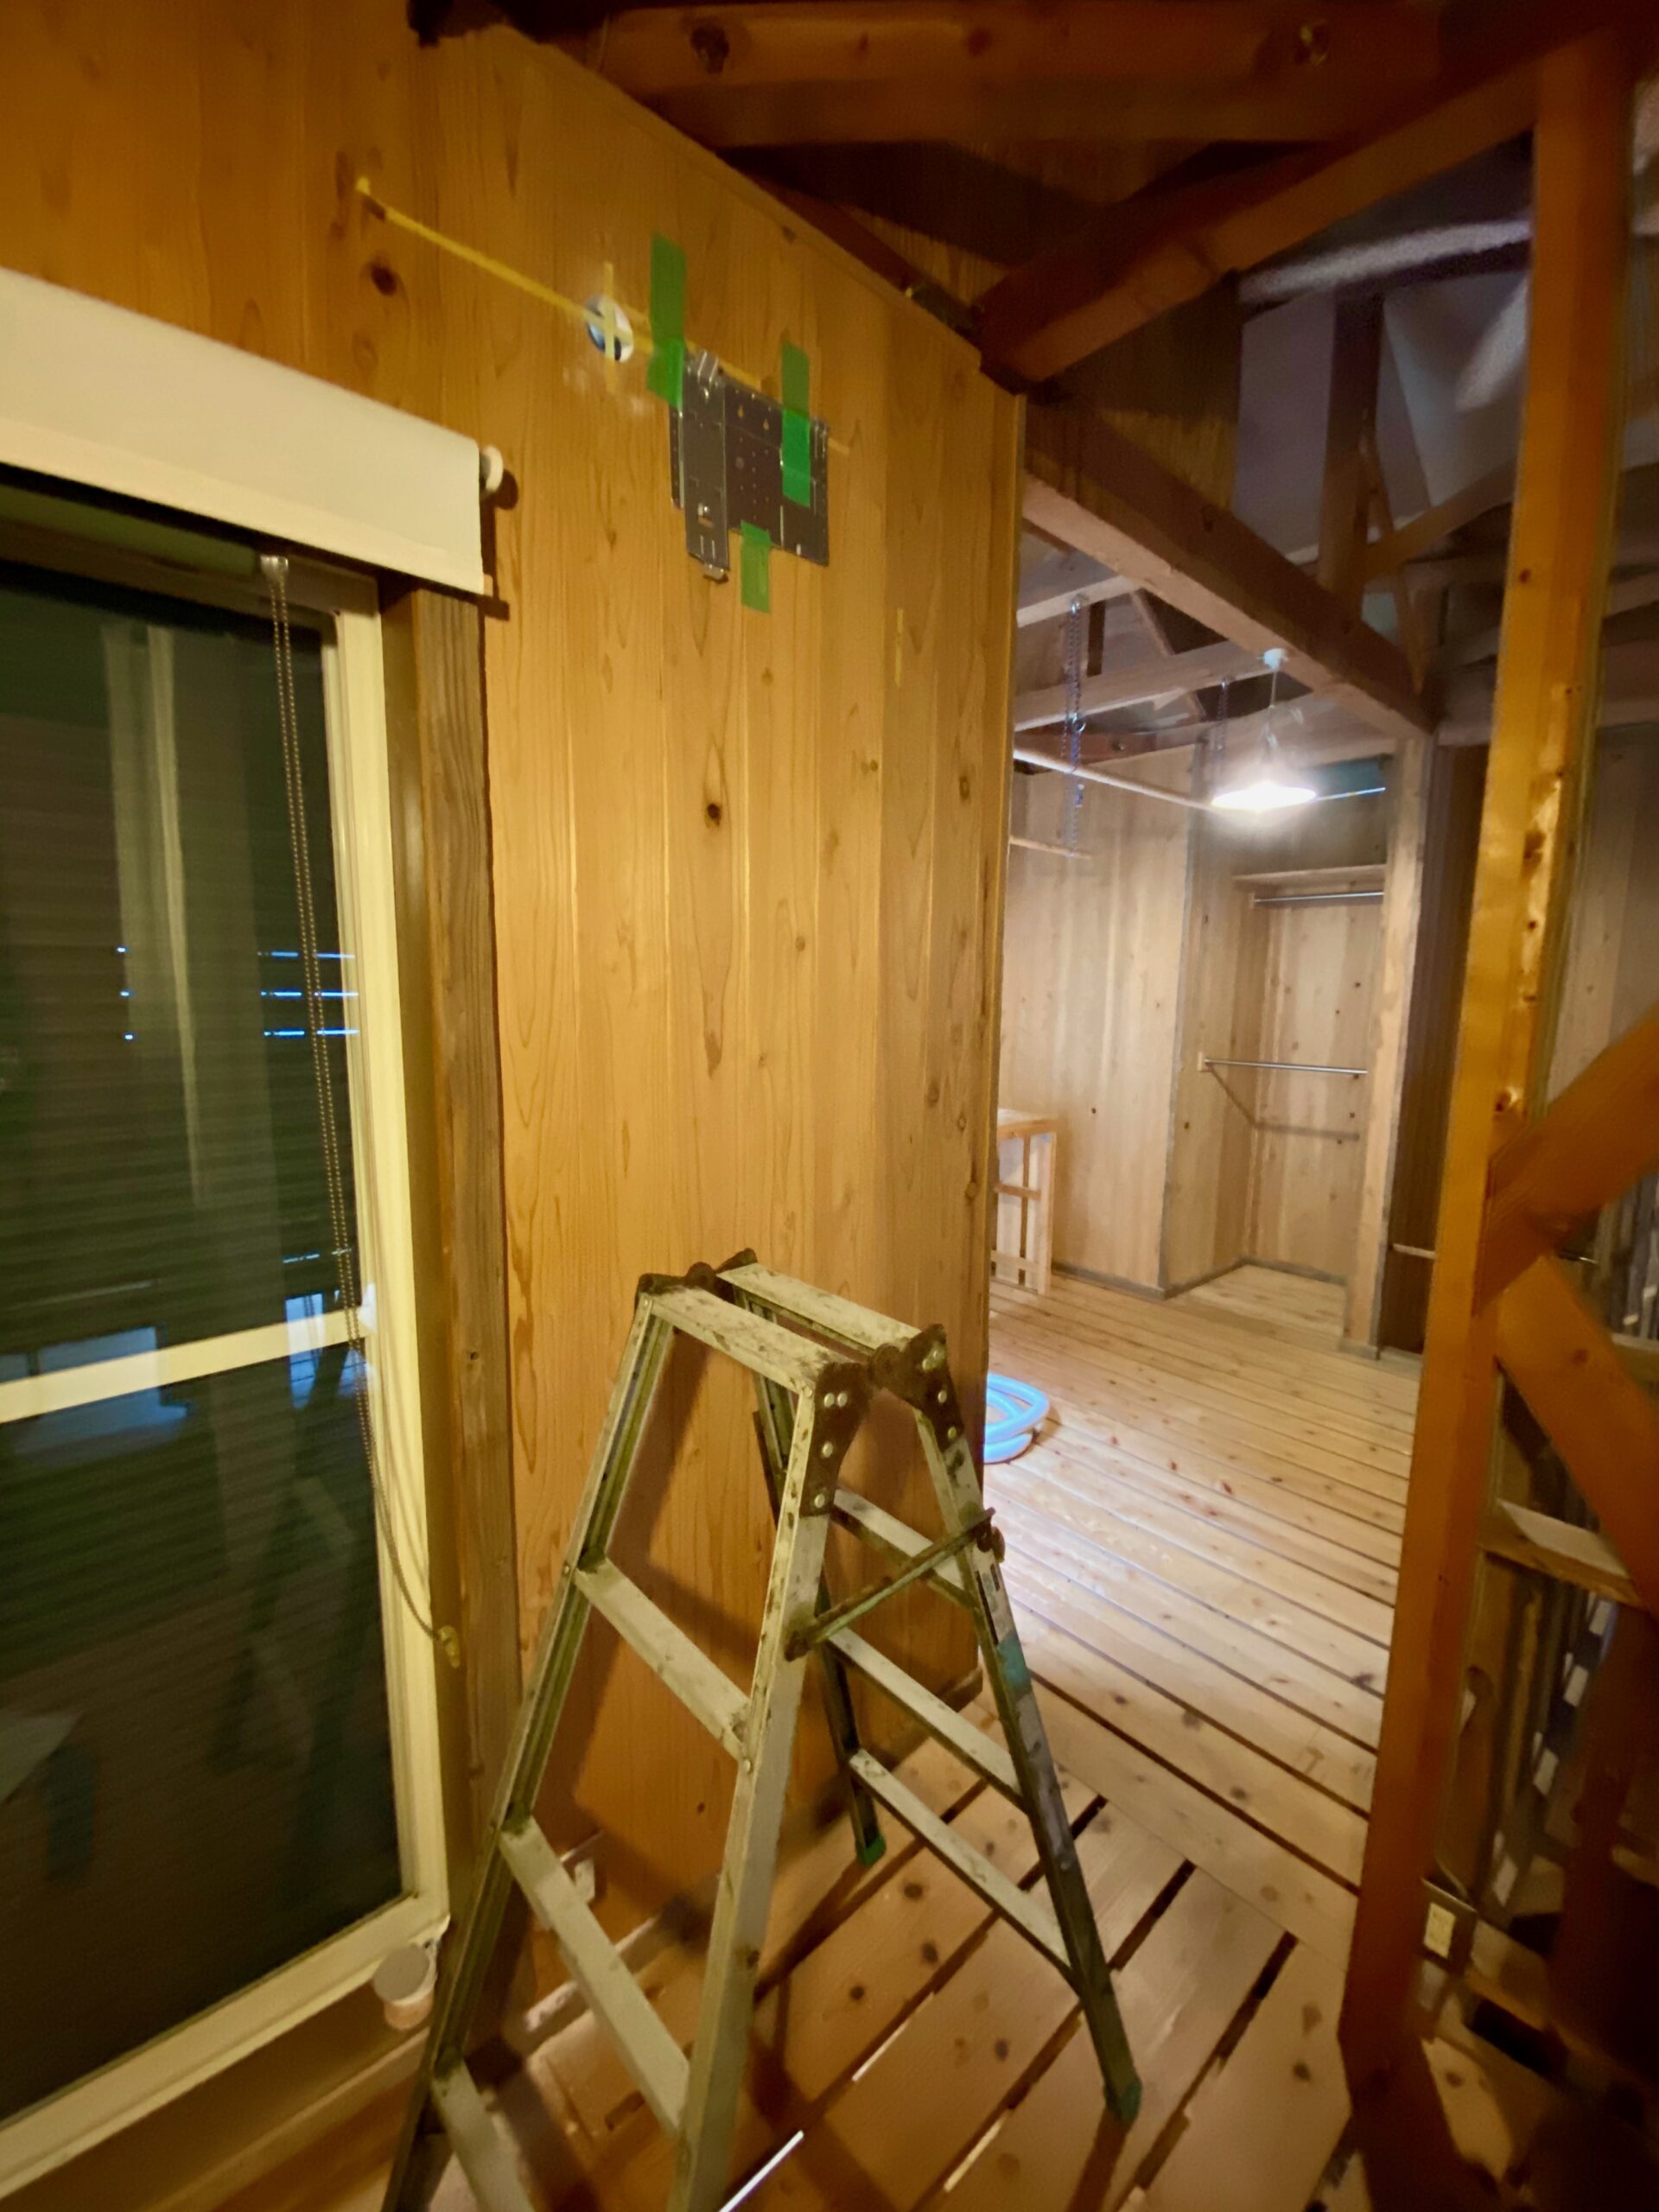
Hold it in place with painter’s tape.
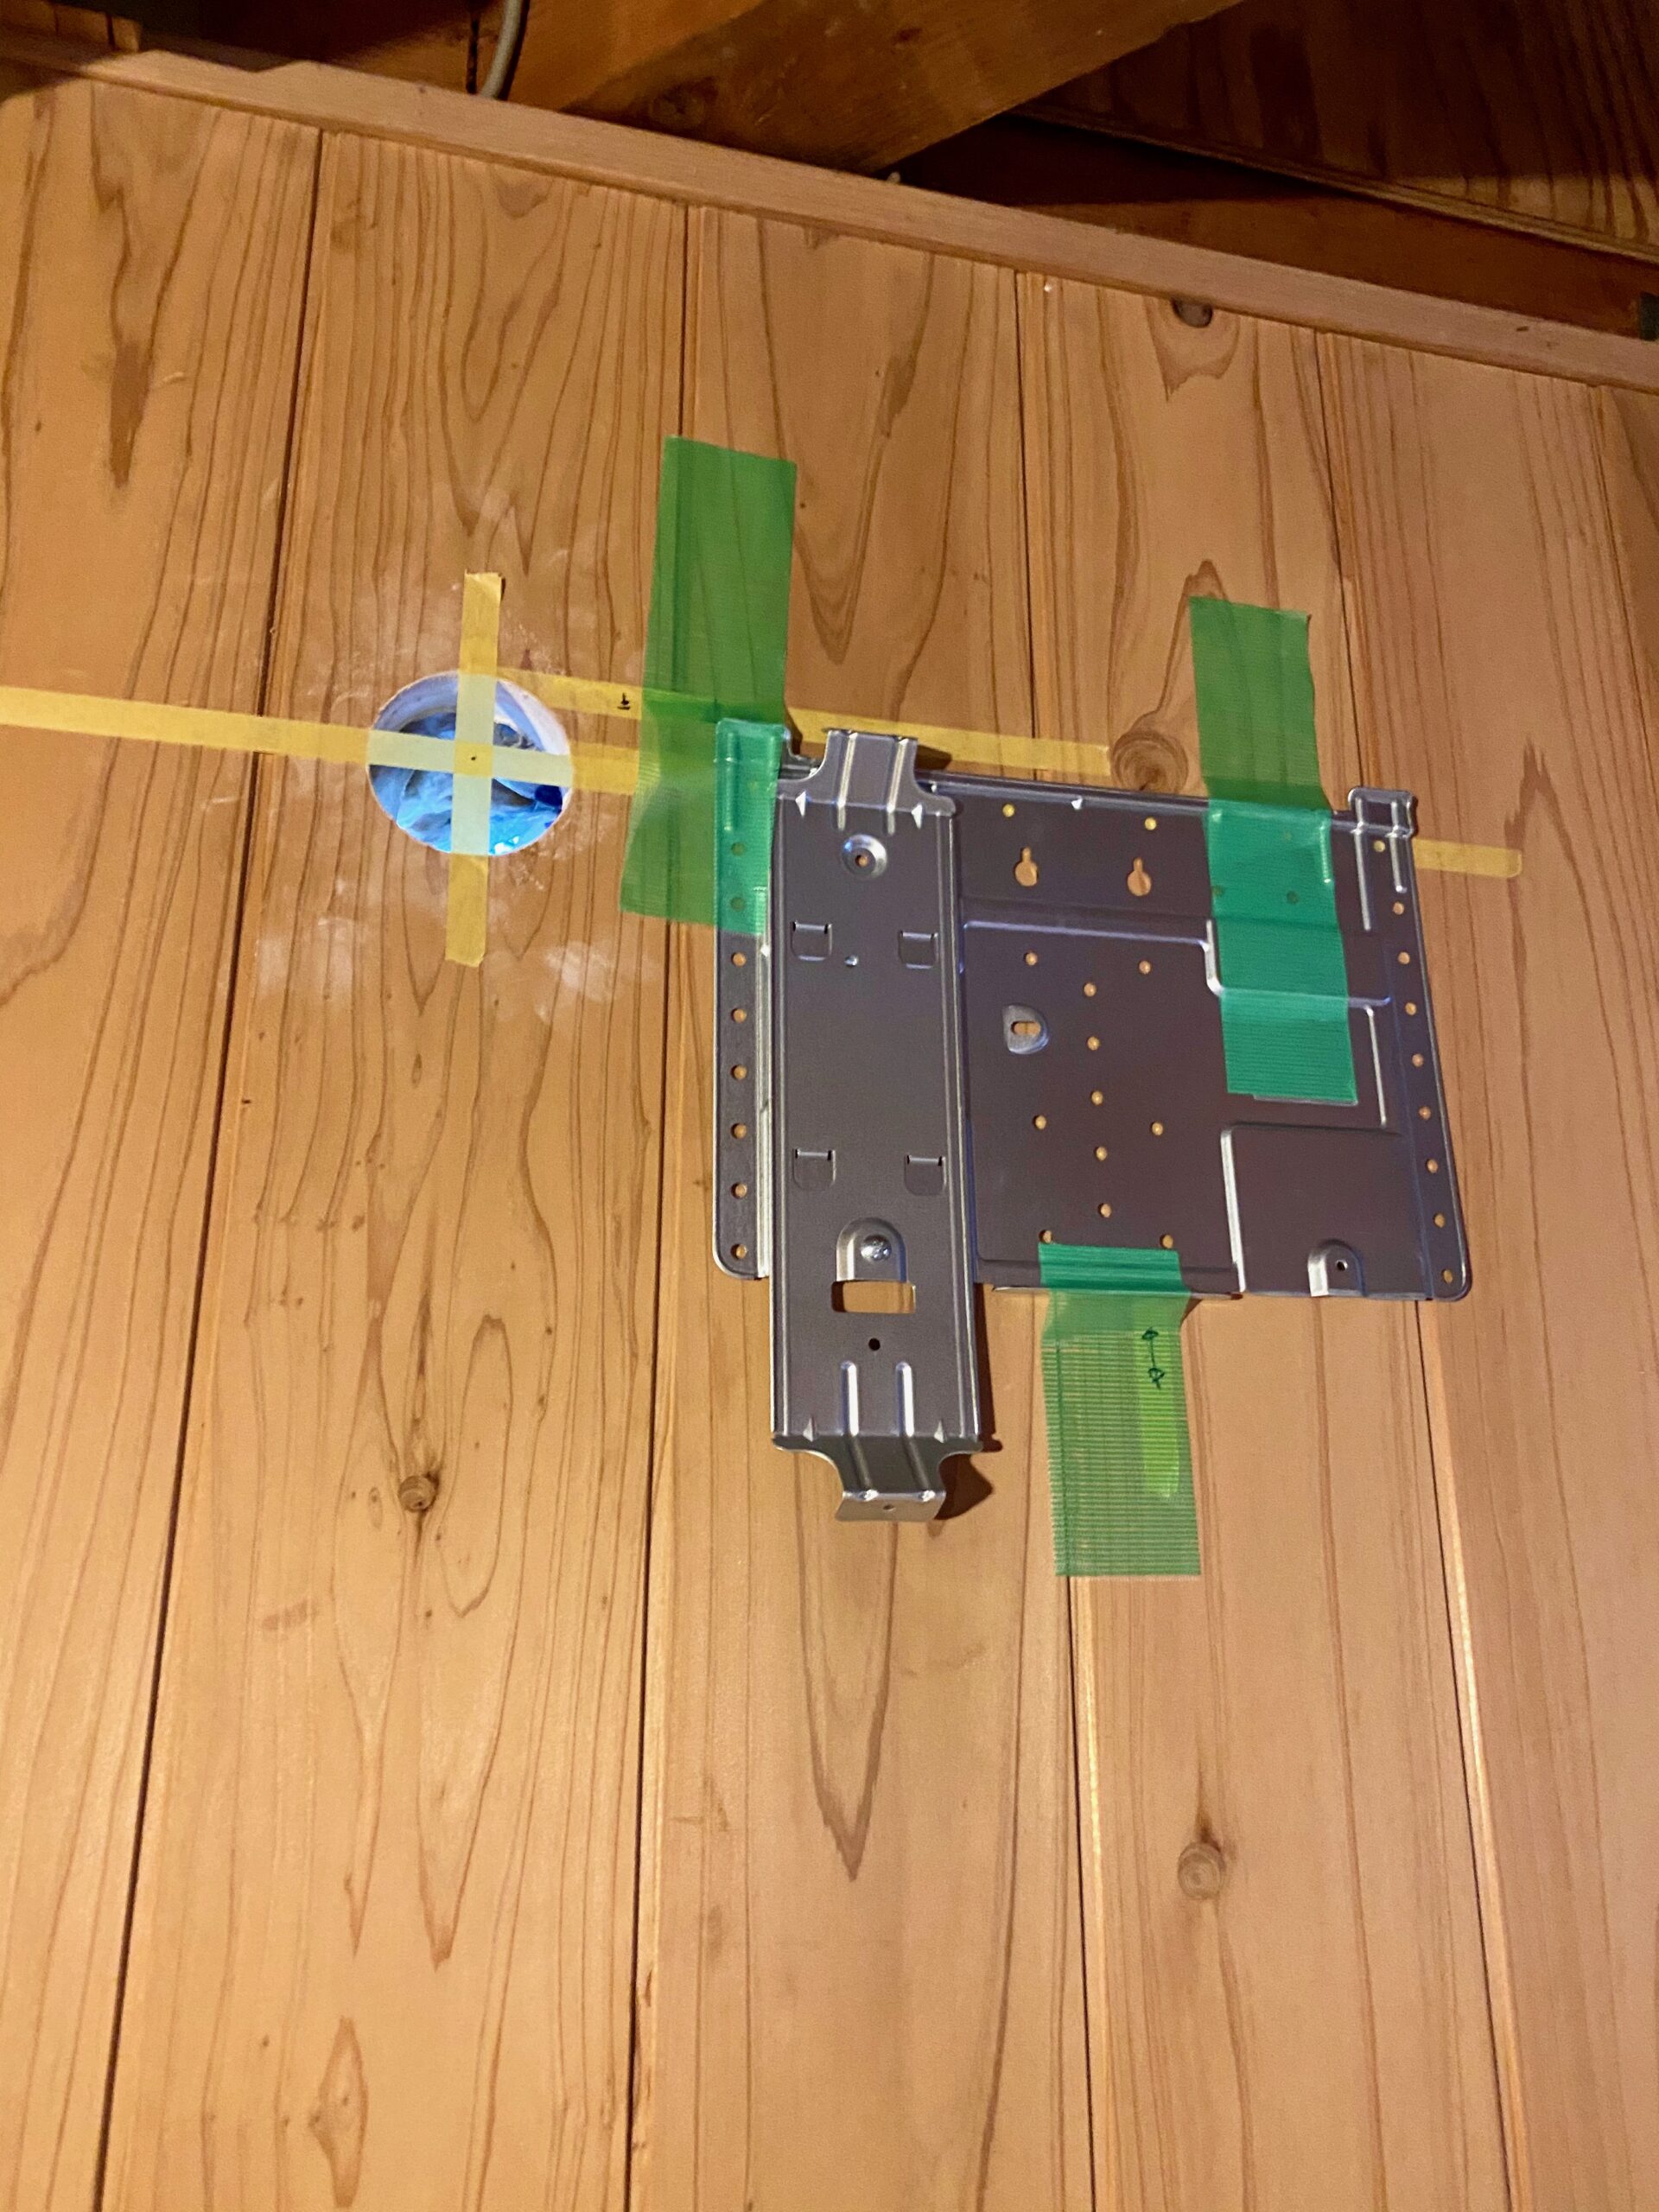
Screw it down, positioned exactly as shown in the manual.
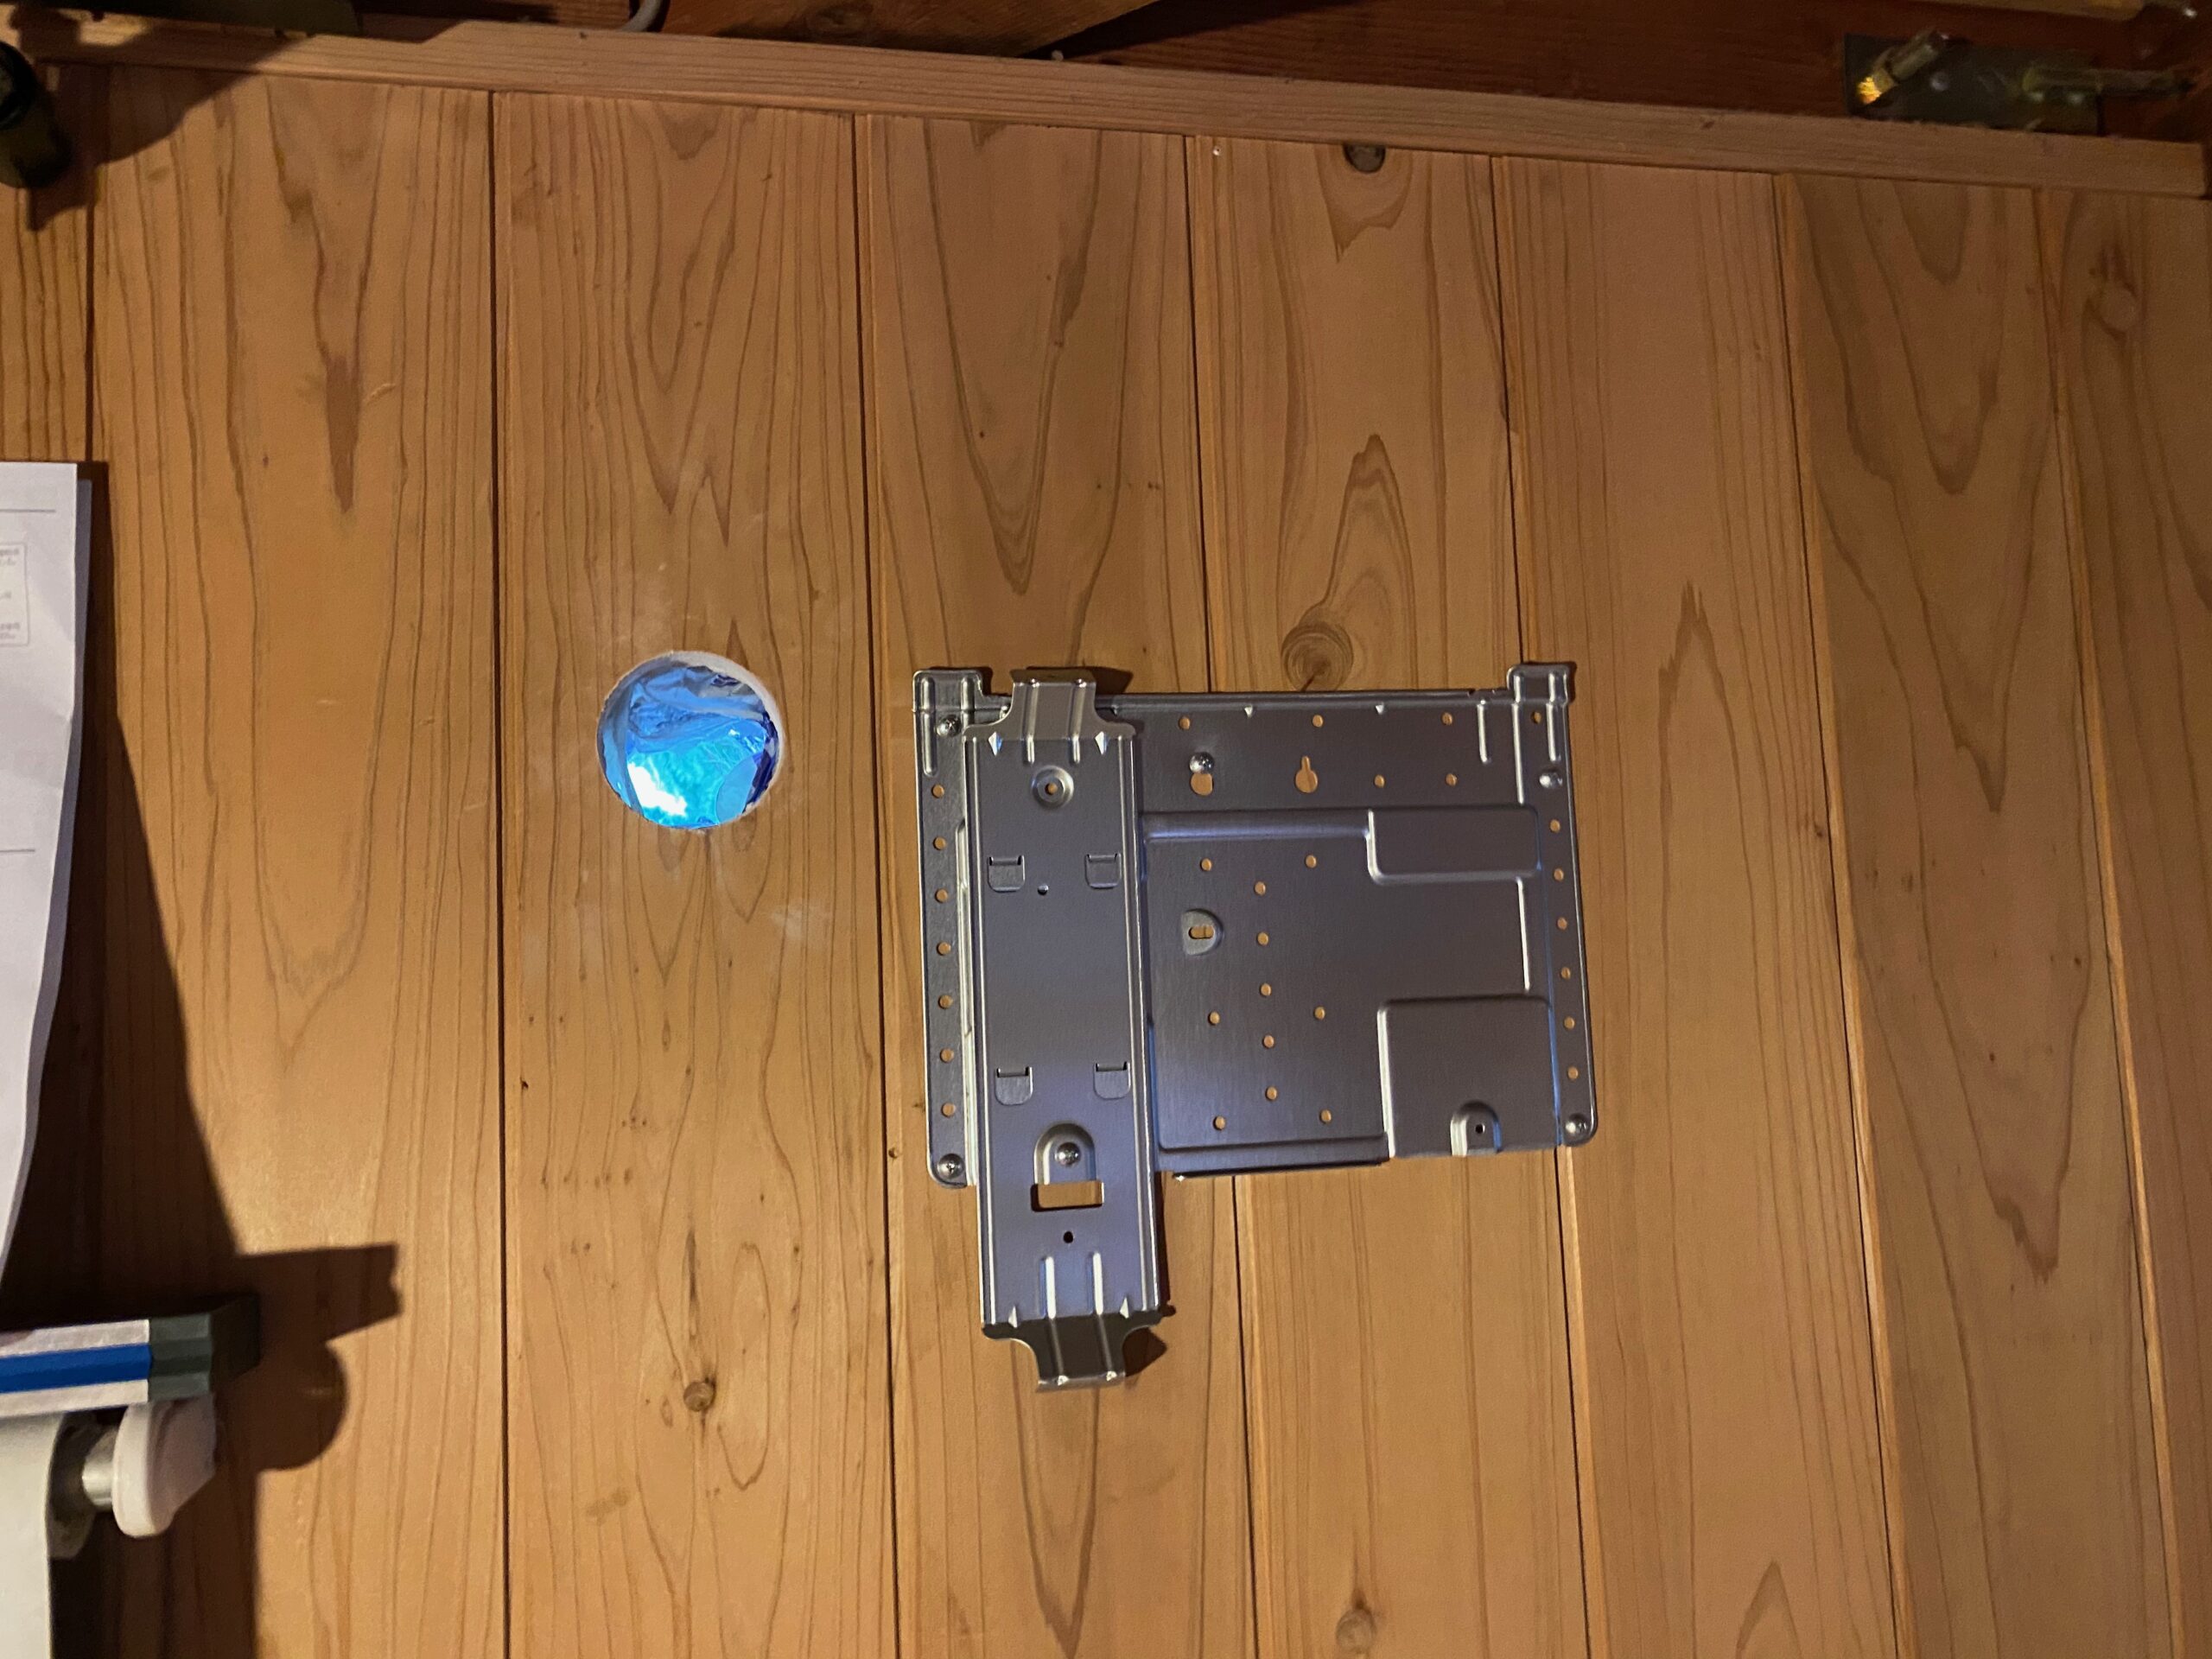
I removed the masking tape.
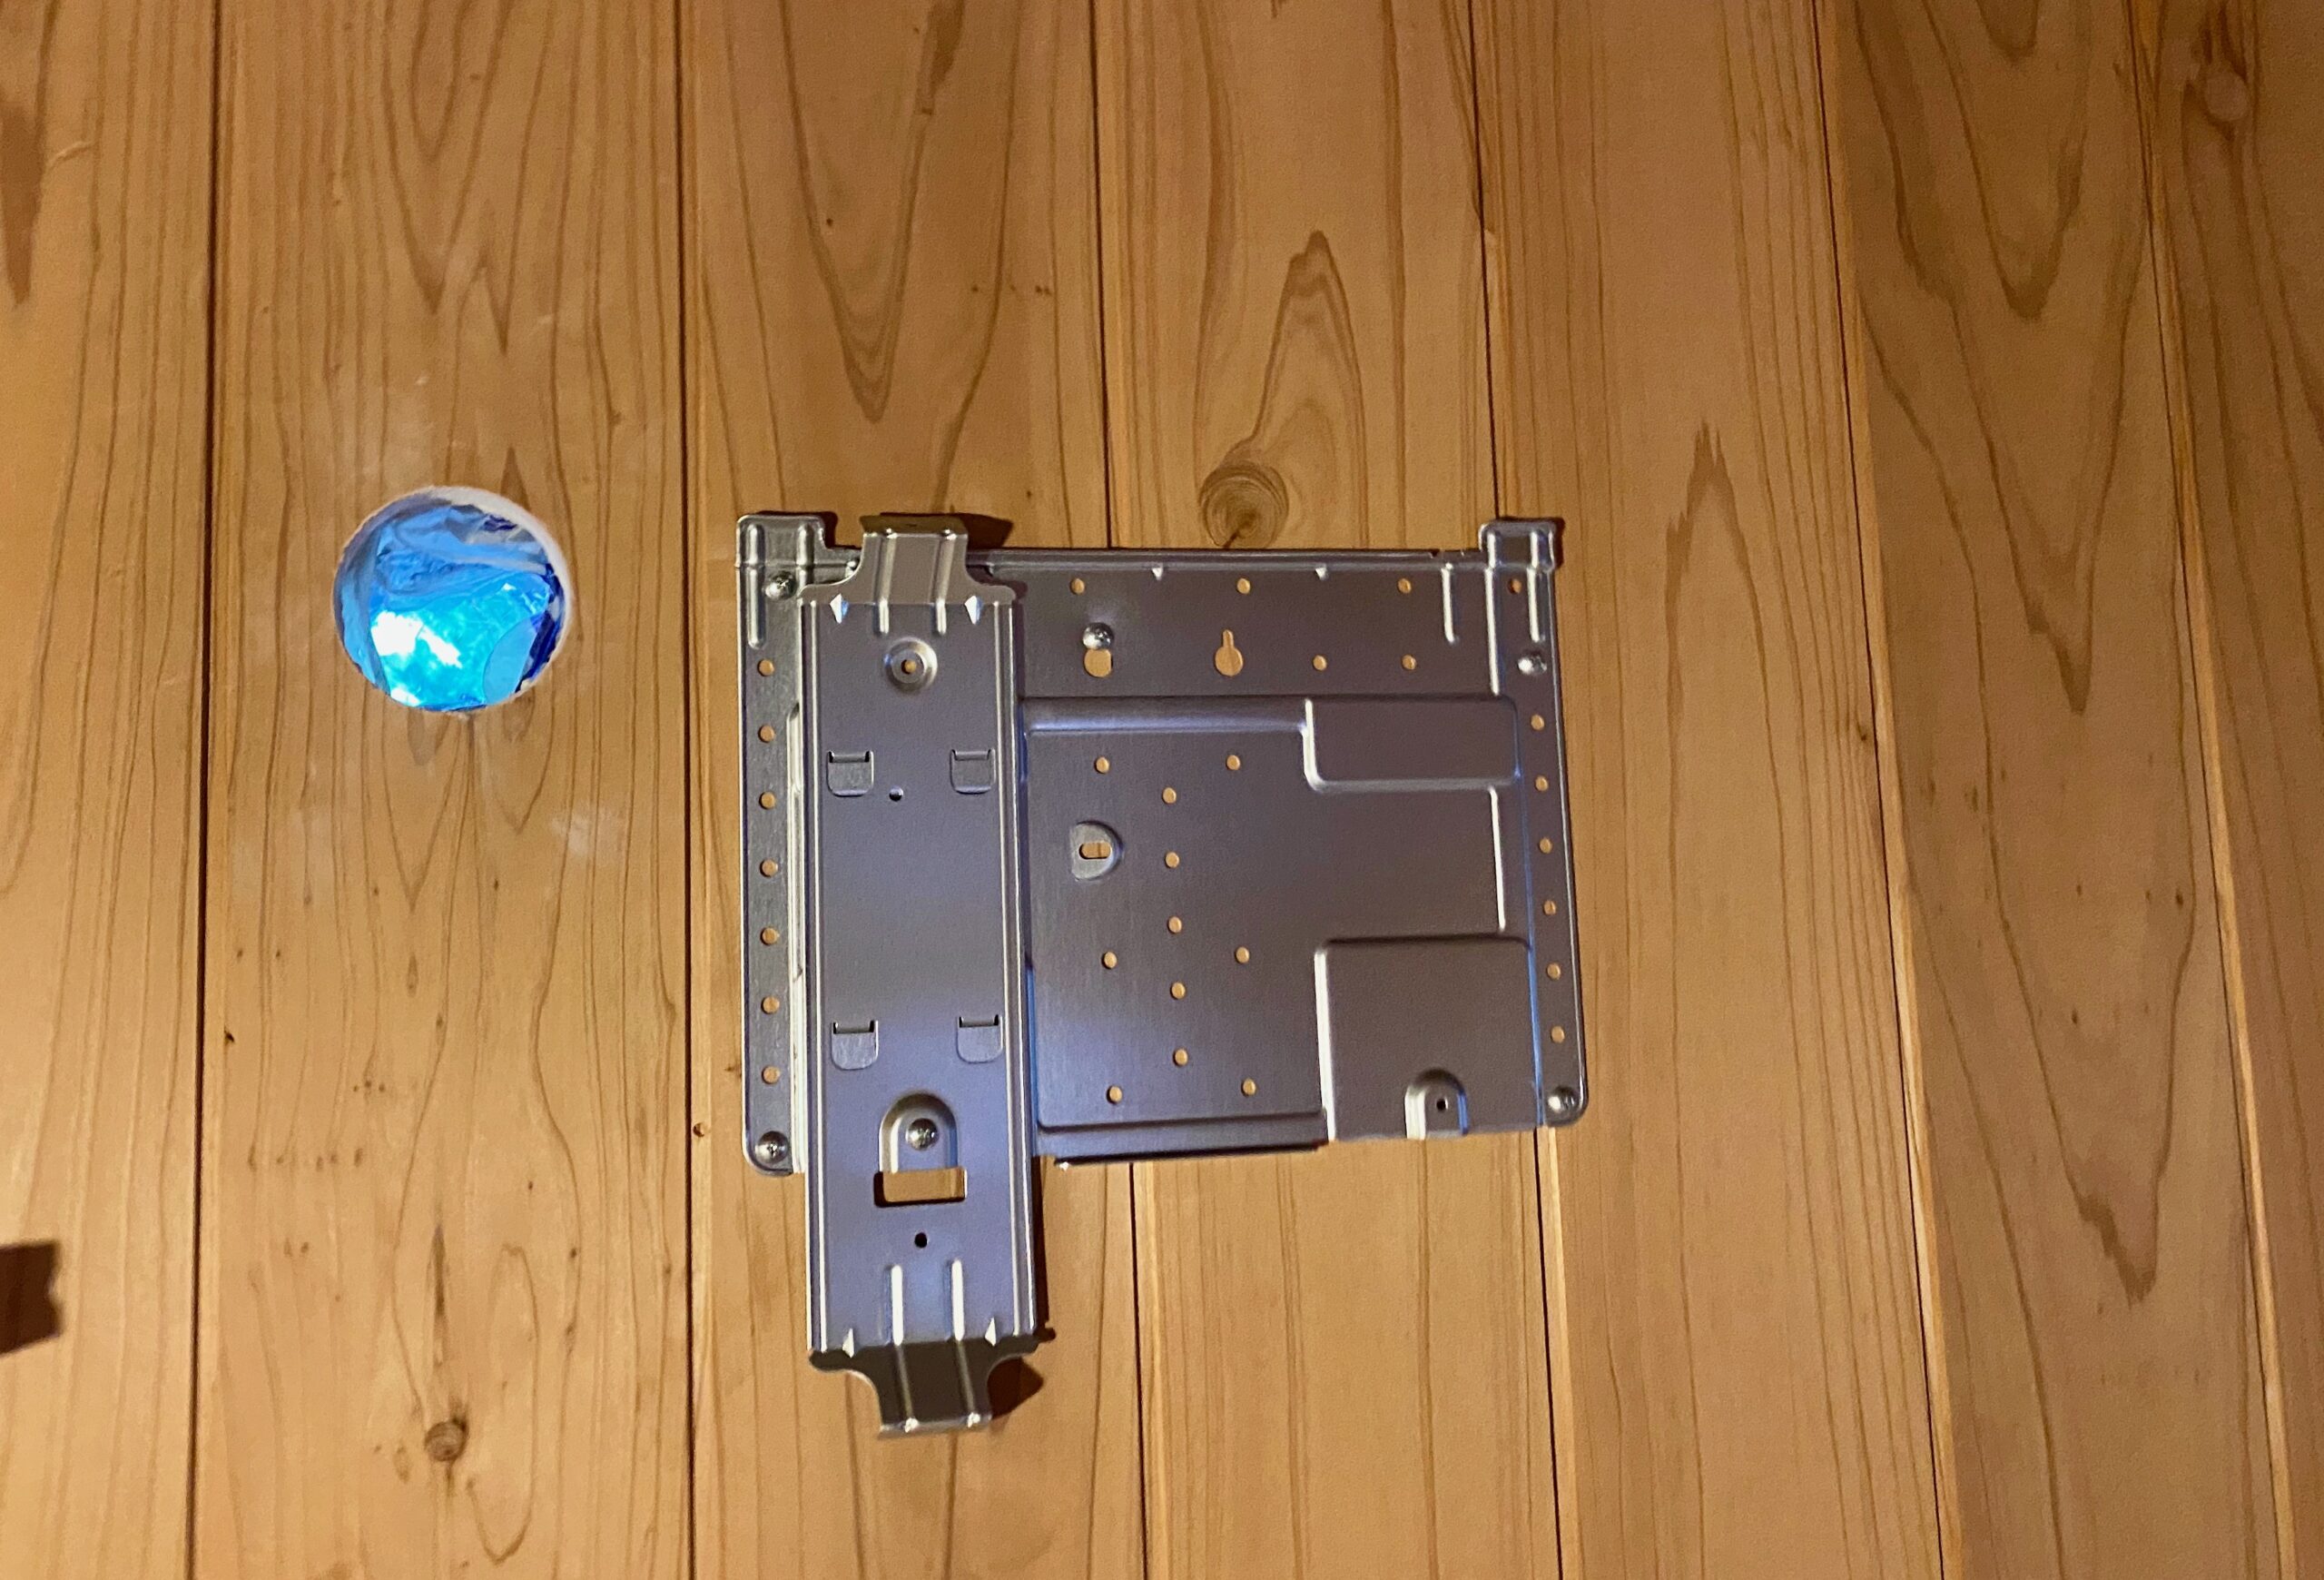
Work in progress
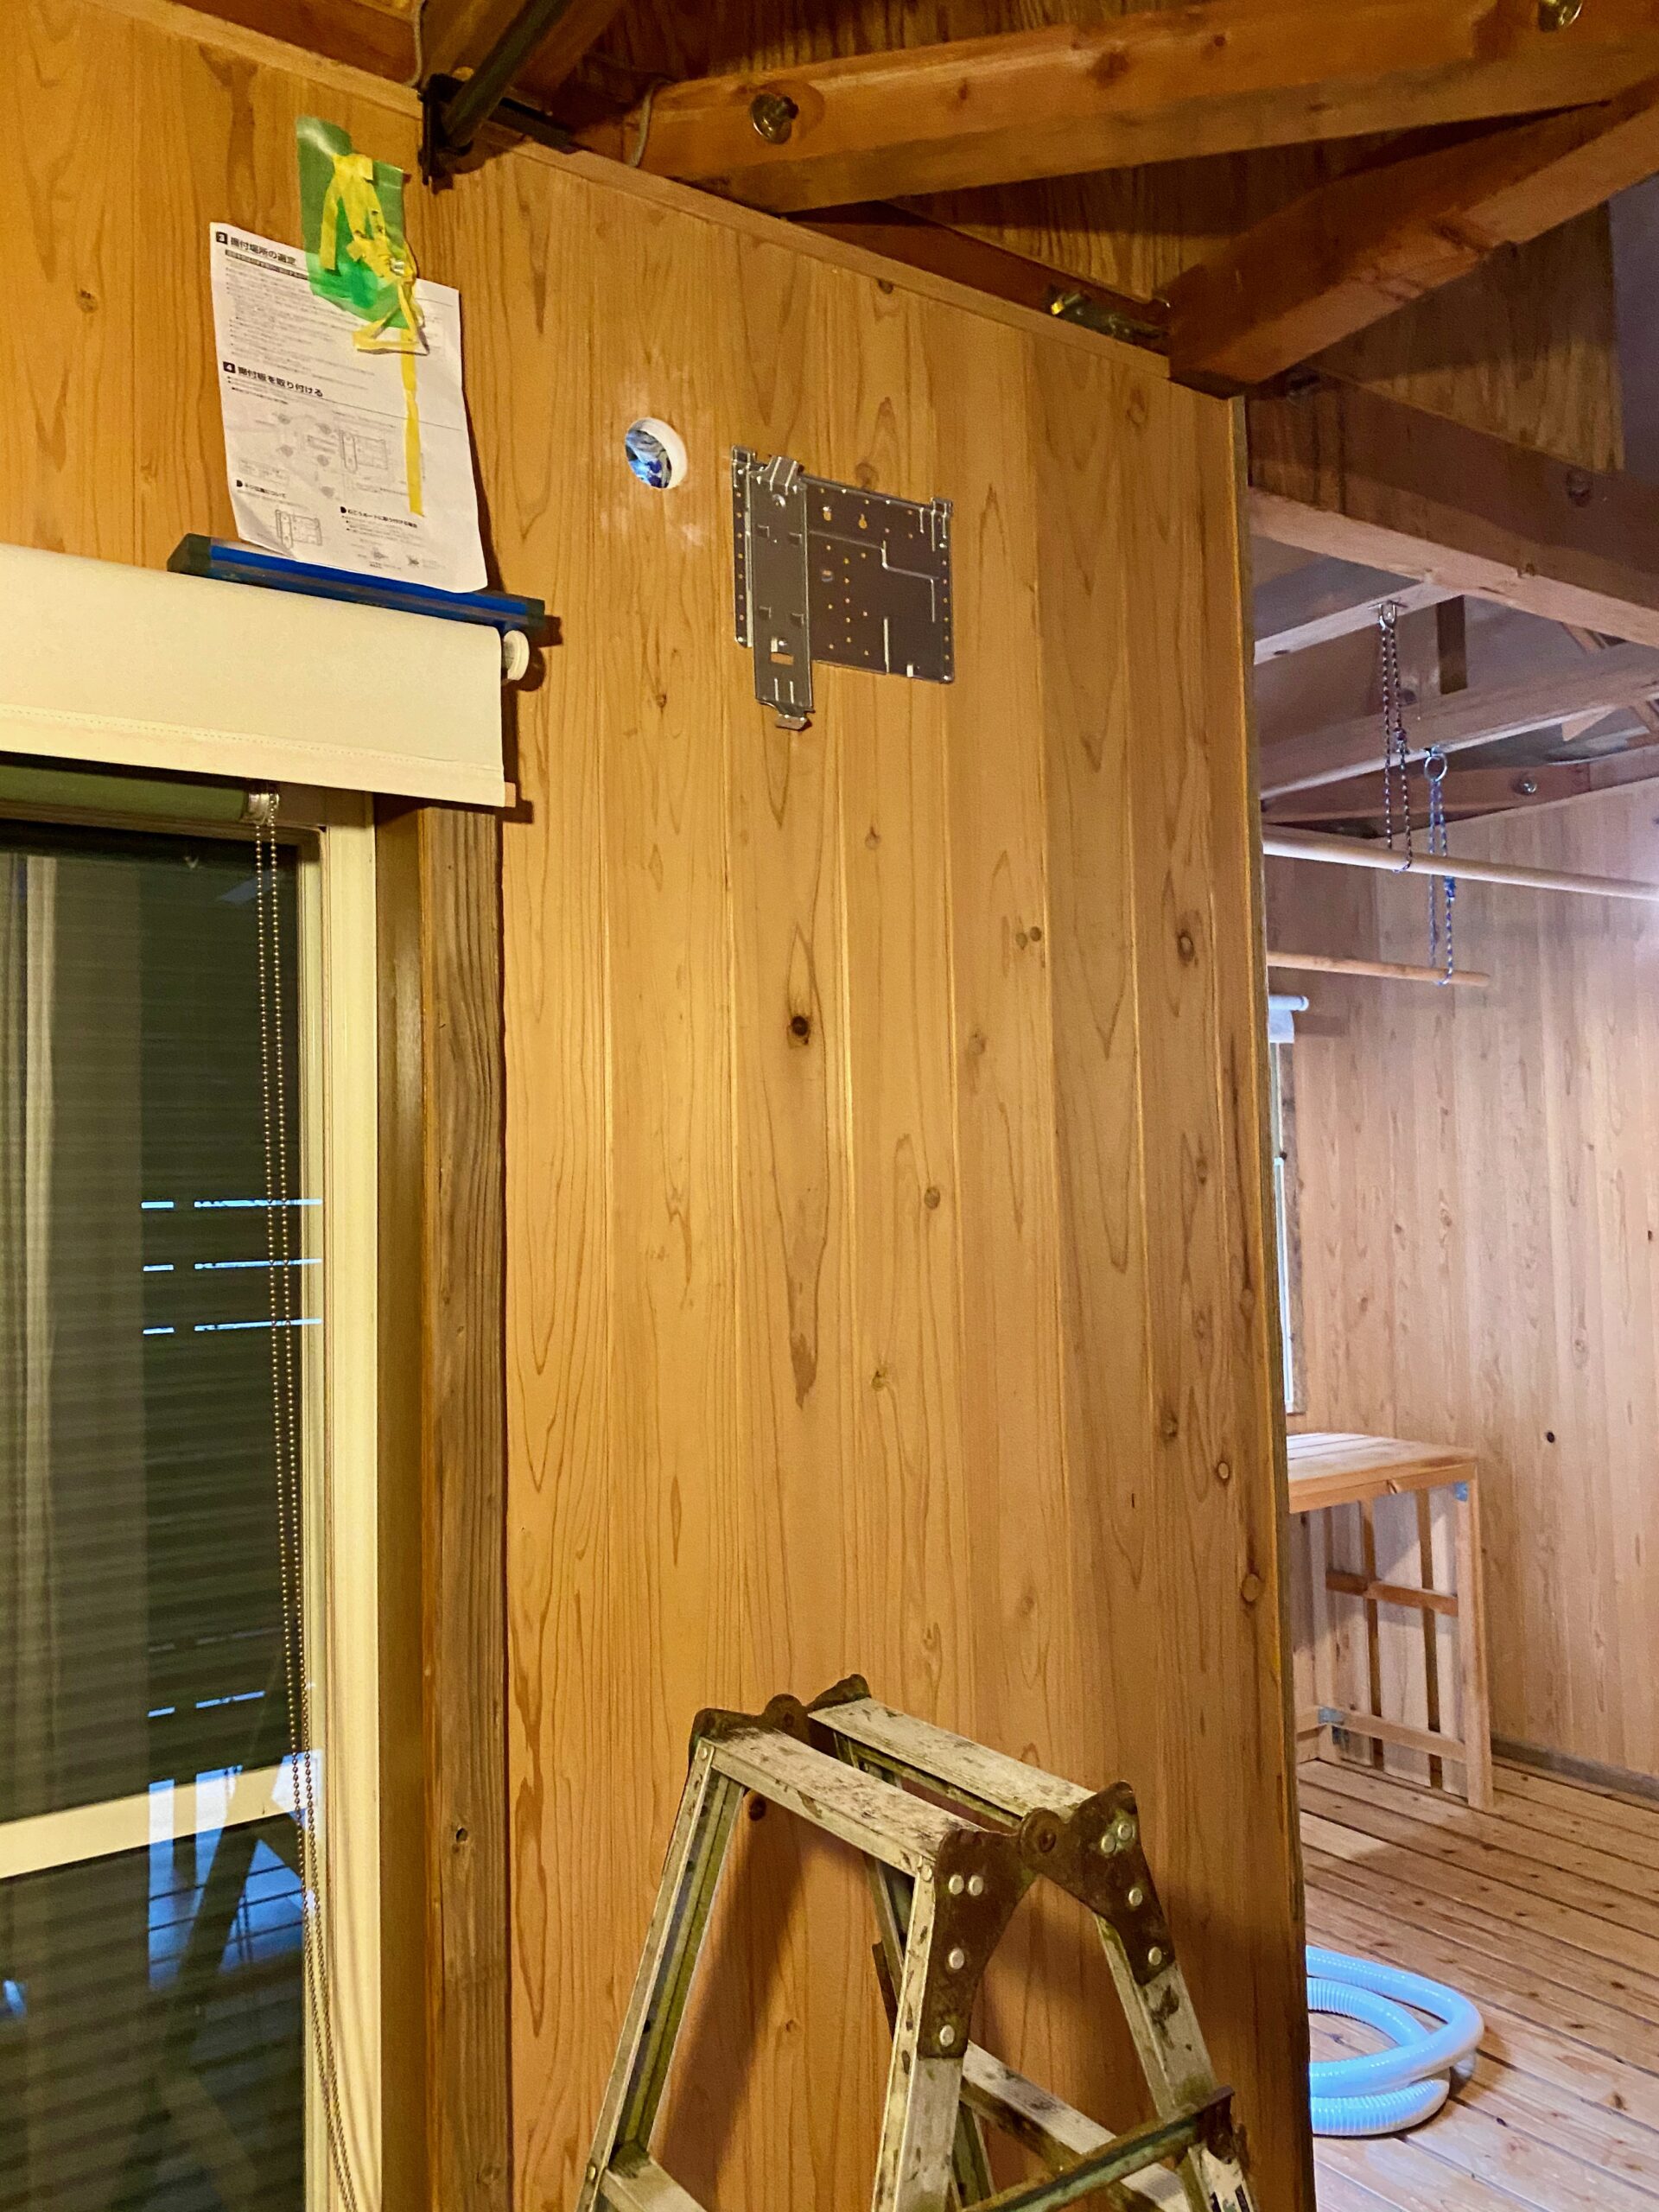
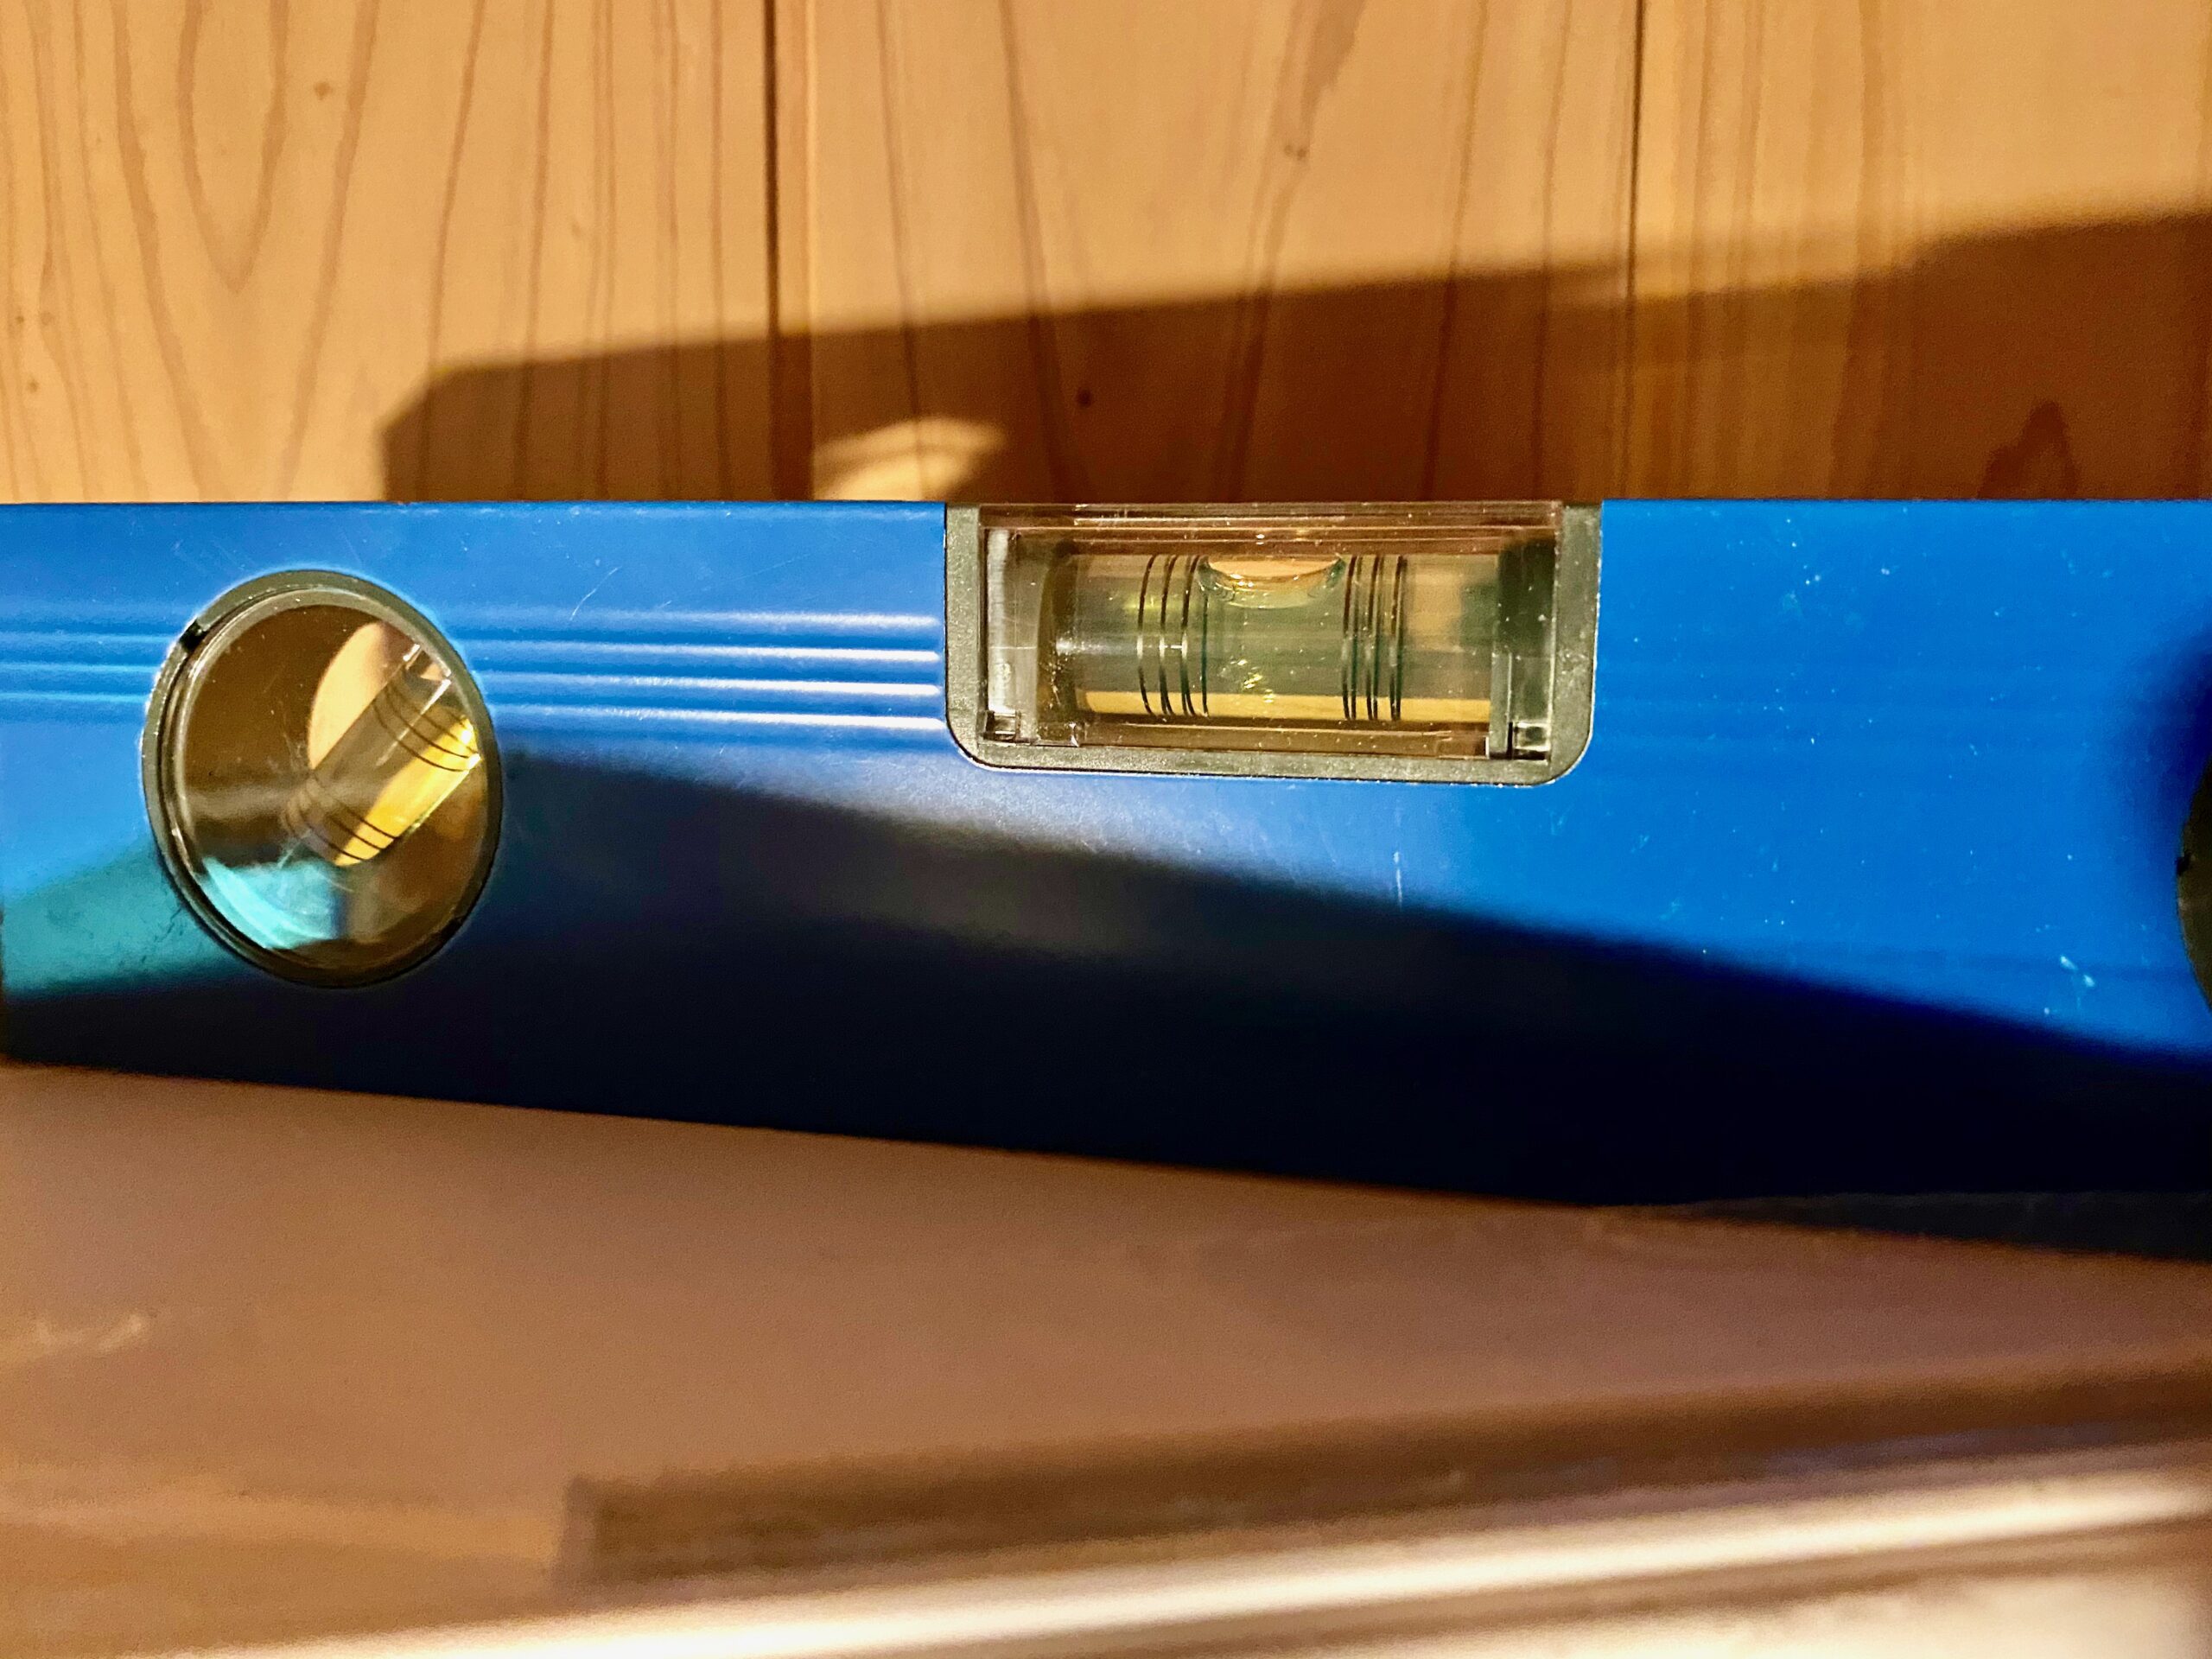
It’s level.
The manual says to let the hose stick out 10 cm on the outside, but in the end about 1 cm would have been fine. (Mine sticks out about 3 cm.)
When the hose runs straight out of the unit, there is no room to adjust its length.
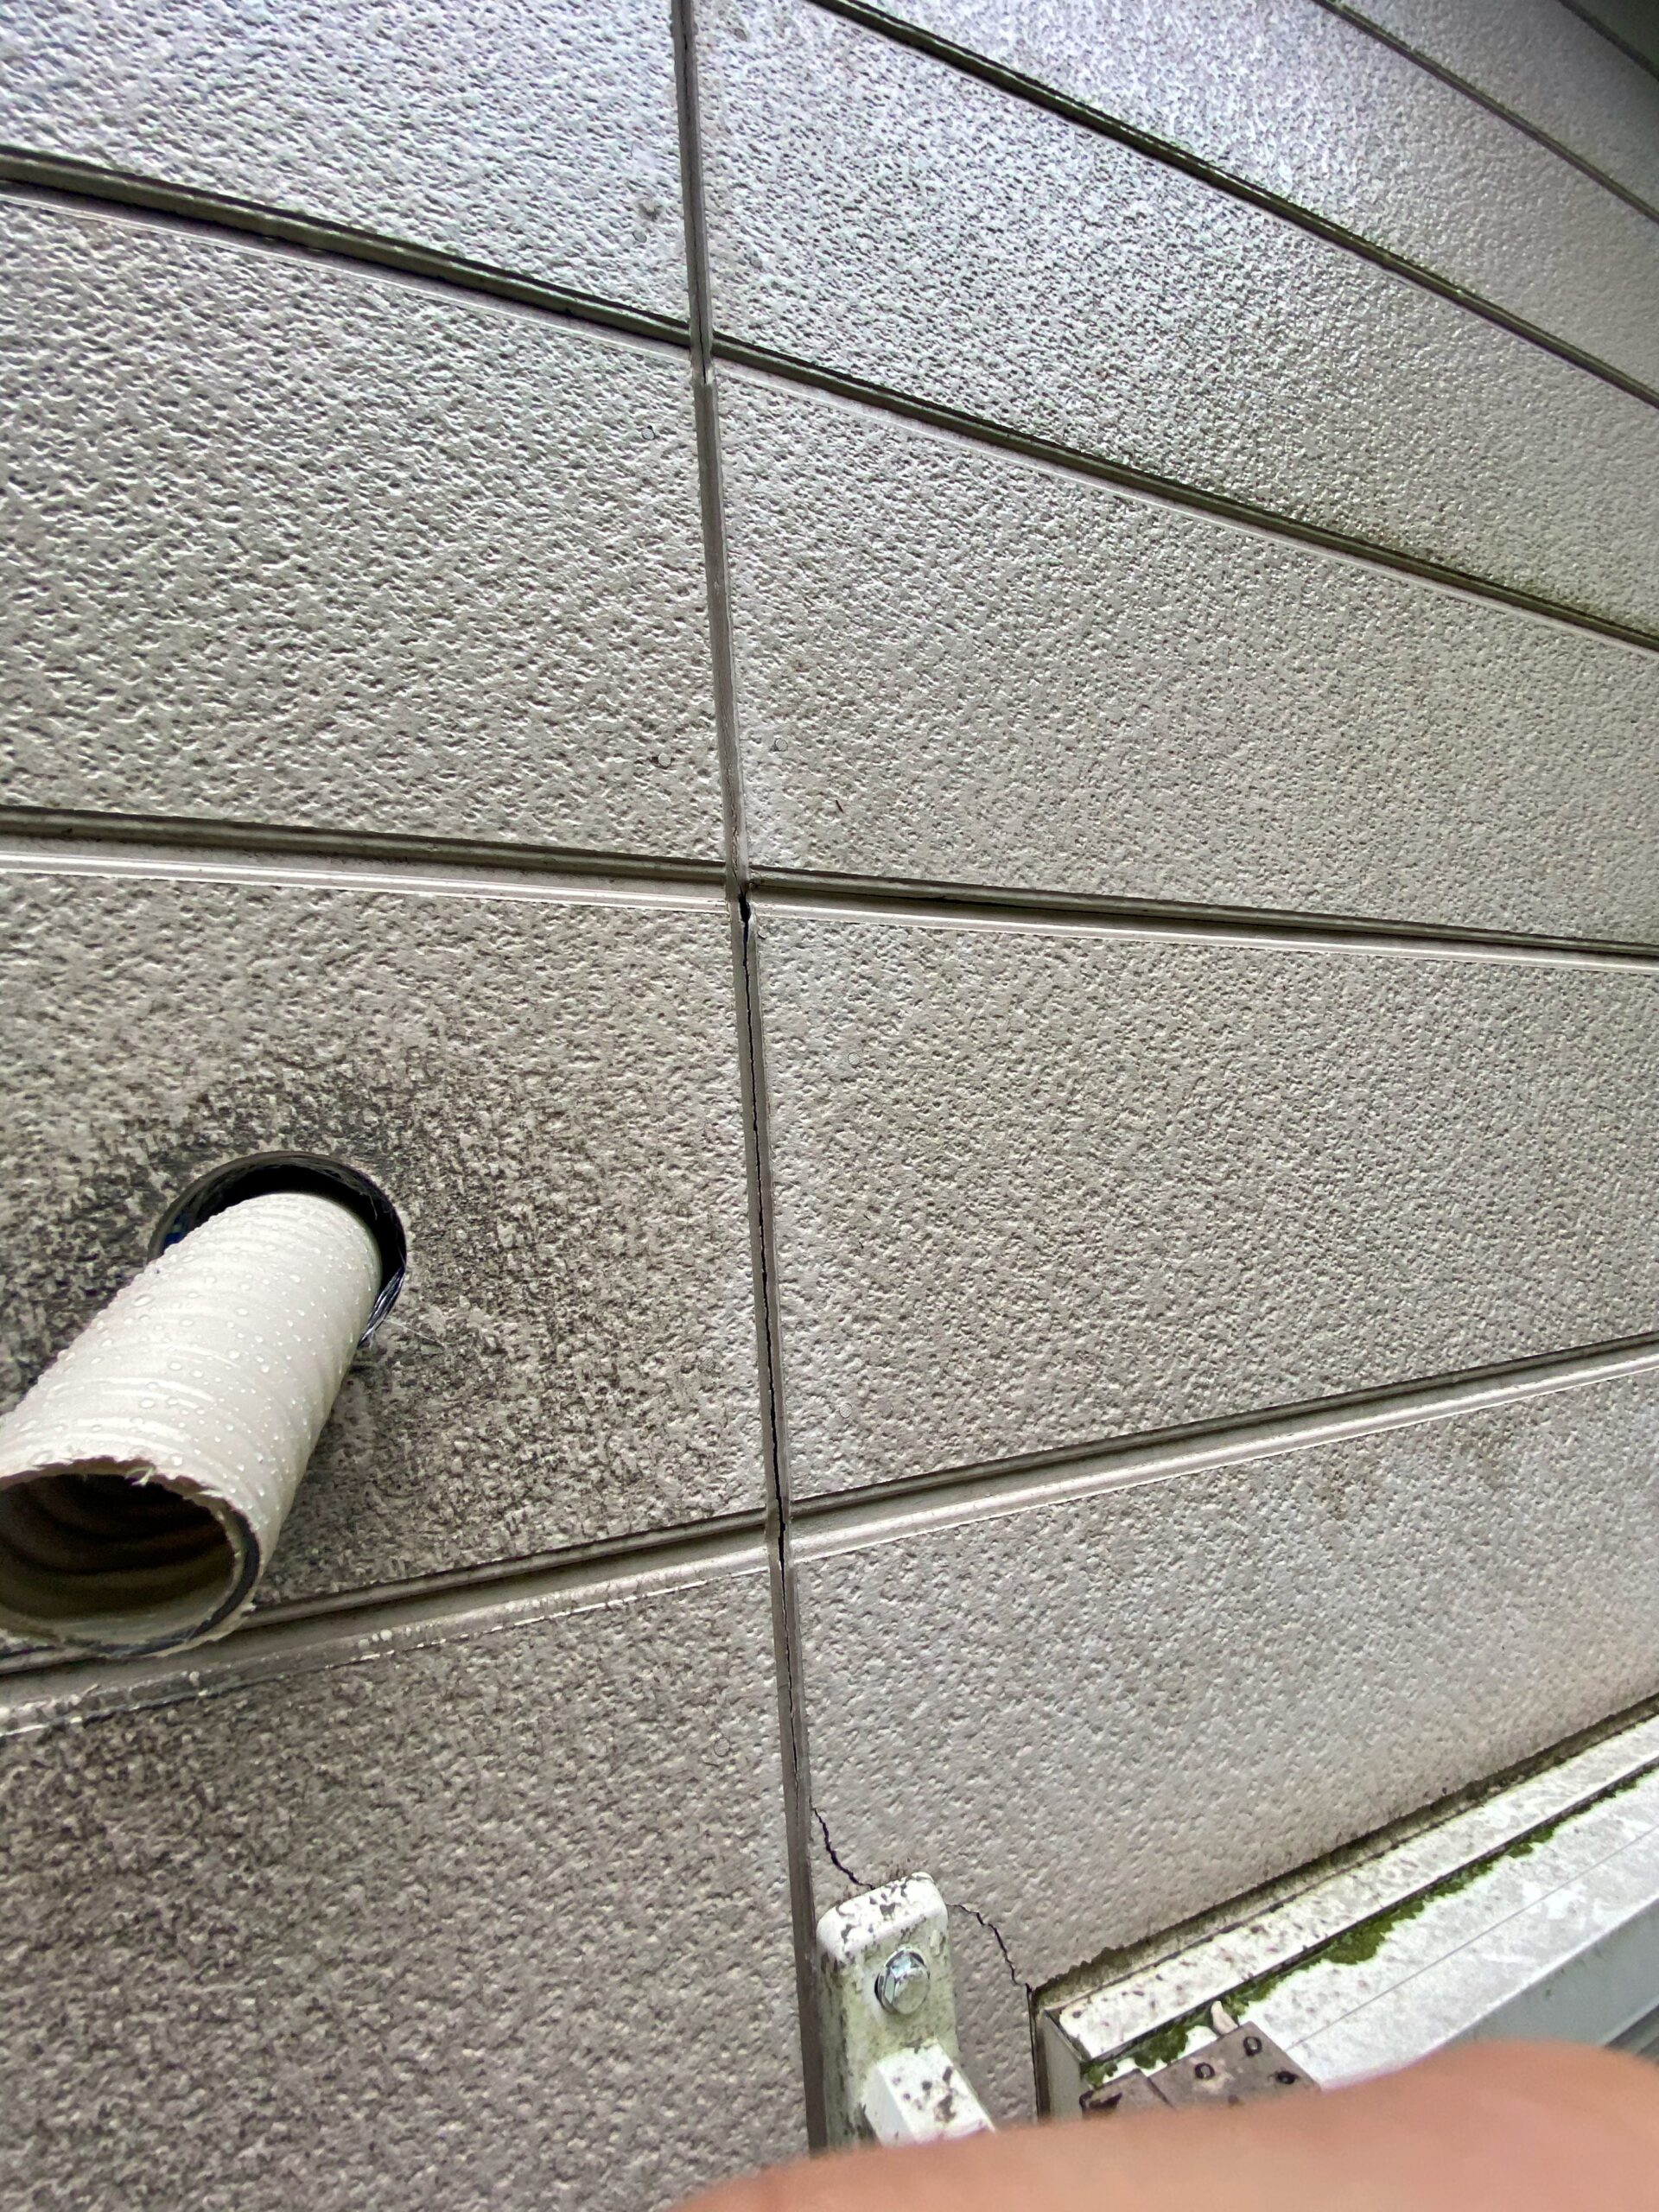
Starting with 10 cm sticking out, I repeated test-fitting and cutting over and over… It was raining, which made it miserable.
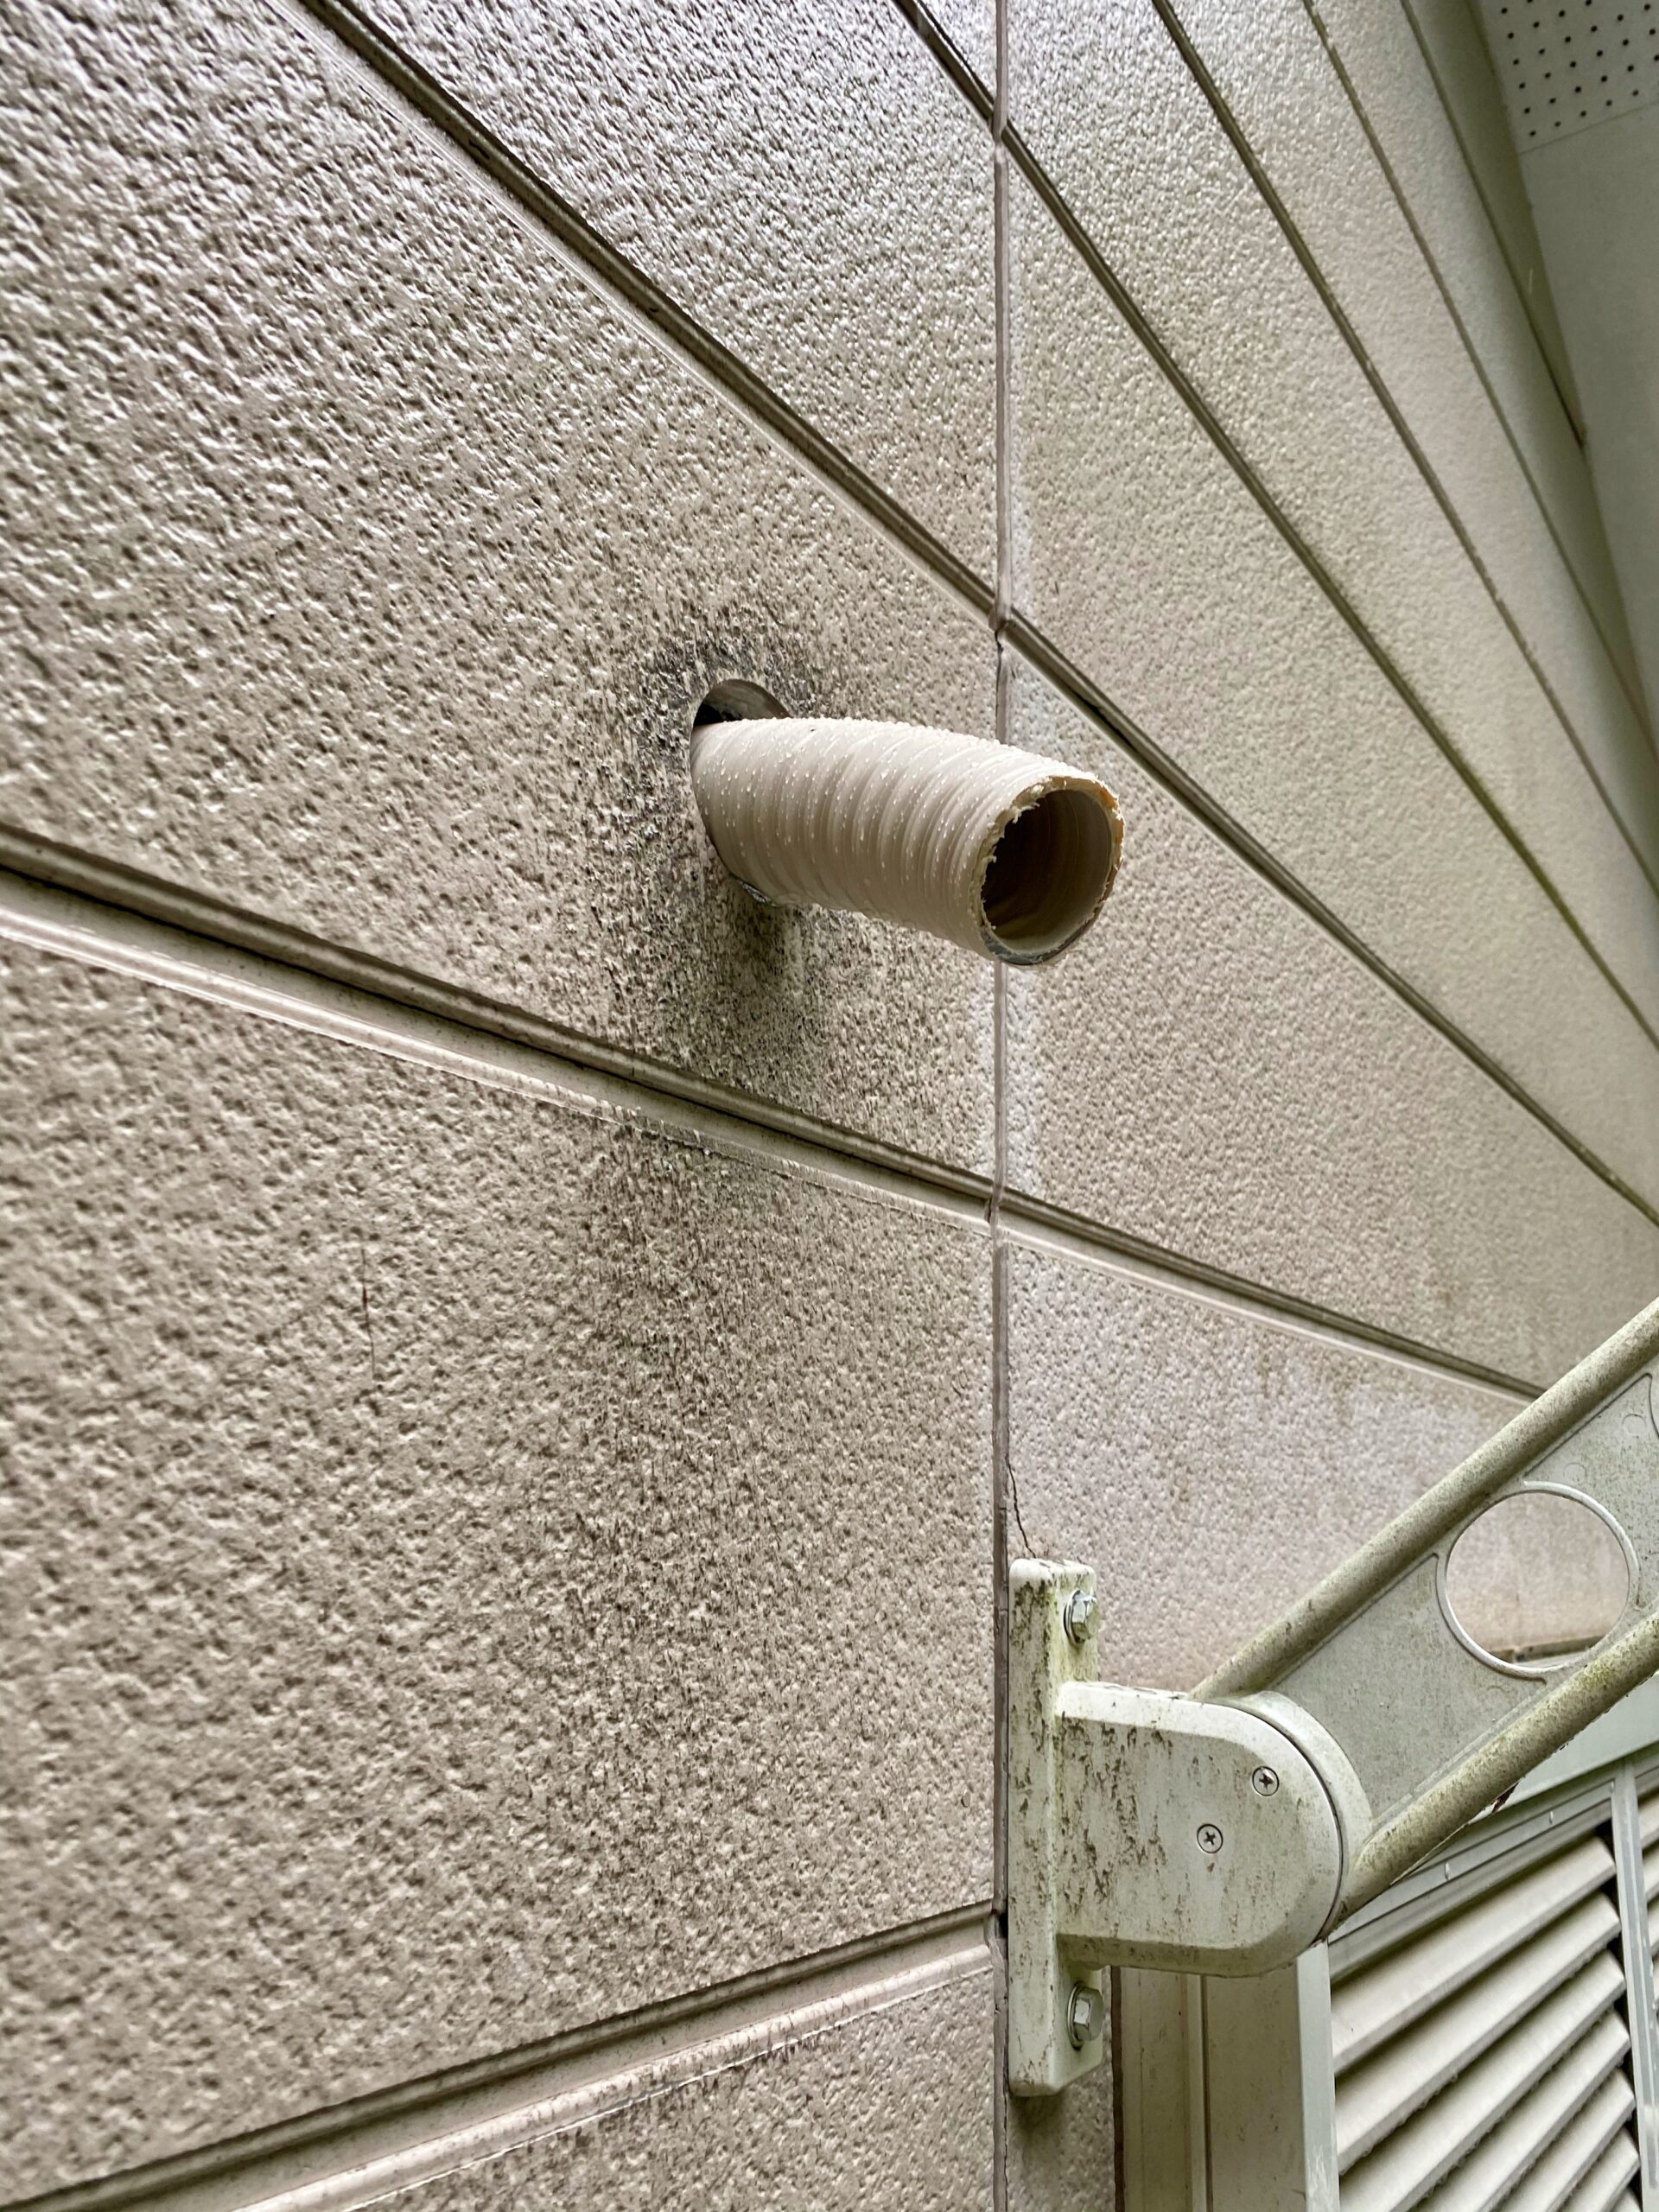
I had to go out to buy putty and other materials, so by then it was night.
Once the test fit was done, I attached the frame and filled the gaps with putty. The hose has to slope downward, but the outlet itself must point straight down; otherwise the insect-proof flap will stay open. So I adjusted the outlet to be vertical.
Even so, it sticks out too far. I think about 2 cm shorter would have been ideal.
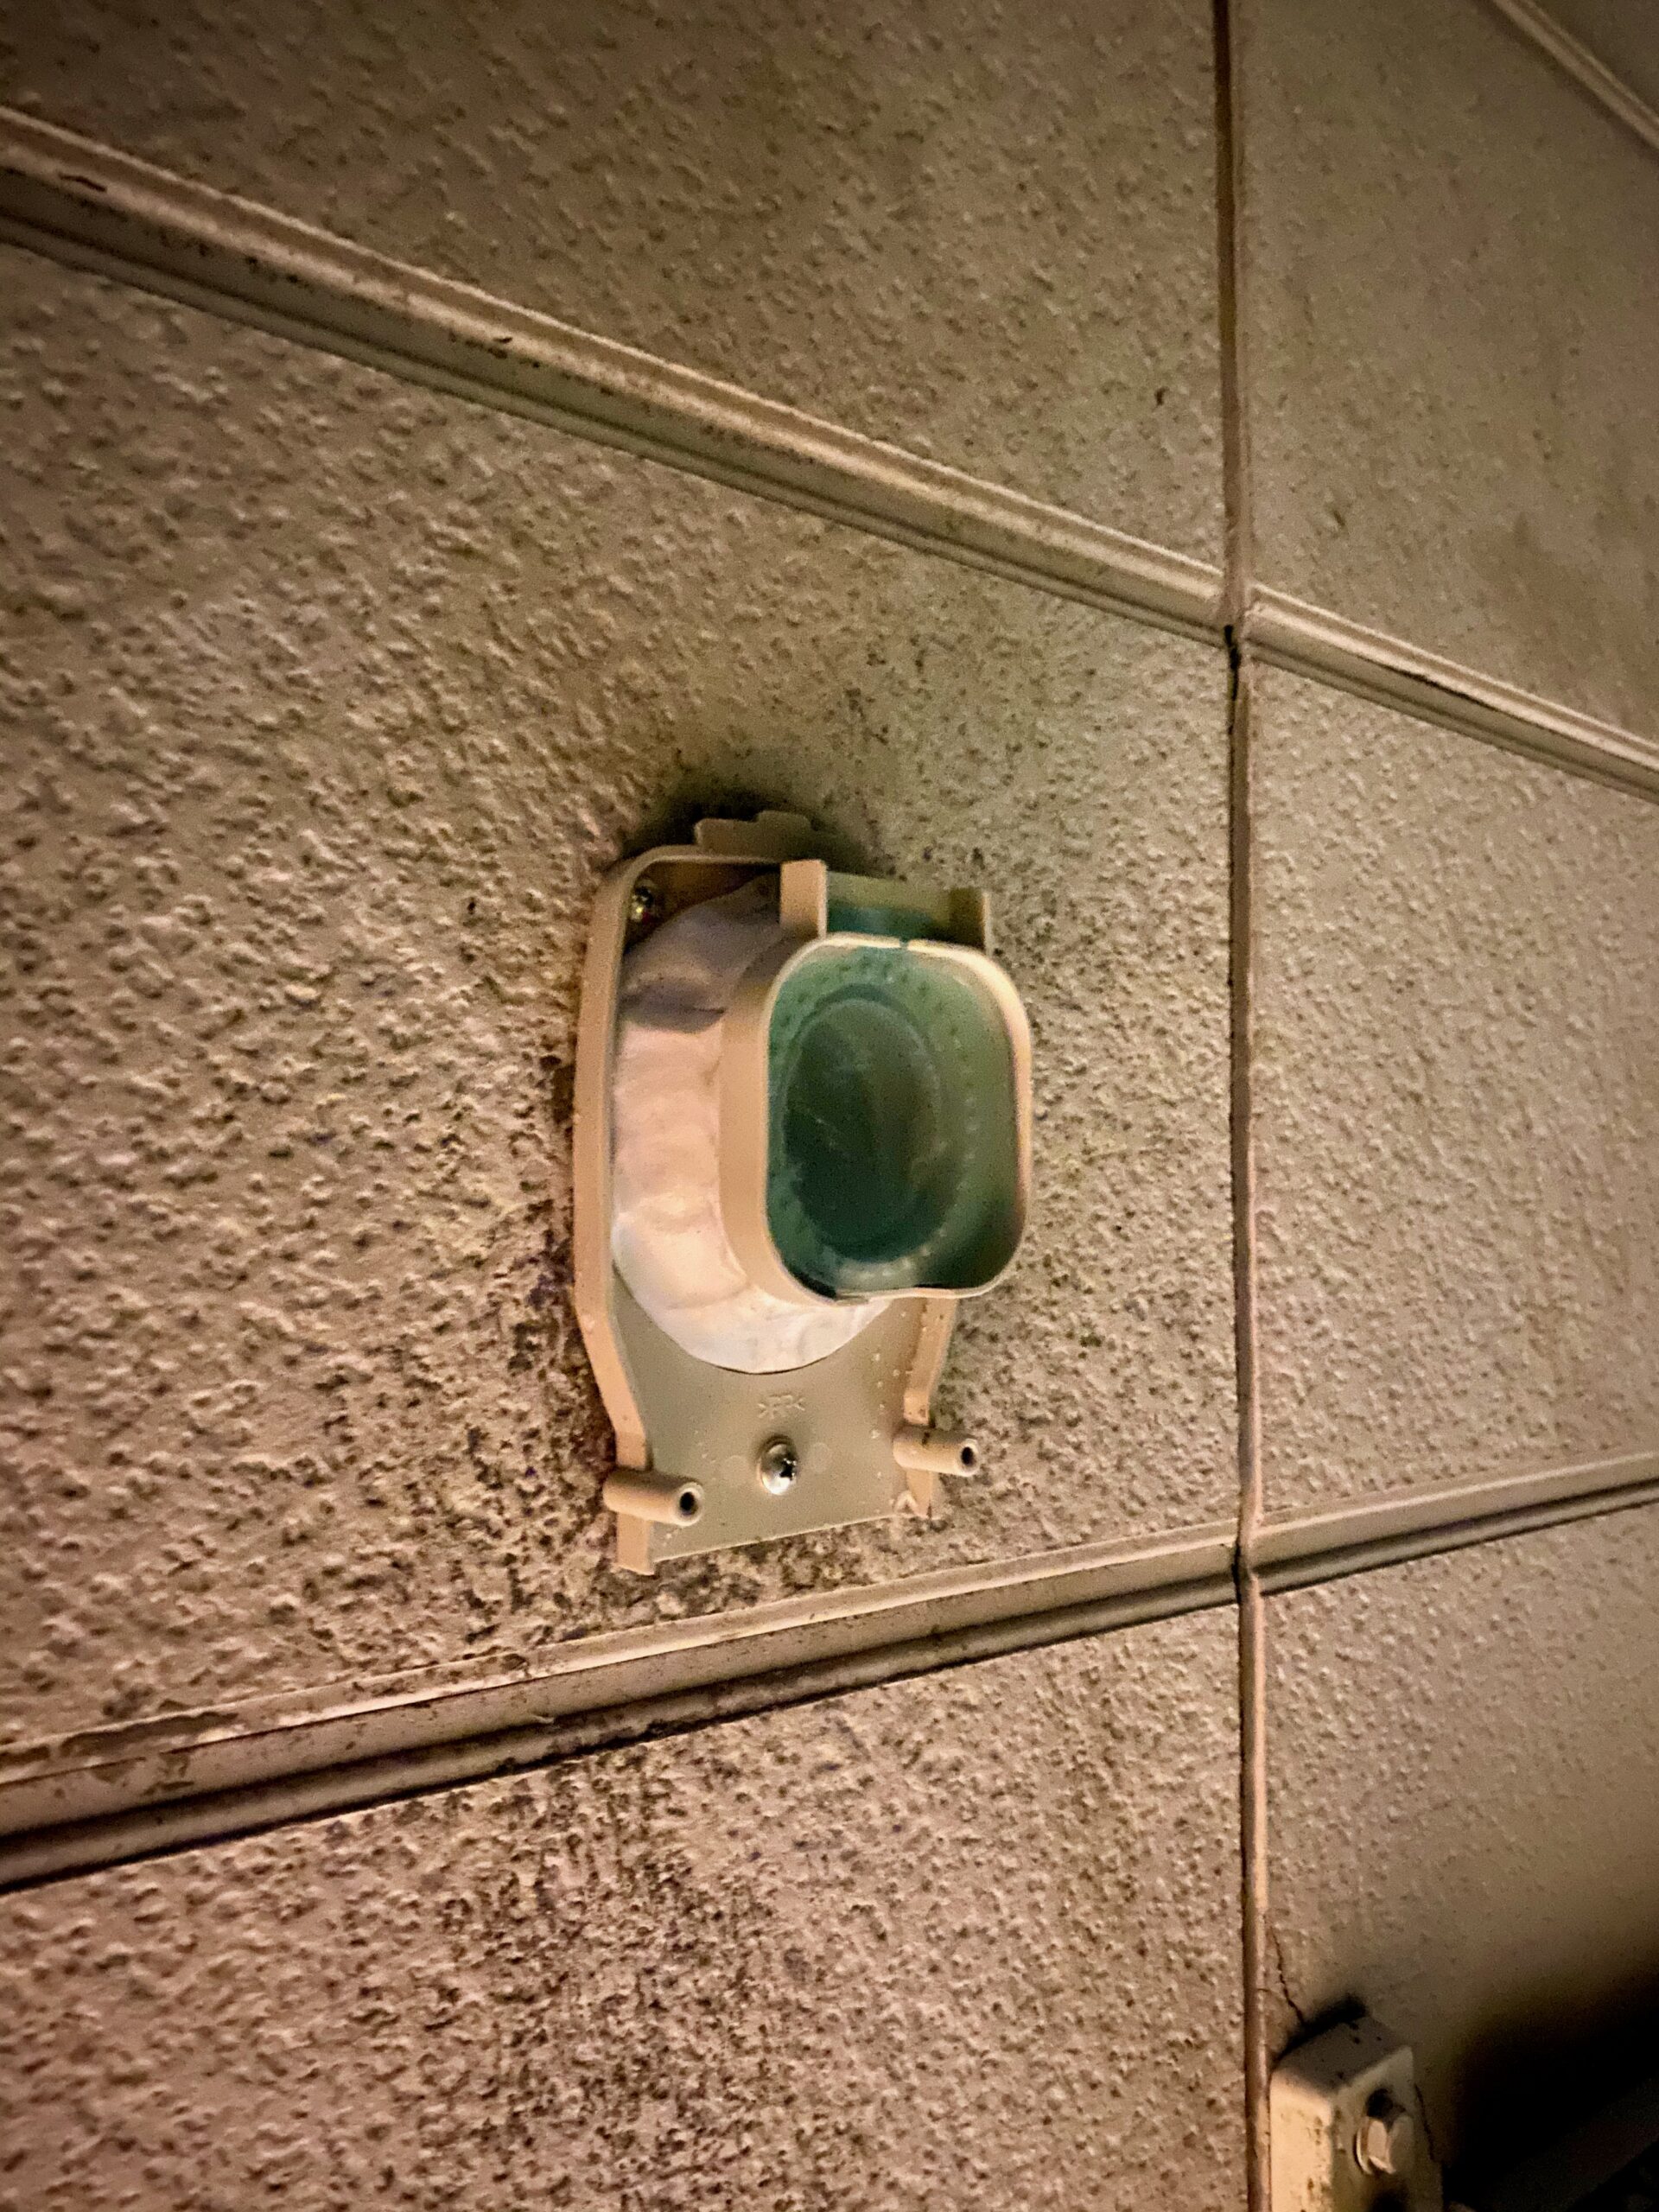
With the cover attached.
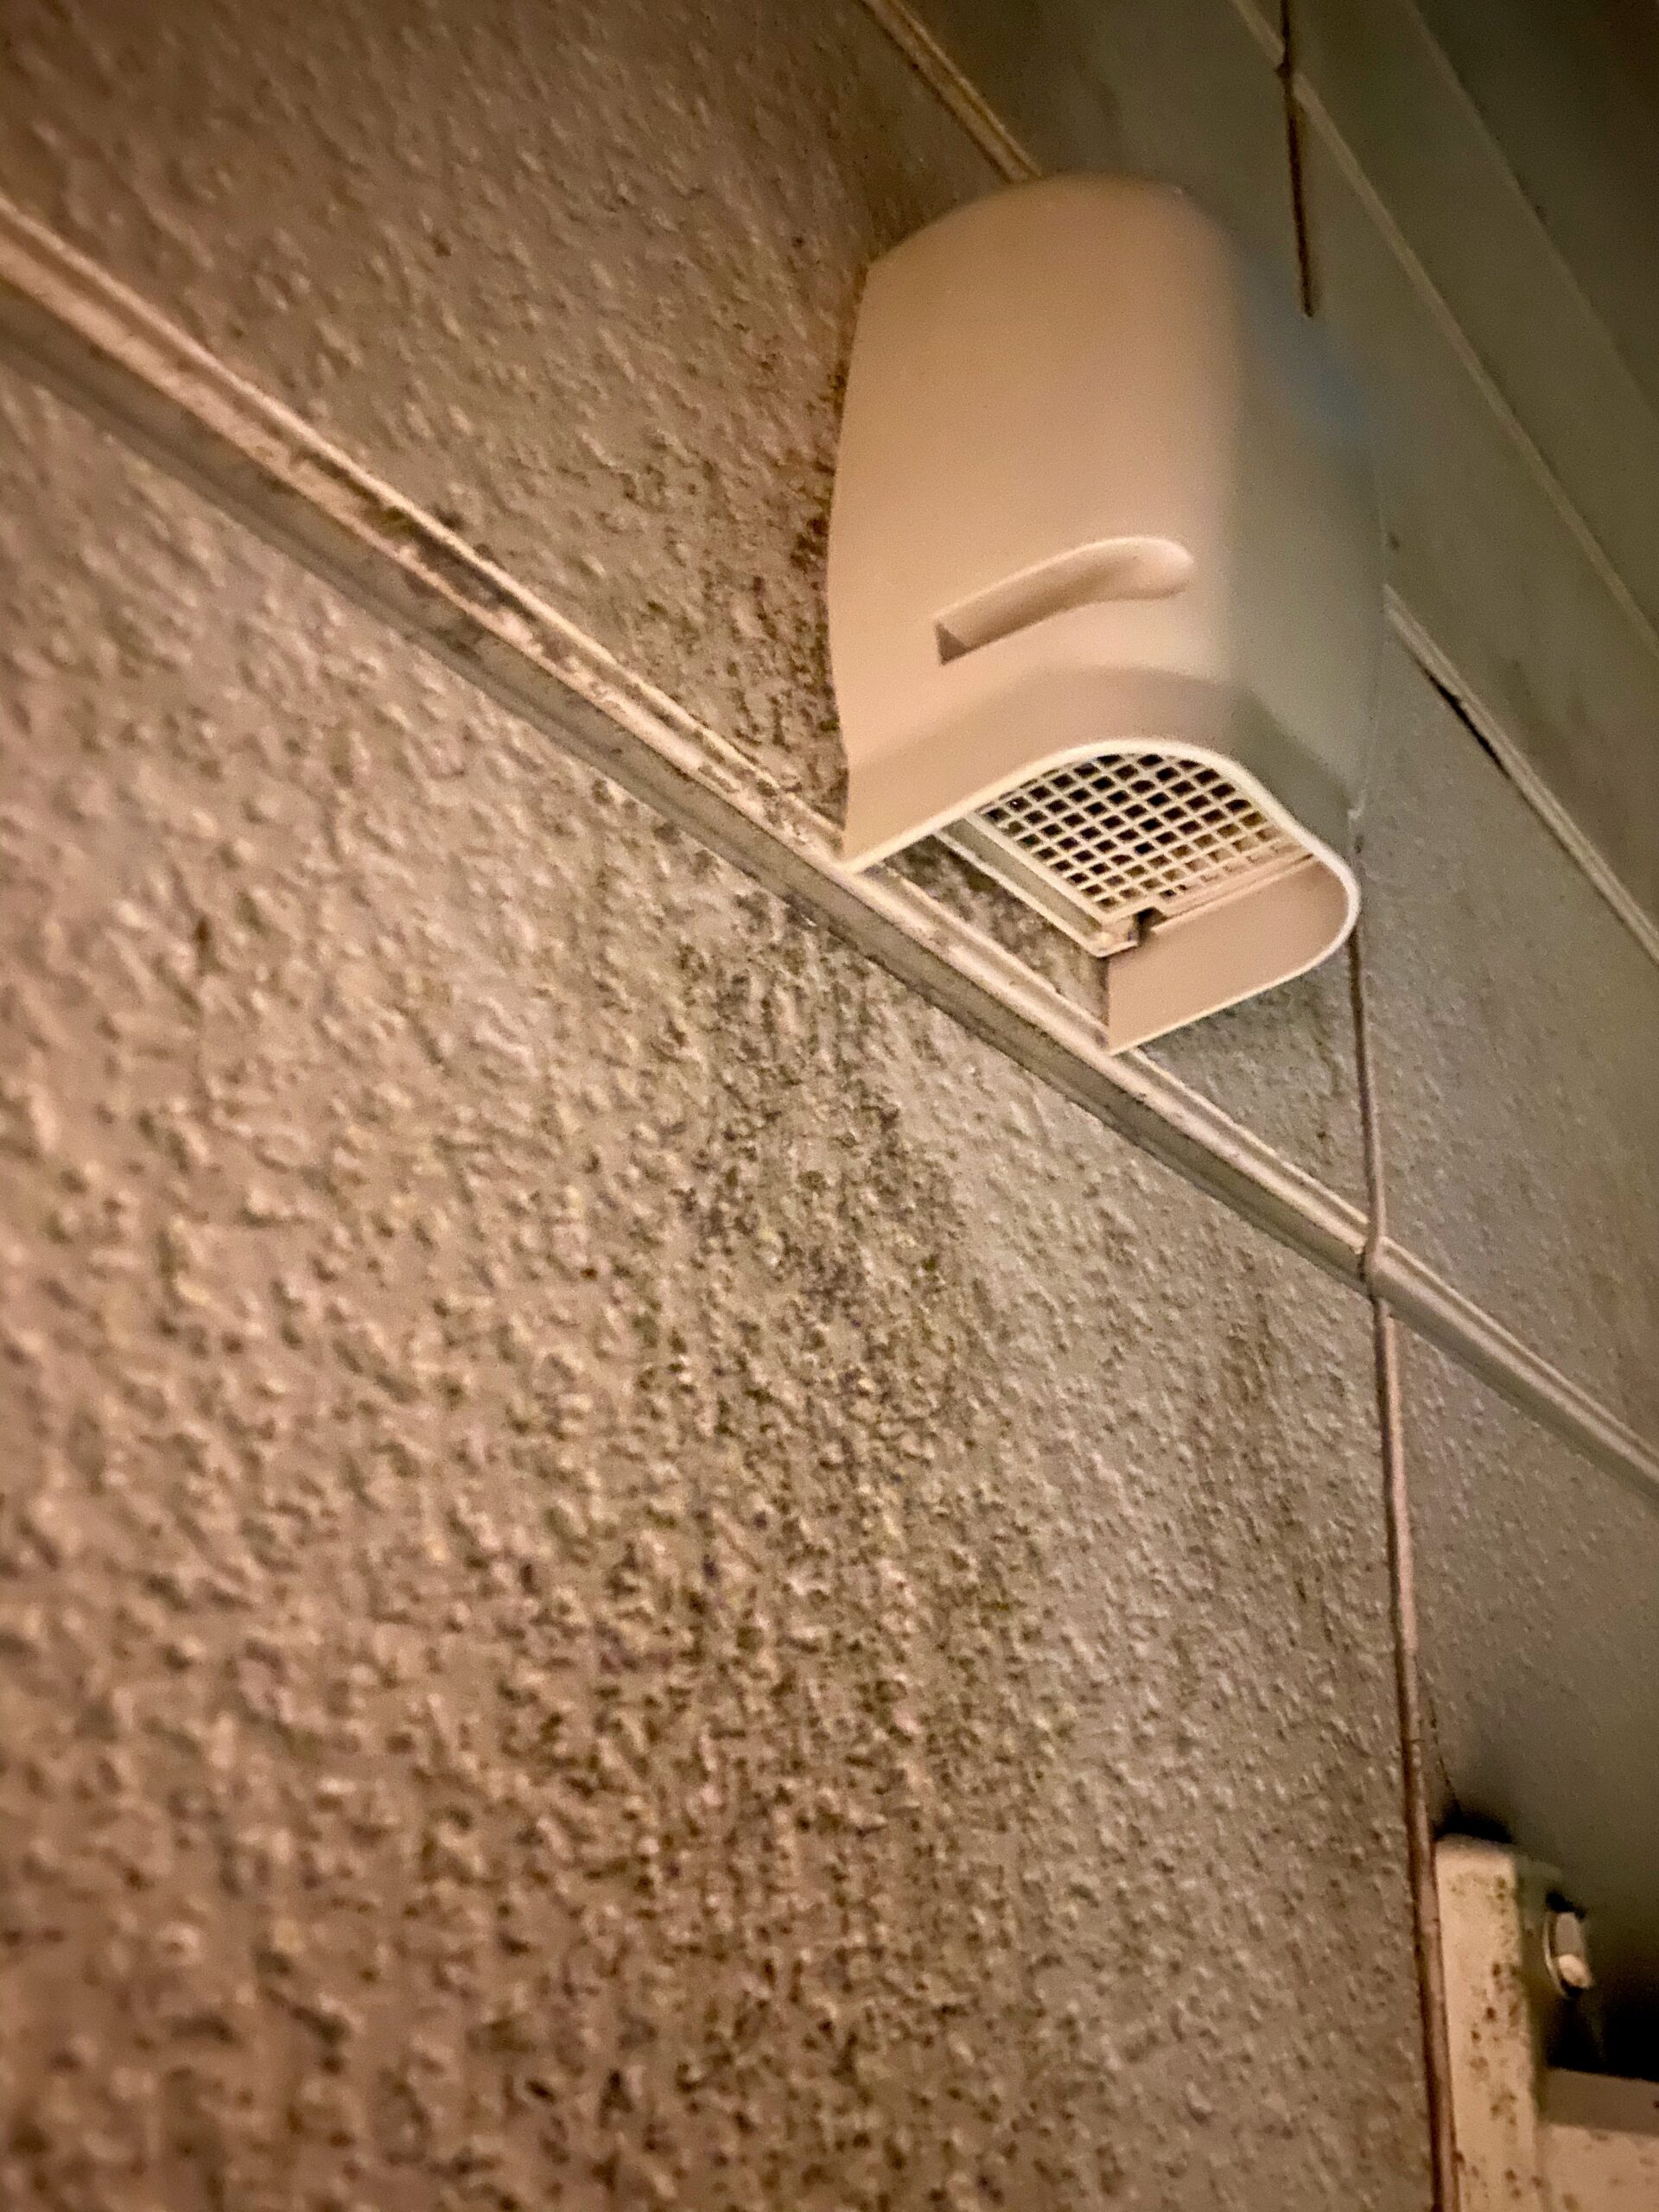
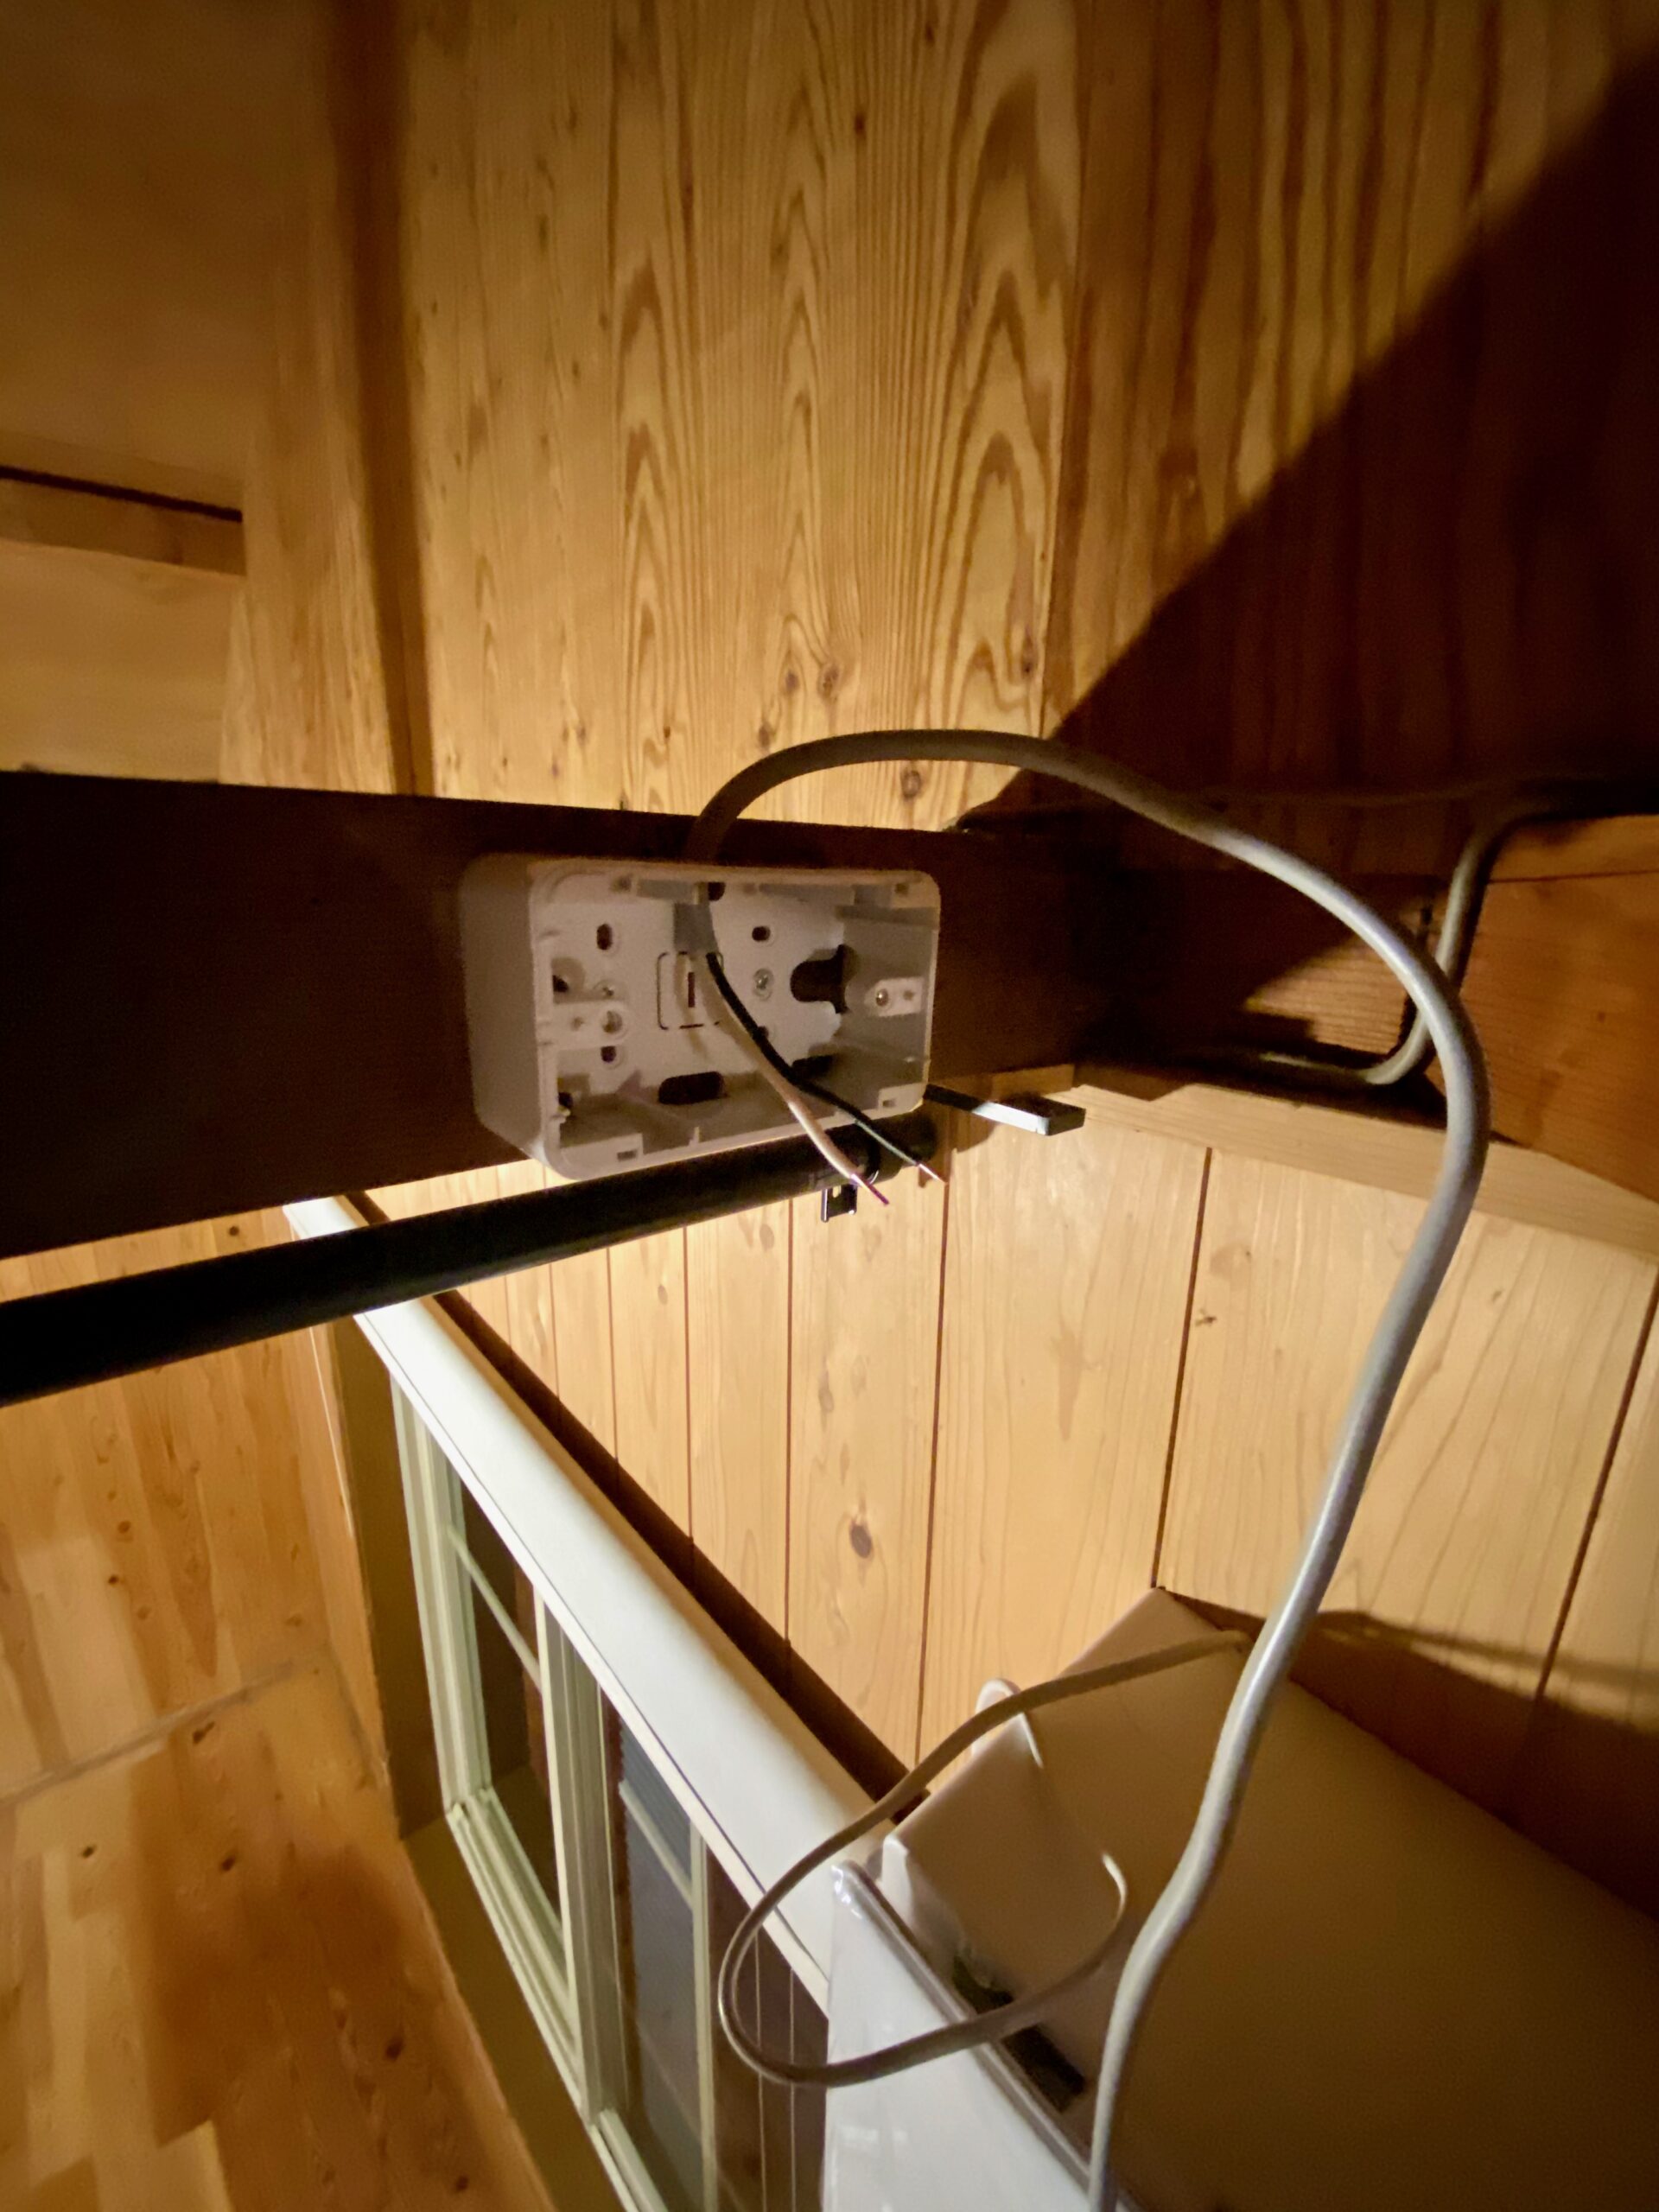
There was no power source near where the Karaie went, so I added an outlet. Materials came to around ¥600, I think. Note that electrical work requires a license.
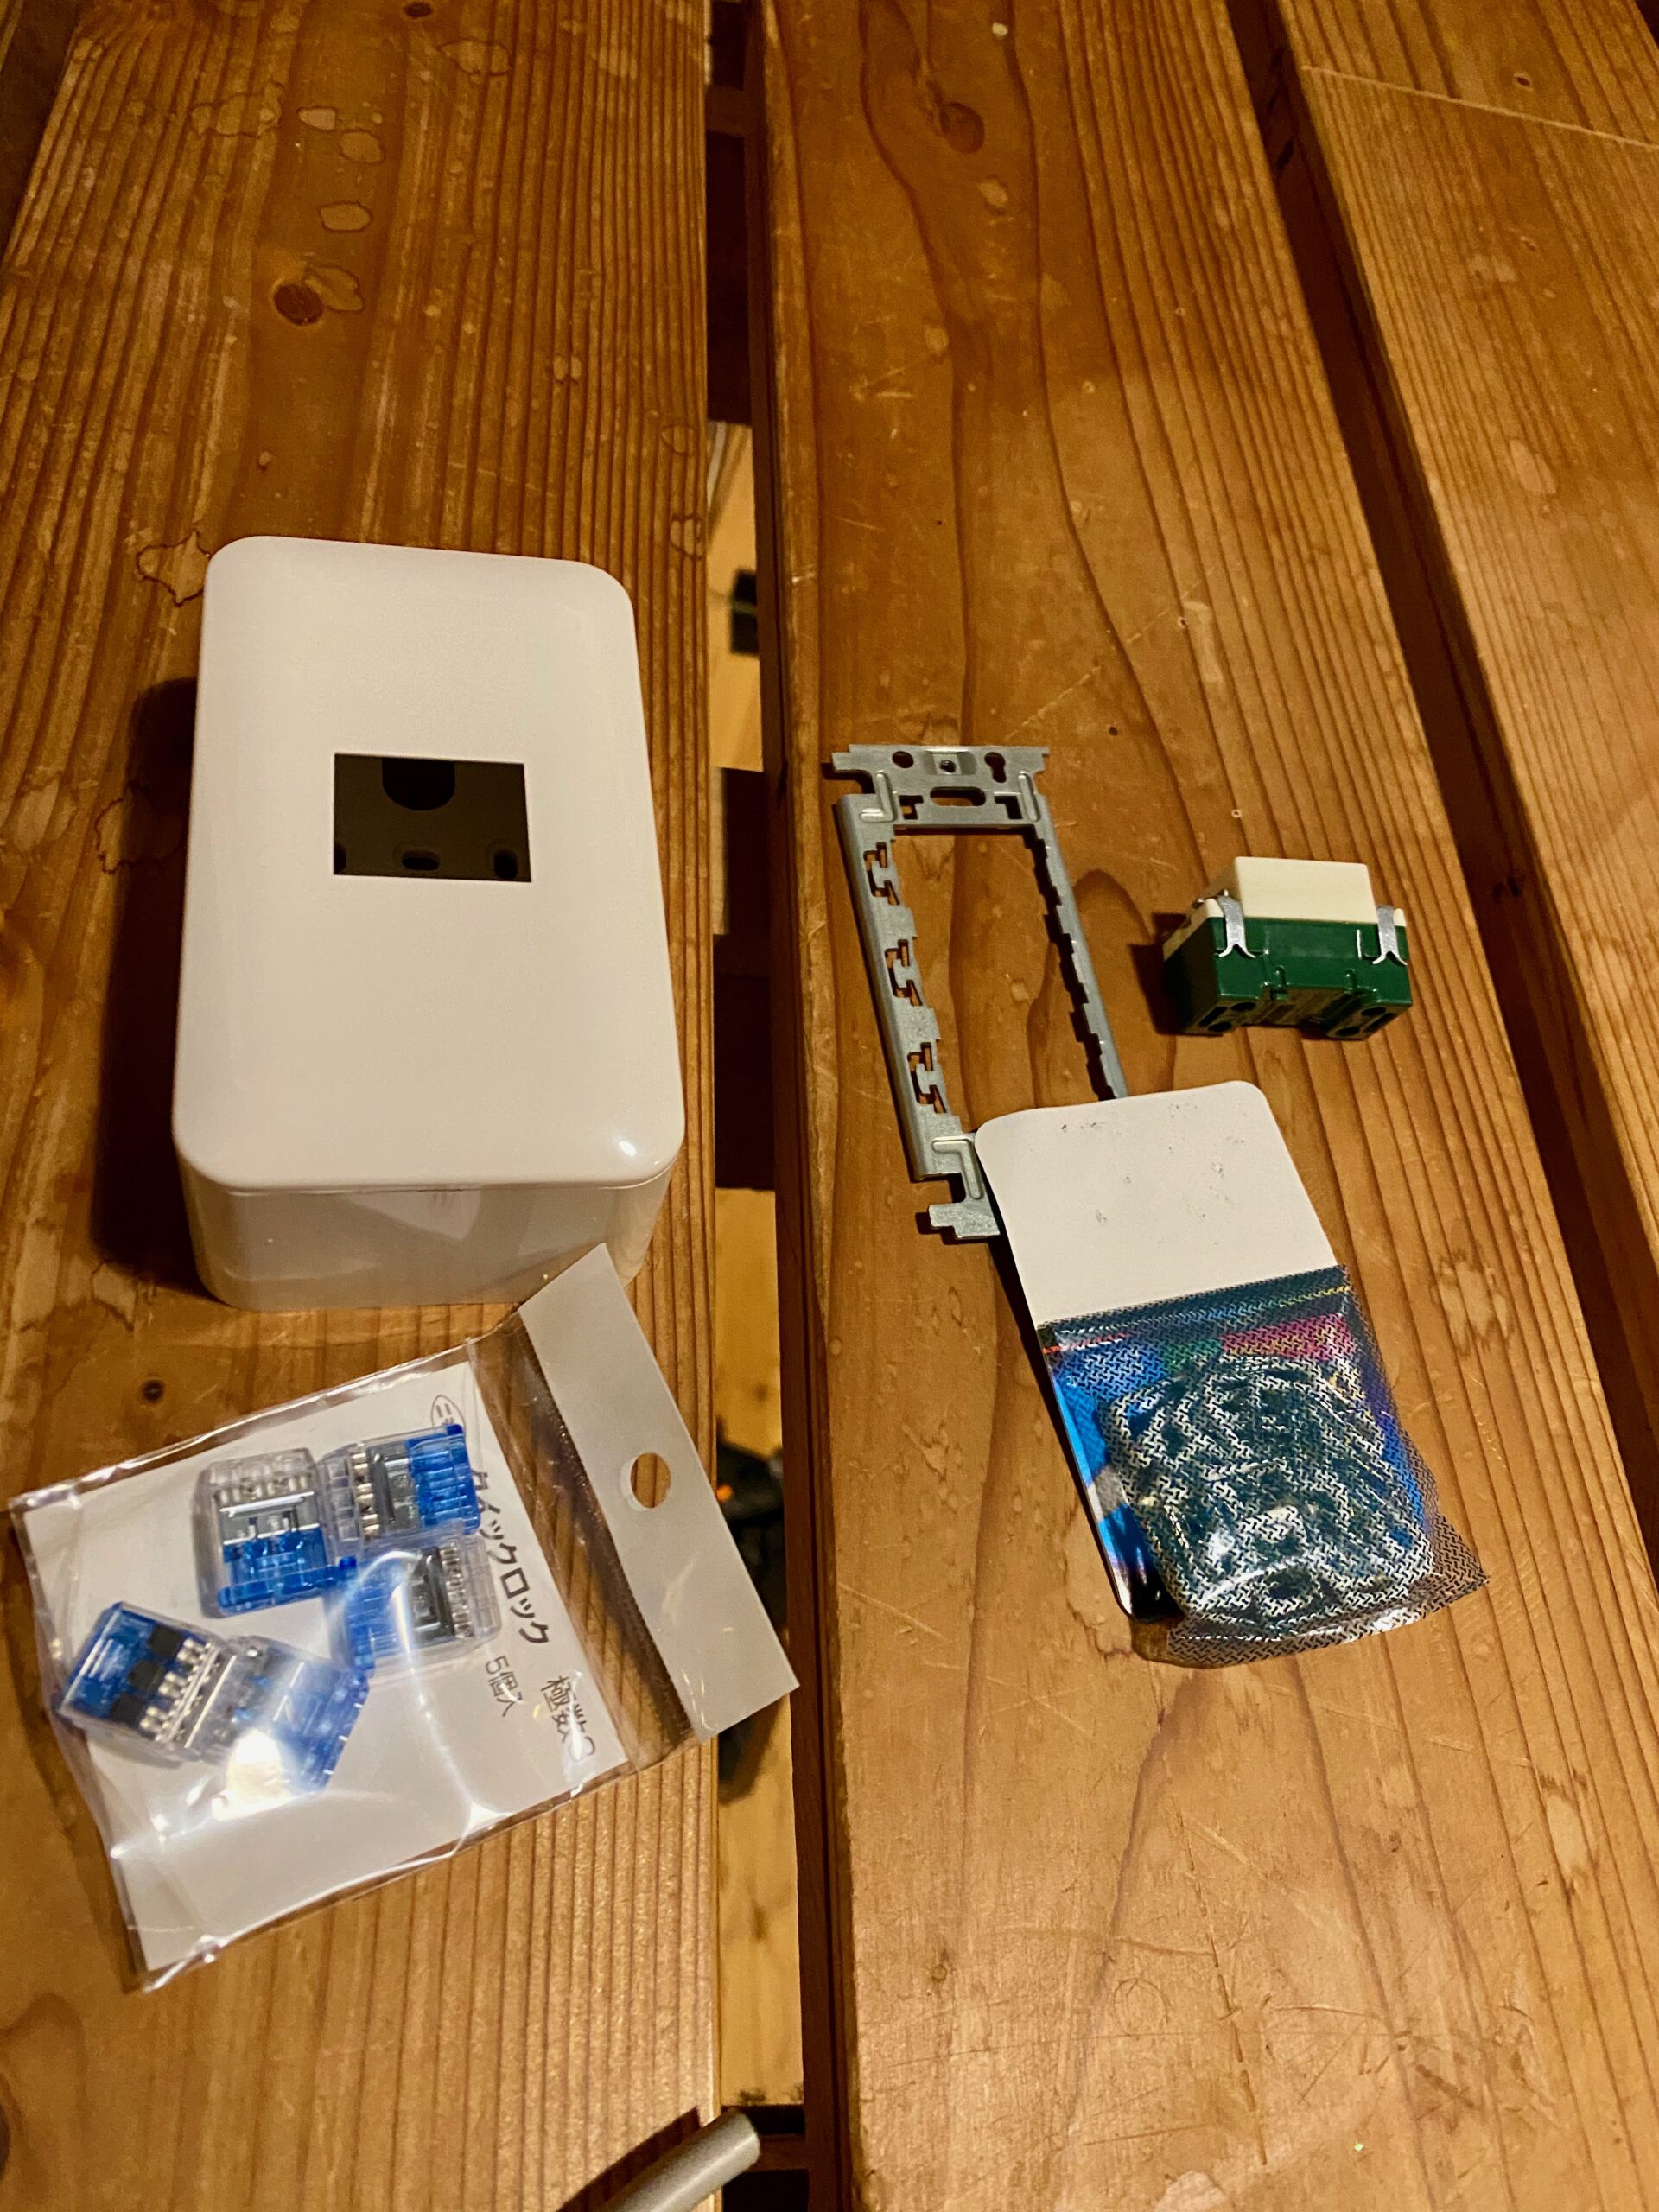
Installing the outlet box
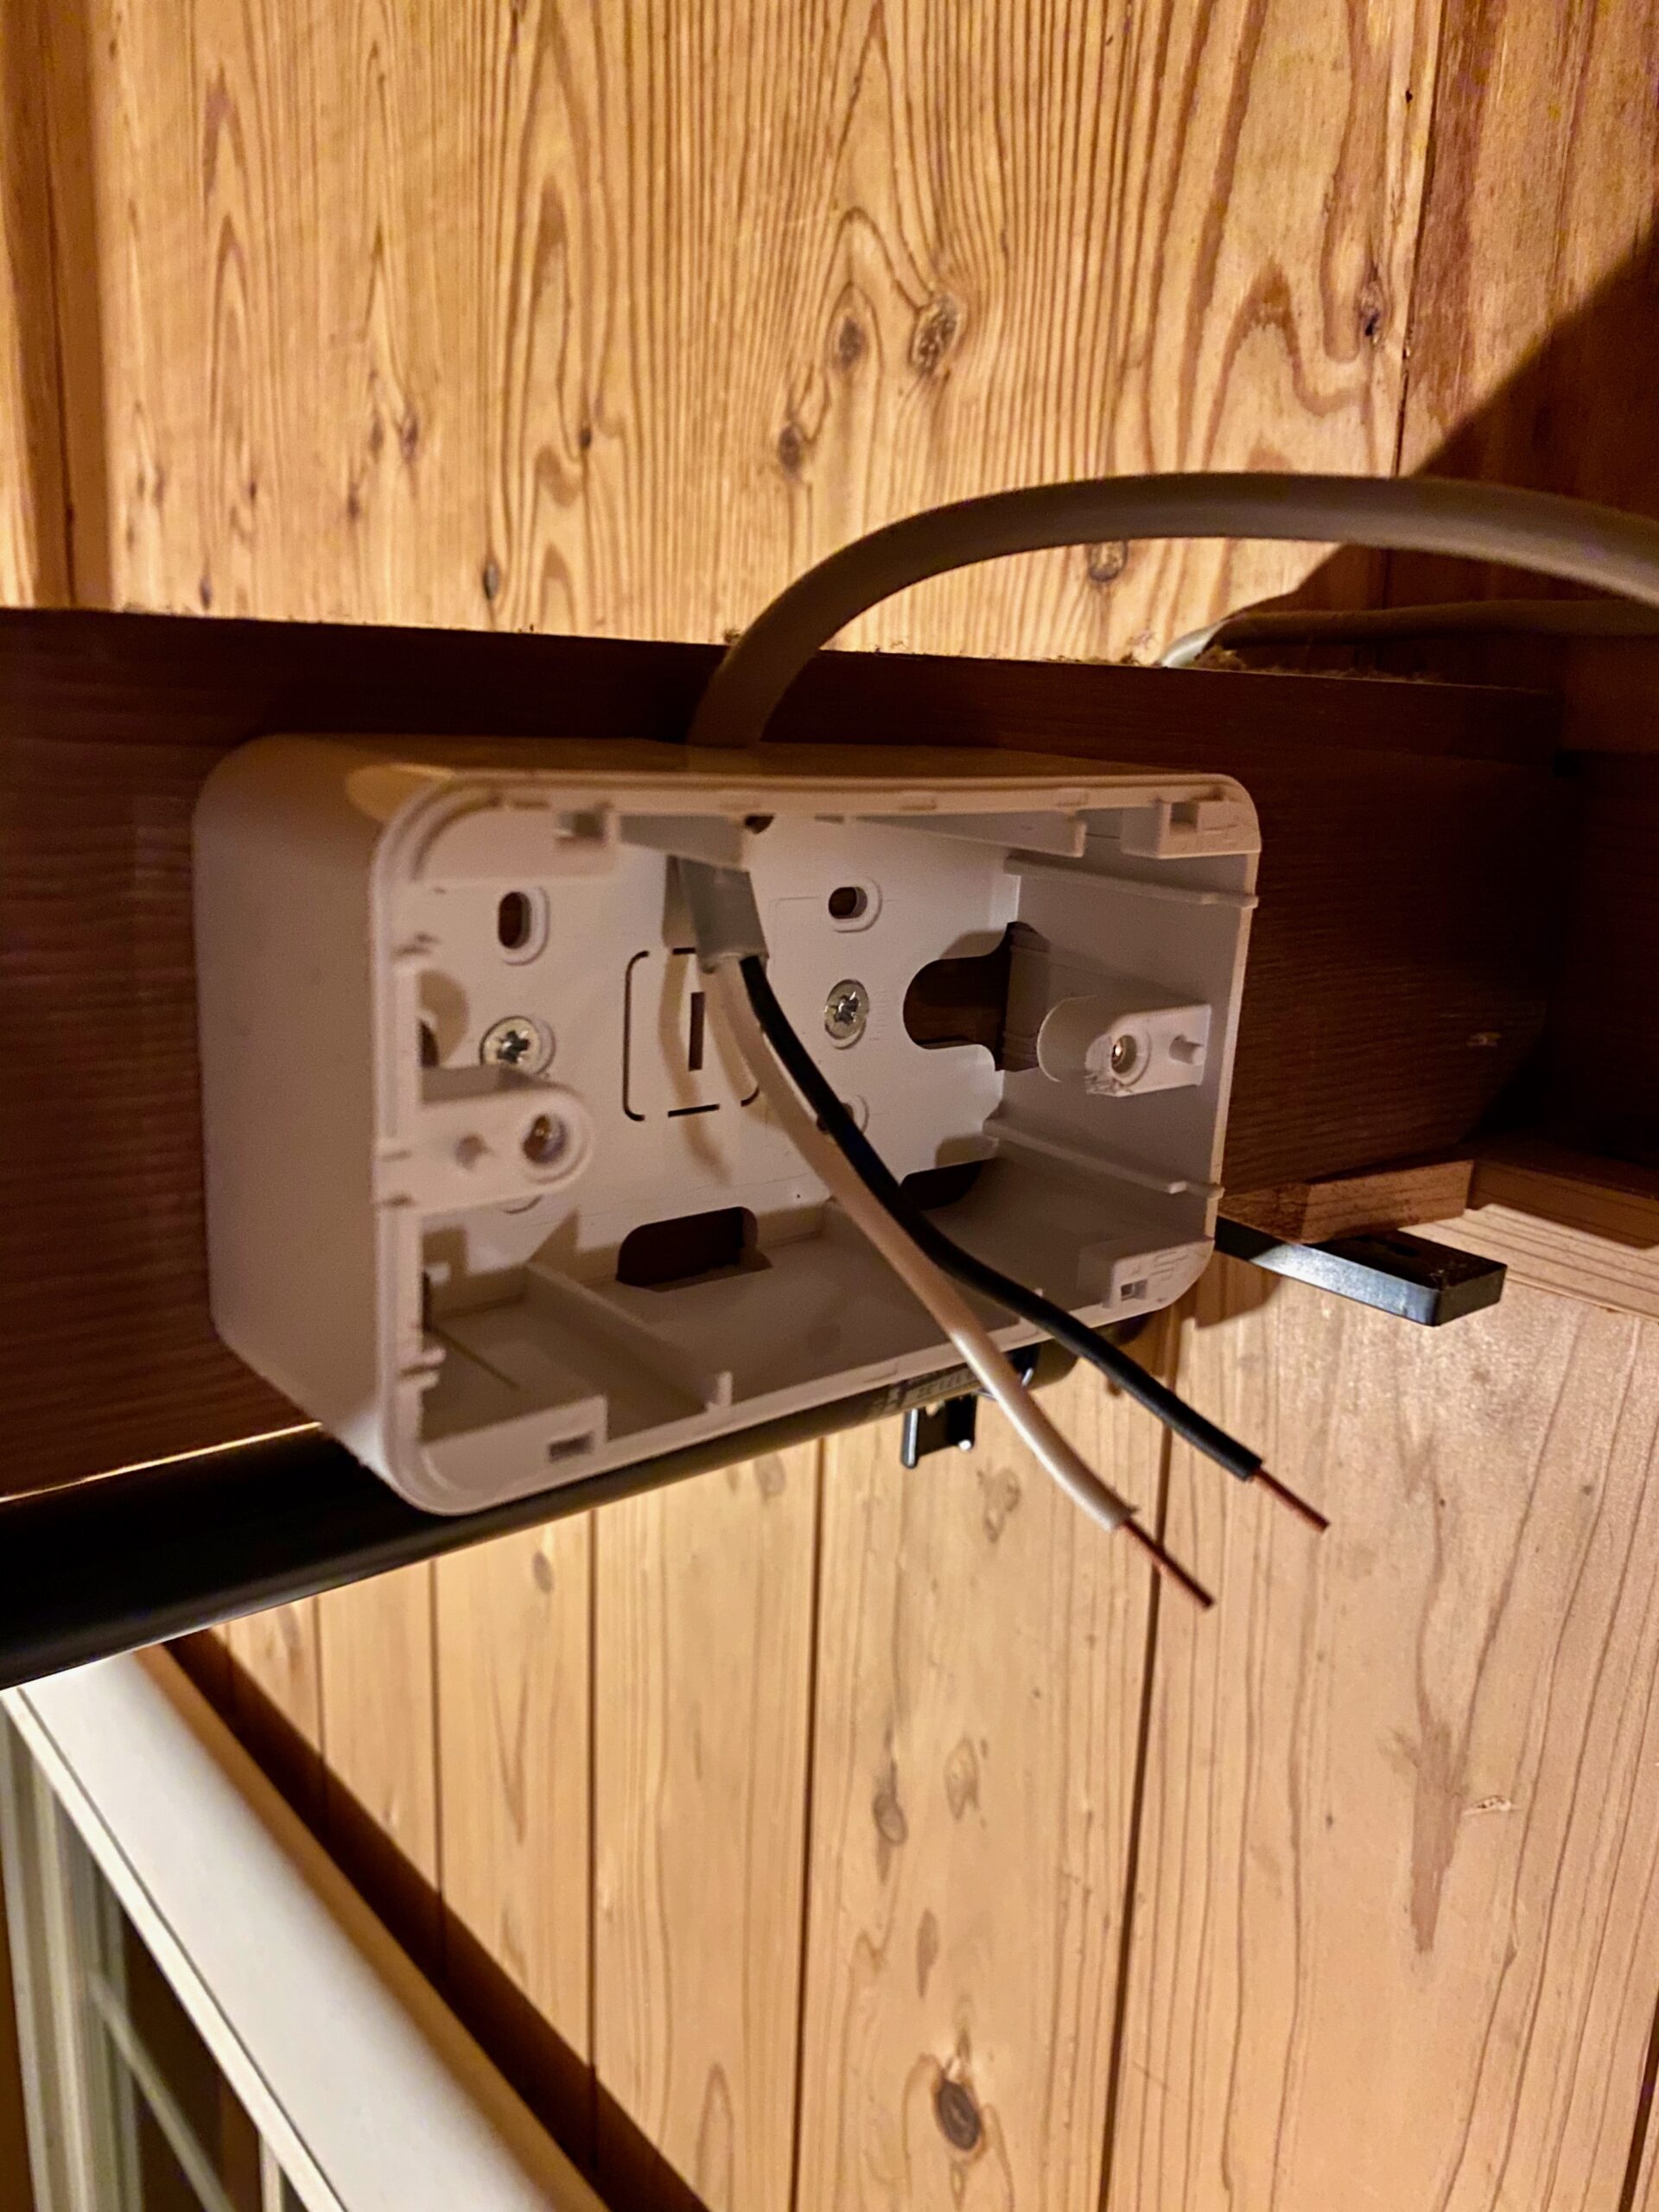
I placed it in the shadow of a light fixture so it wouldn’t stand out.
Plugged in.
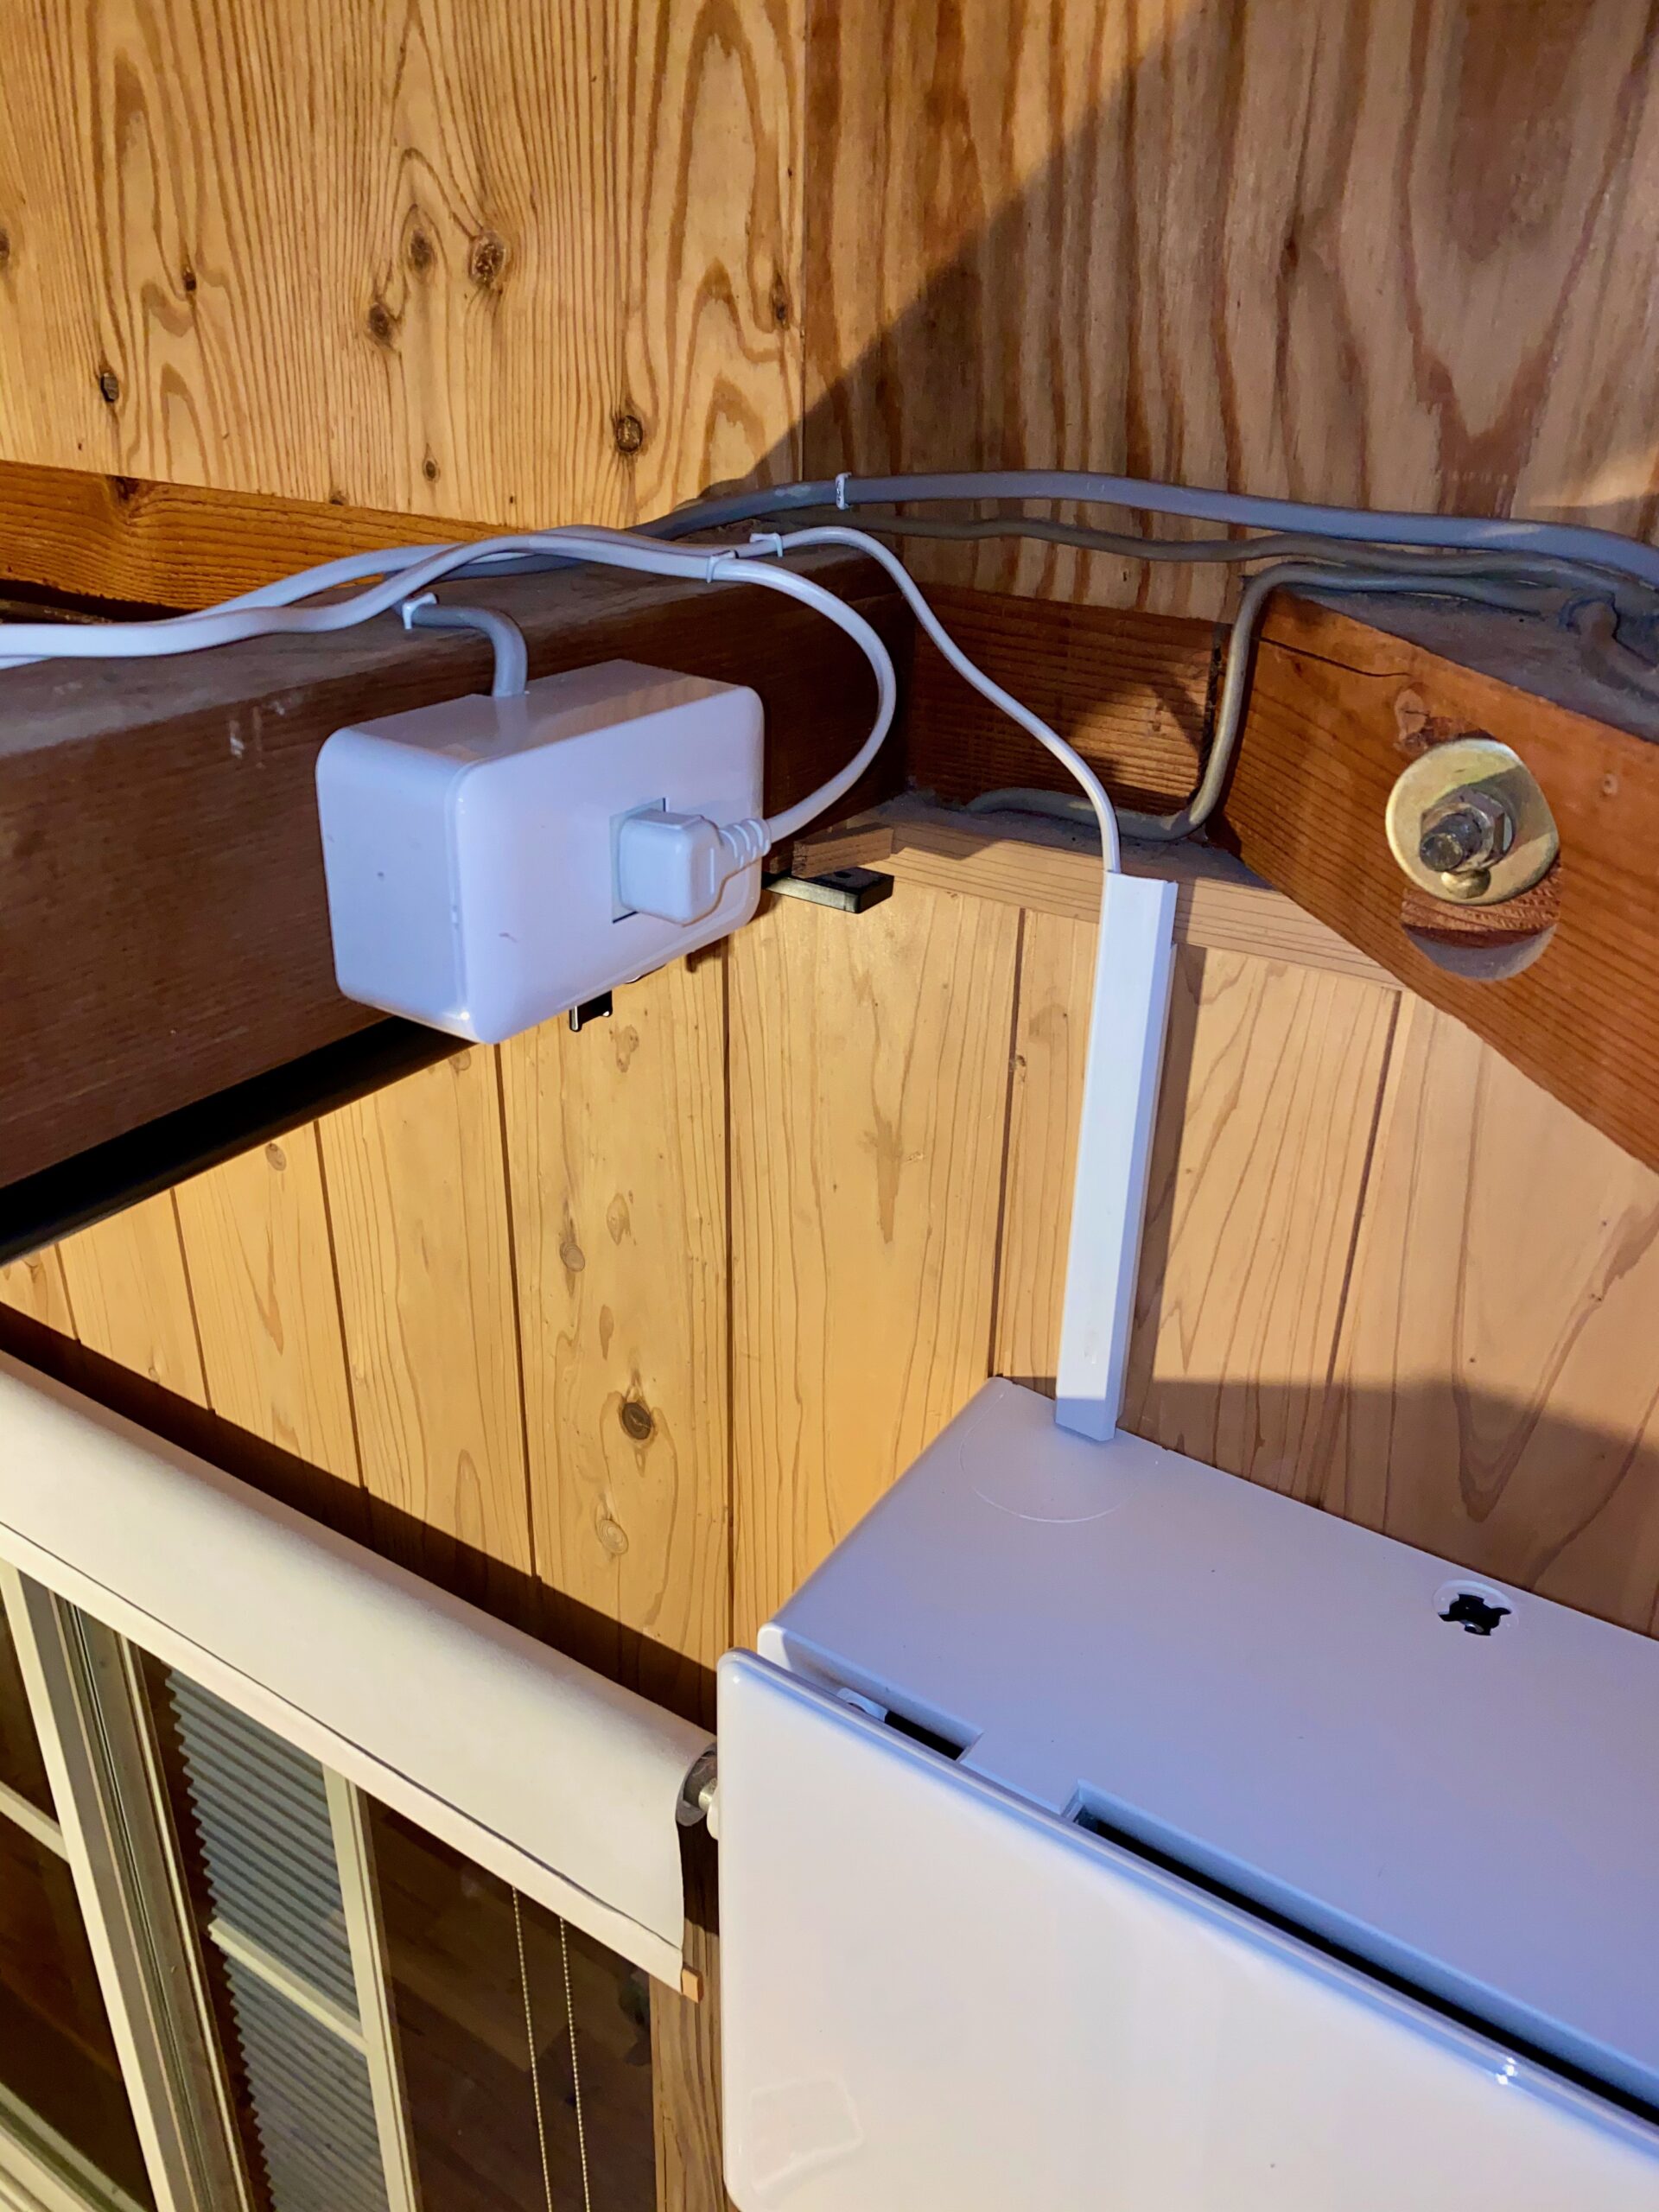
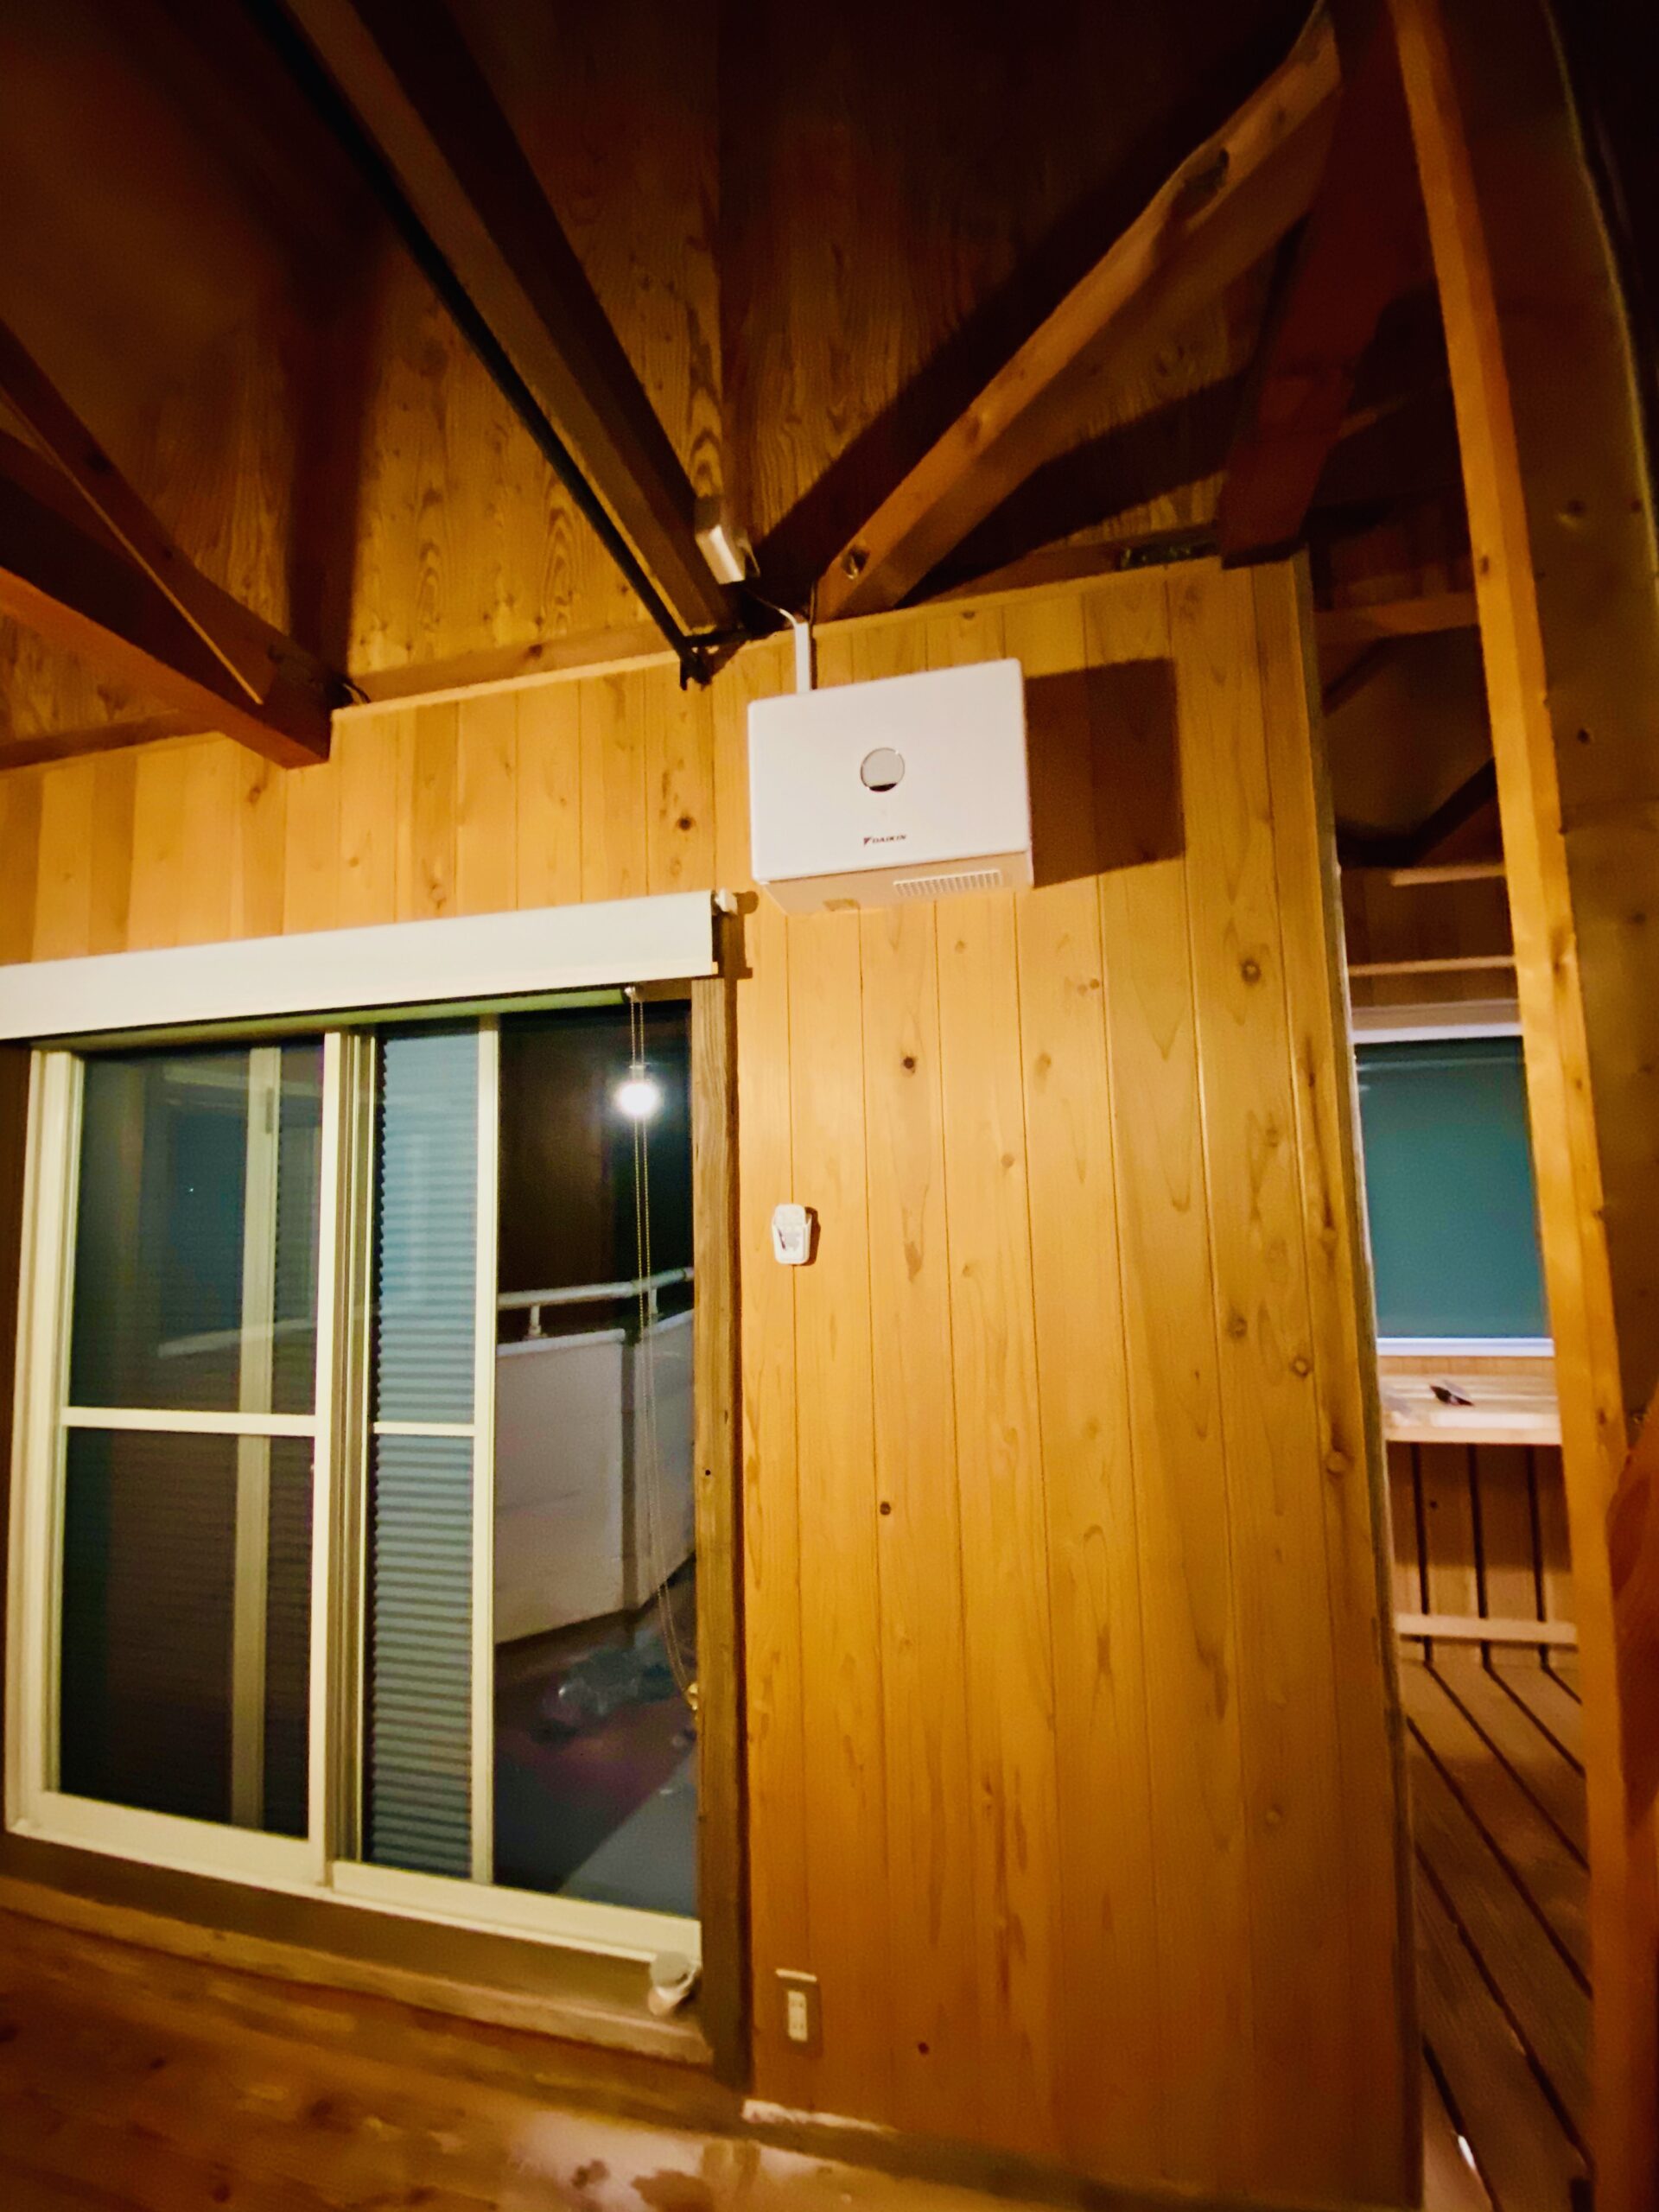
Tighten the two screws that fix the unit to the metal plates at the top and bottom of the Karaie, put on the decorative cover, and the installation is complete.
I don’t think the wiring is very noticeable.
Testing It
Manuals
Installation Manual
Owner’s Manual
Summary
- For properties left empty for long periods, or homes where no one stays regularly, the Karaie is an ideal dehumidifier.
- The unit costs around ¥60,000, in the same price range as an inexpensive air conditioner. For that reason, in ordinary homes where people live full-time, many will probably rely on the dehumidifying function of an air conditioner instead.