
The existing mixer faucet started leaking, so we replaced it.
For a while the shower’s flow-control handle had been shifting on its own during use, and we had been considering a replacement, but we kept putting it off because the job looked difficult. Once we actually tried it, though, the replacement turned out to be surprisingly easy.
We didn’t take many photos during the work, so the record is limited.
This is the faucet we bought. We chose a mid-grade product with a good balance of price and quality.

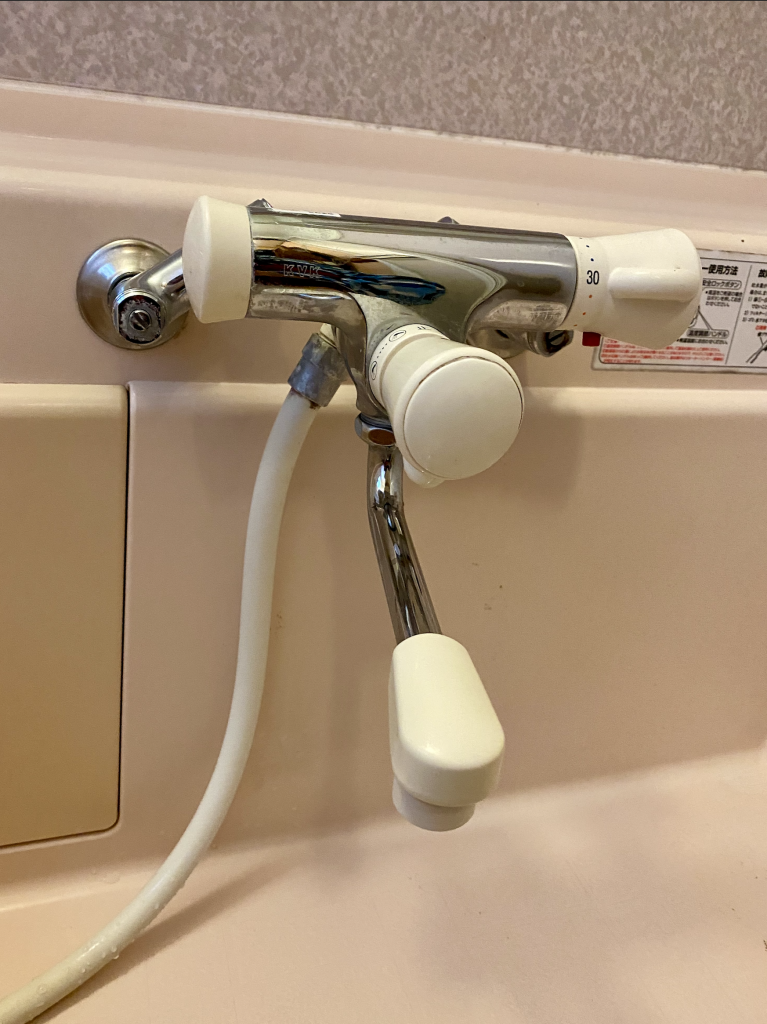
Here is the faucet before the replacement.
First, shut off the main water valve. Ours was located on the road side of the parking area.
Next, remove the existing faucet. On the right is the water inlet filter, covered in red rust.
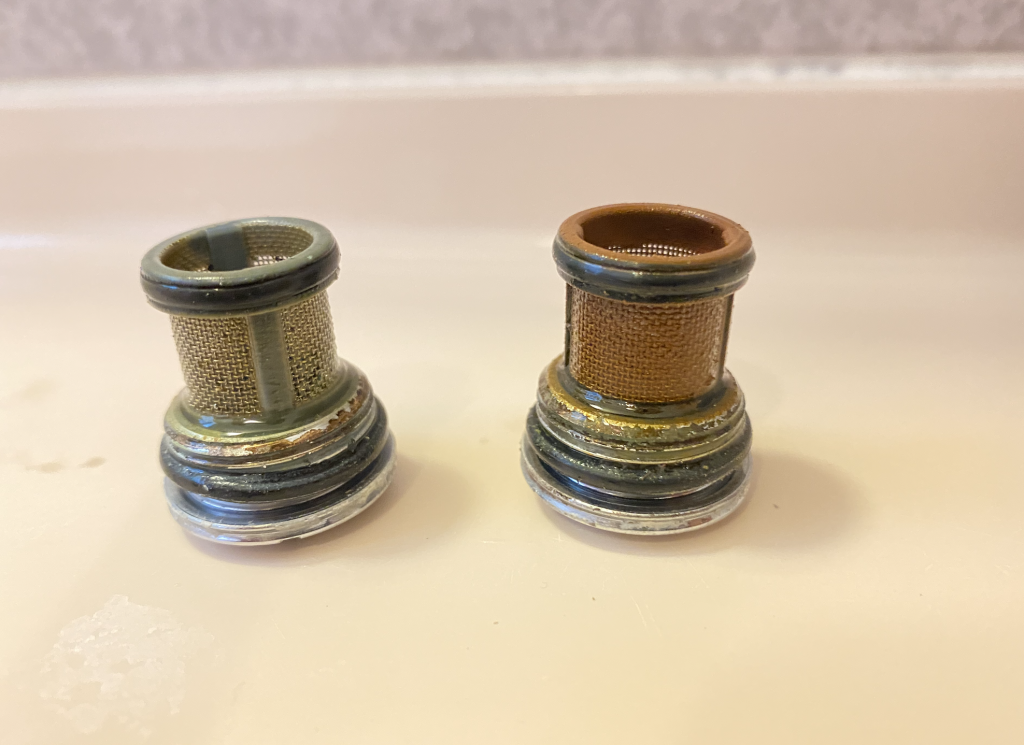
Remove it while holding it steady with water pump pliers. Rust and grime that had built up in the joints come out.
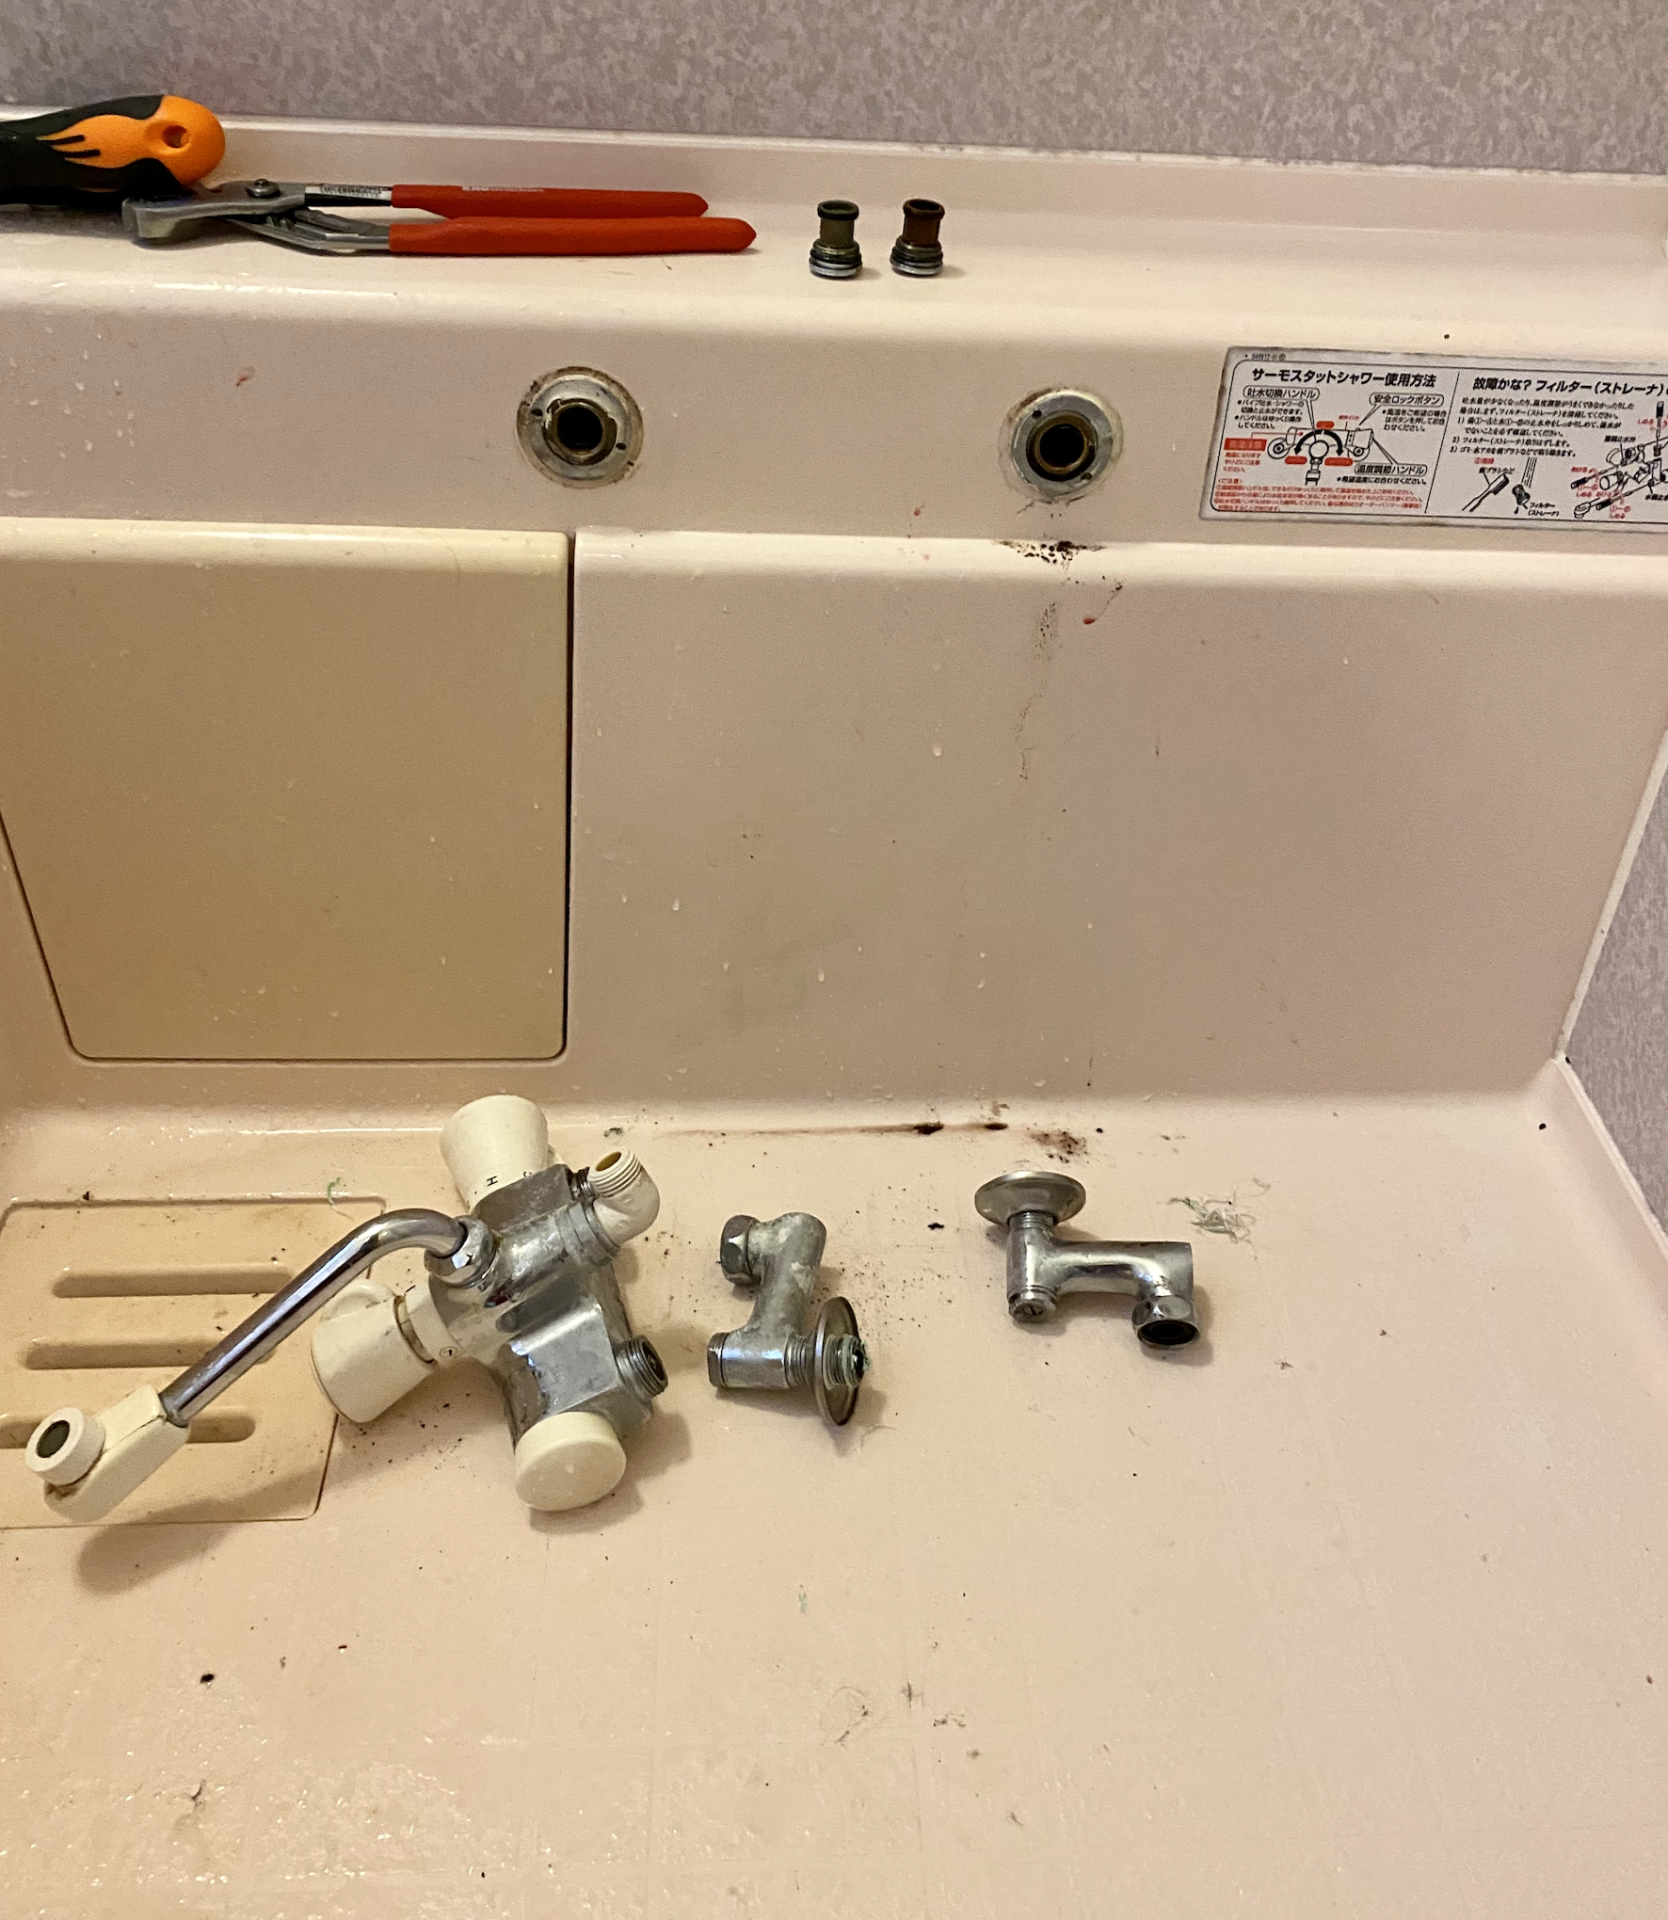
To flush out the dirt inside the pipes, open the main valve once to run water through, then close it again.
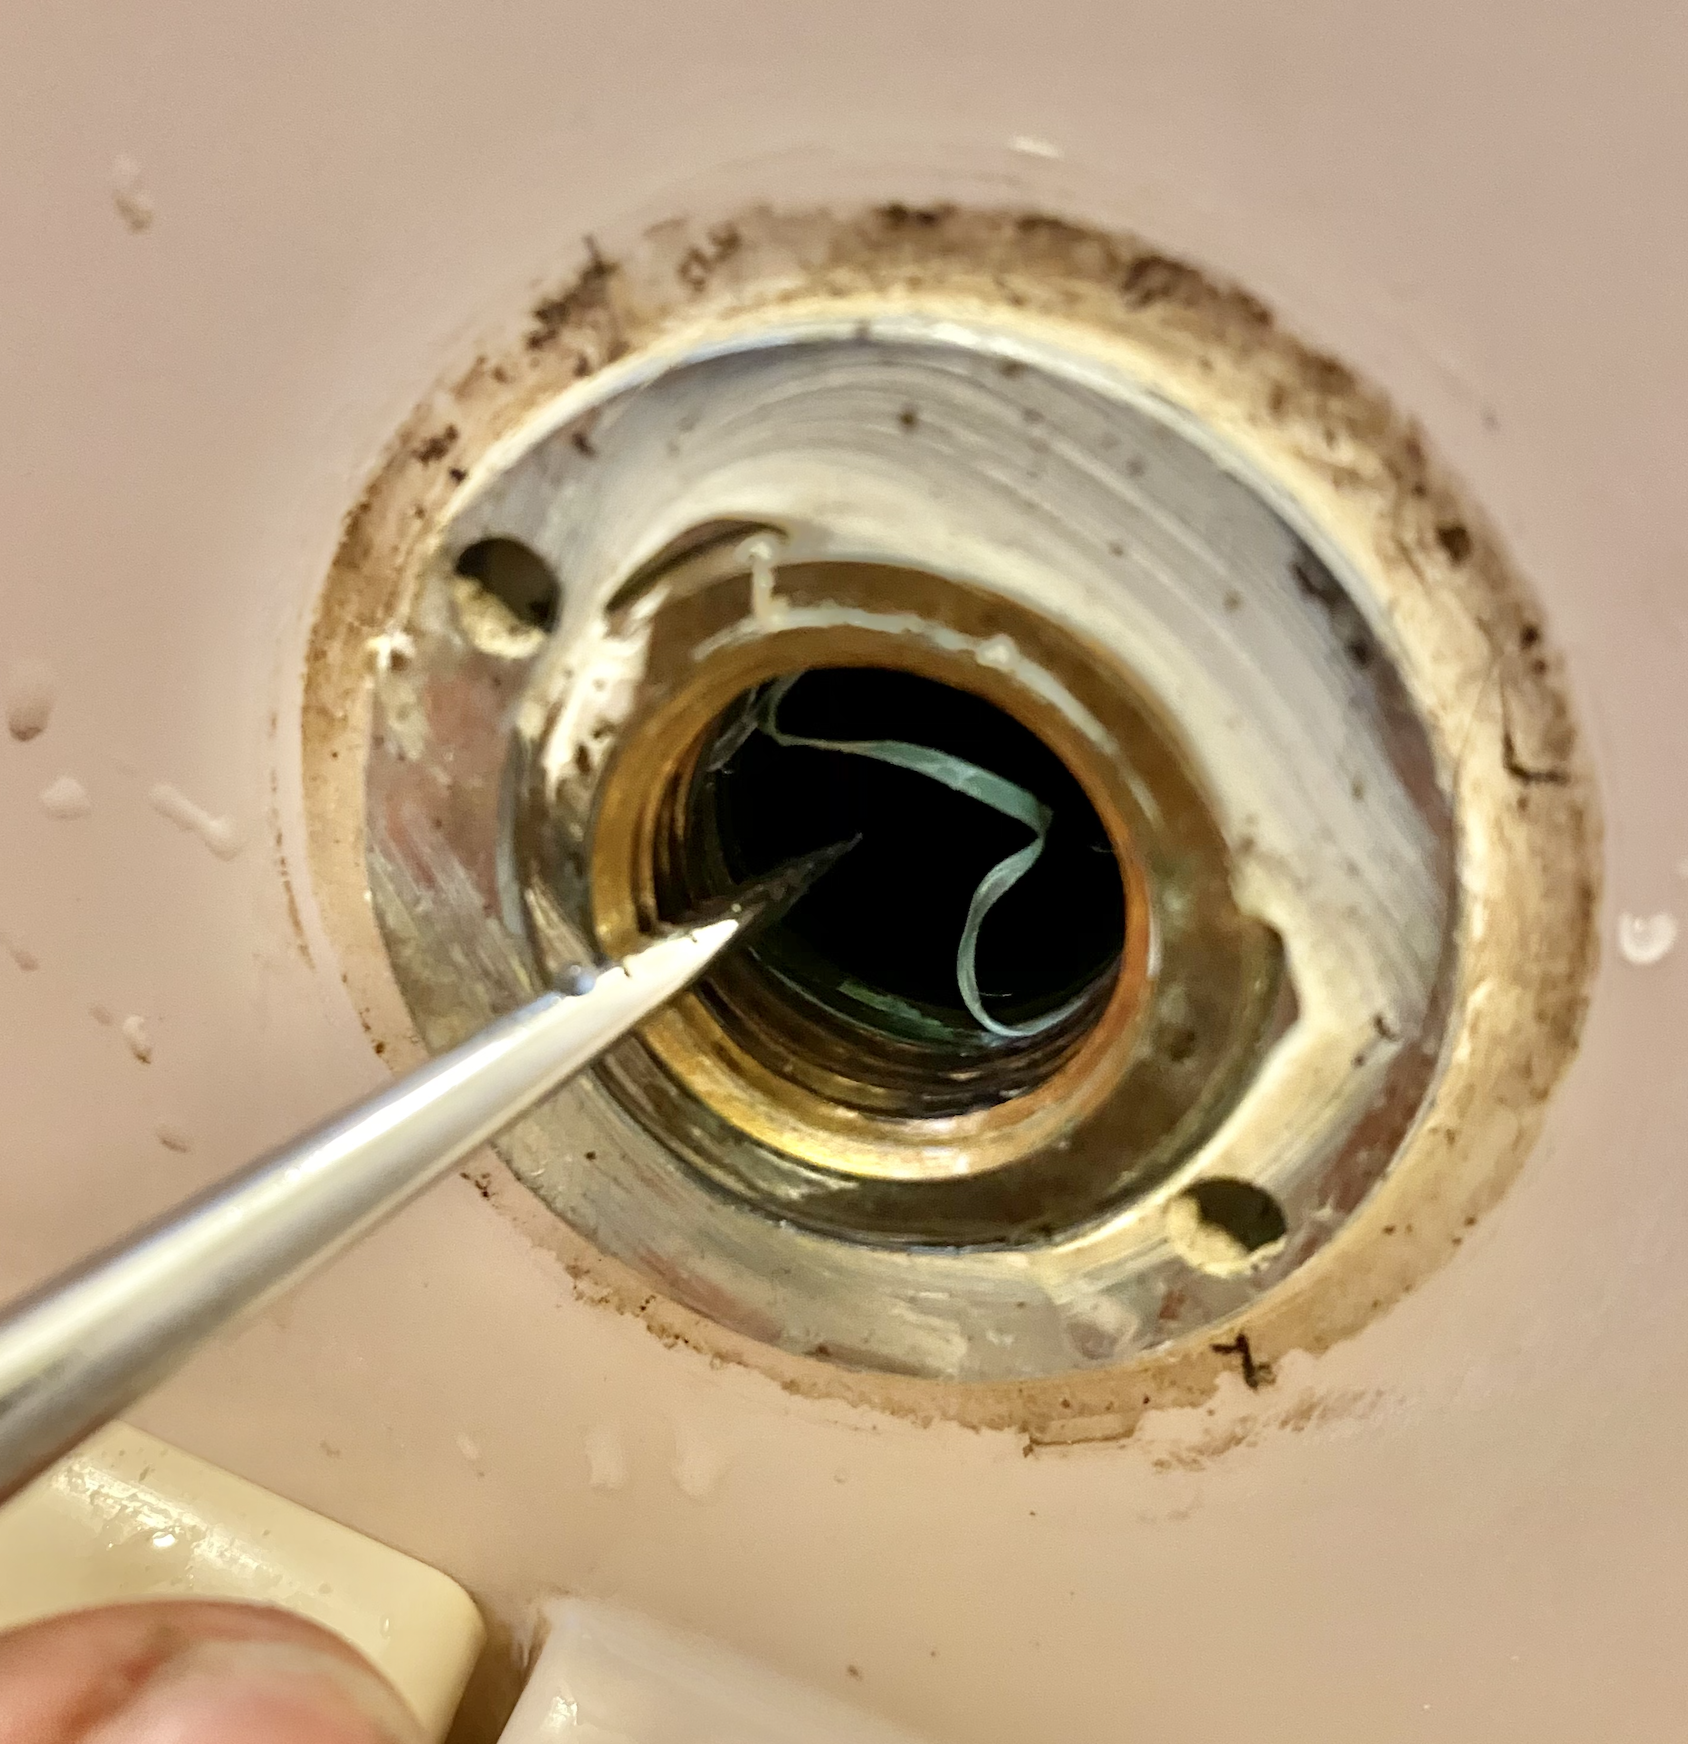
Remove the old sealing tape left on the pipe threads with a pointed tool.
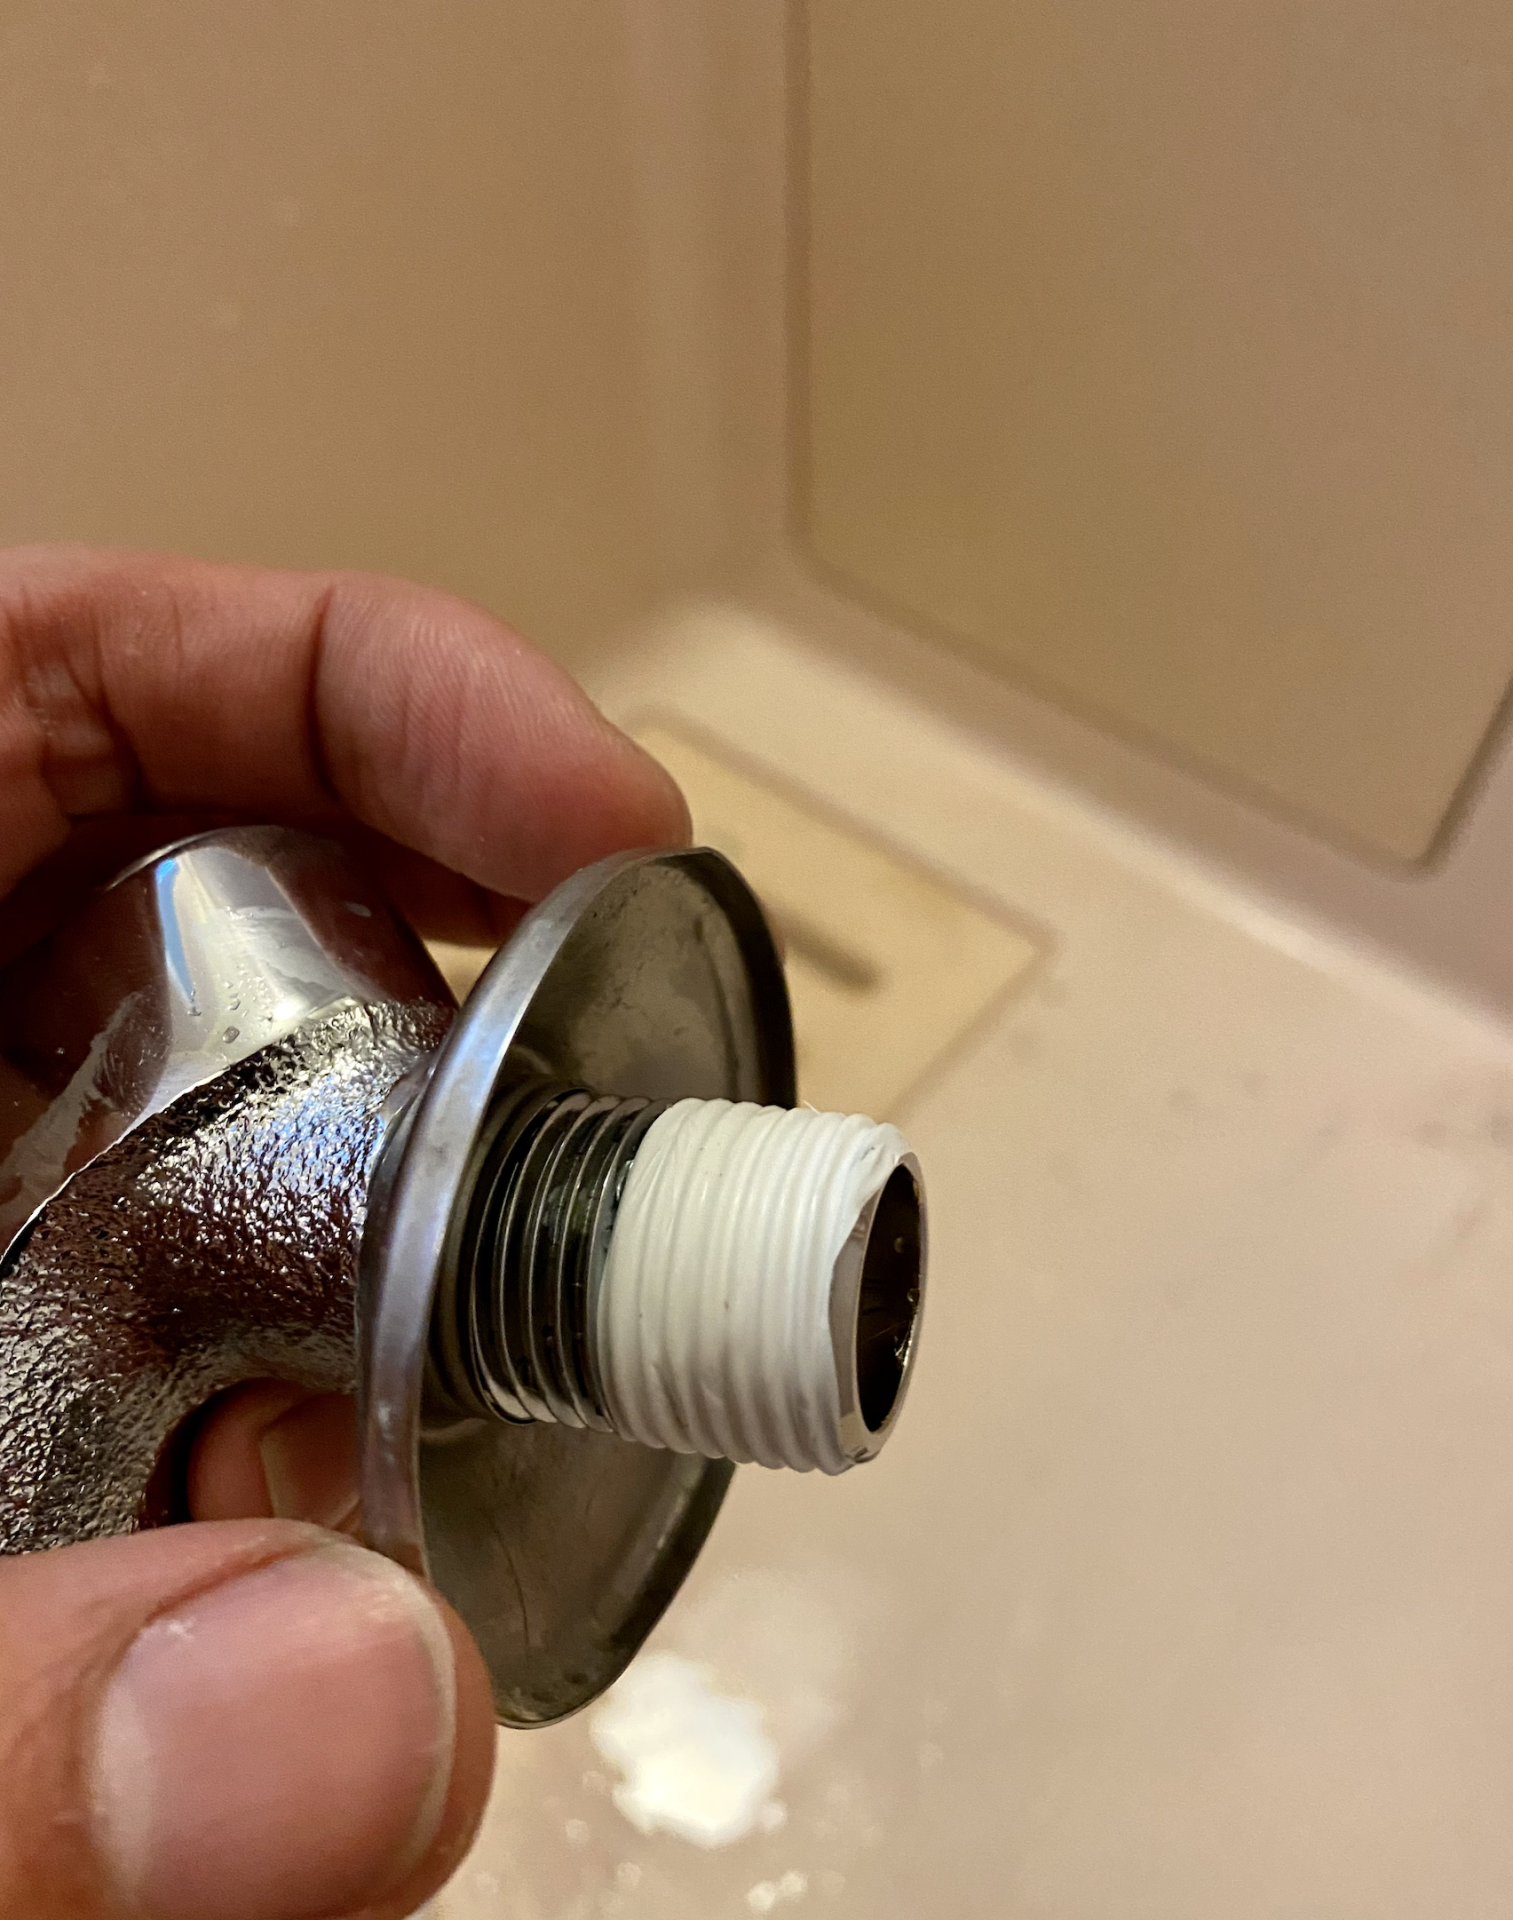
Wrap sealing tape around the new faucet’s fittings and install it.
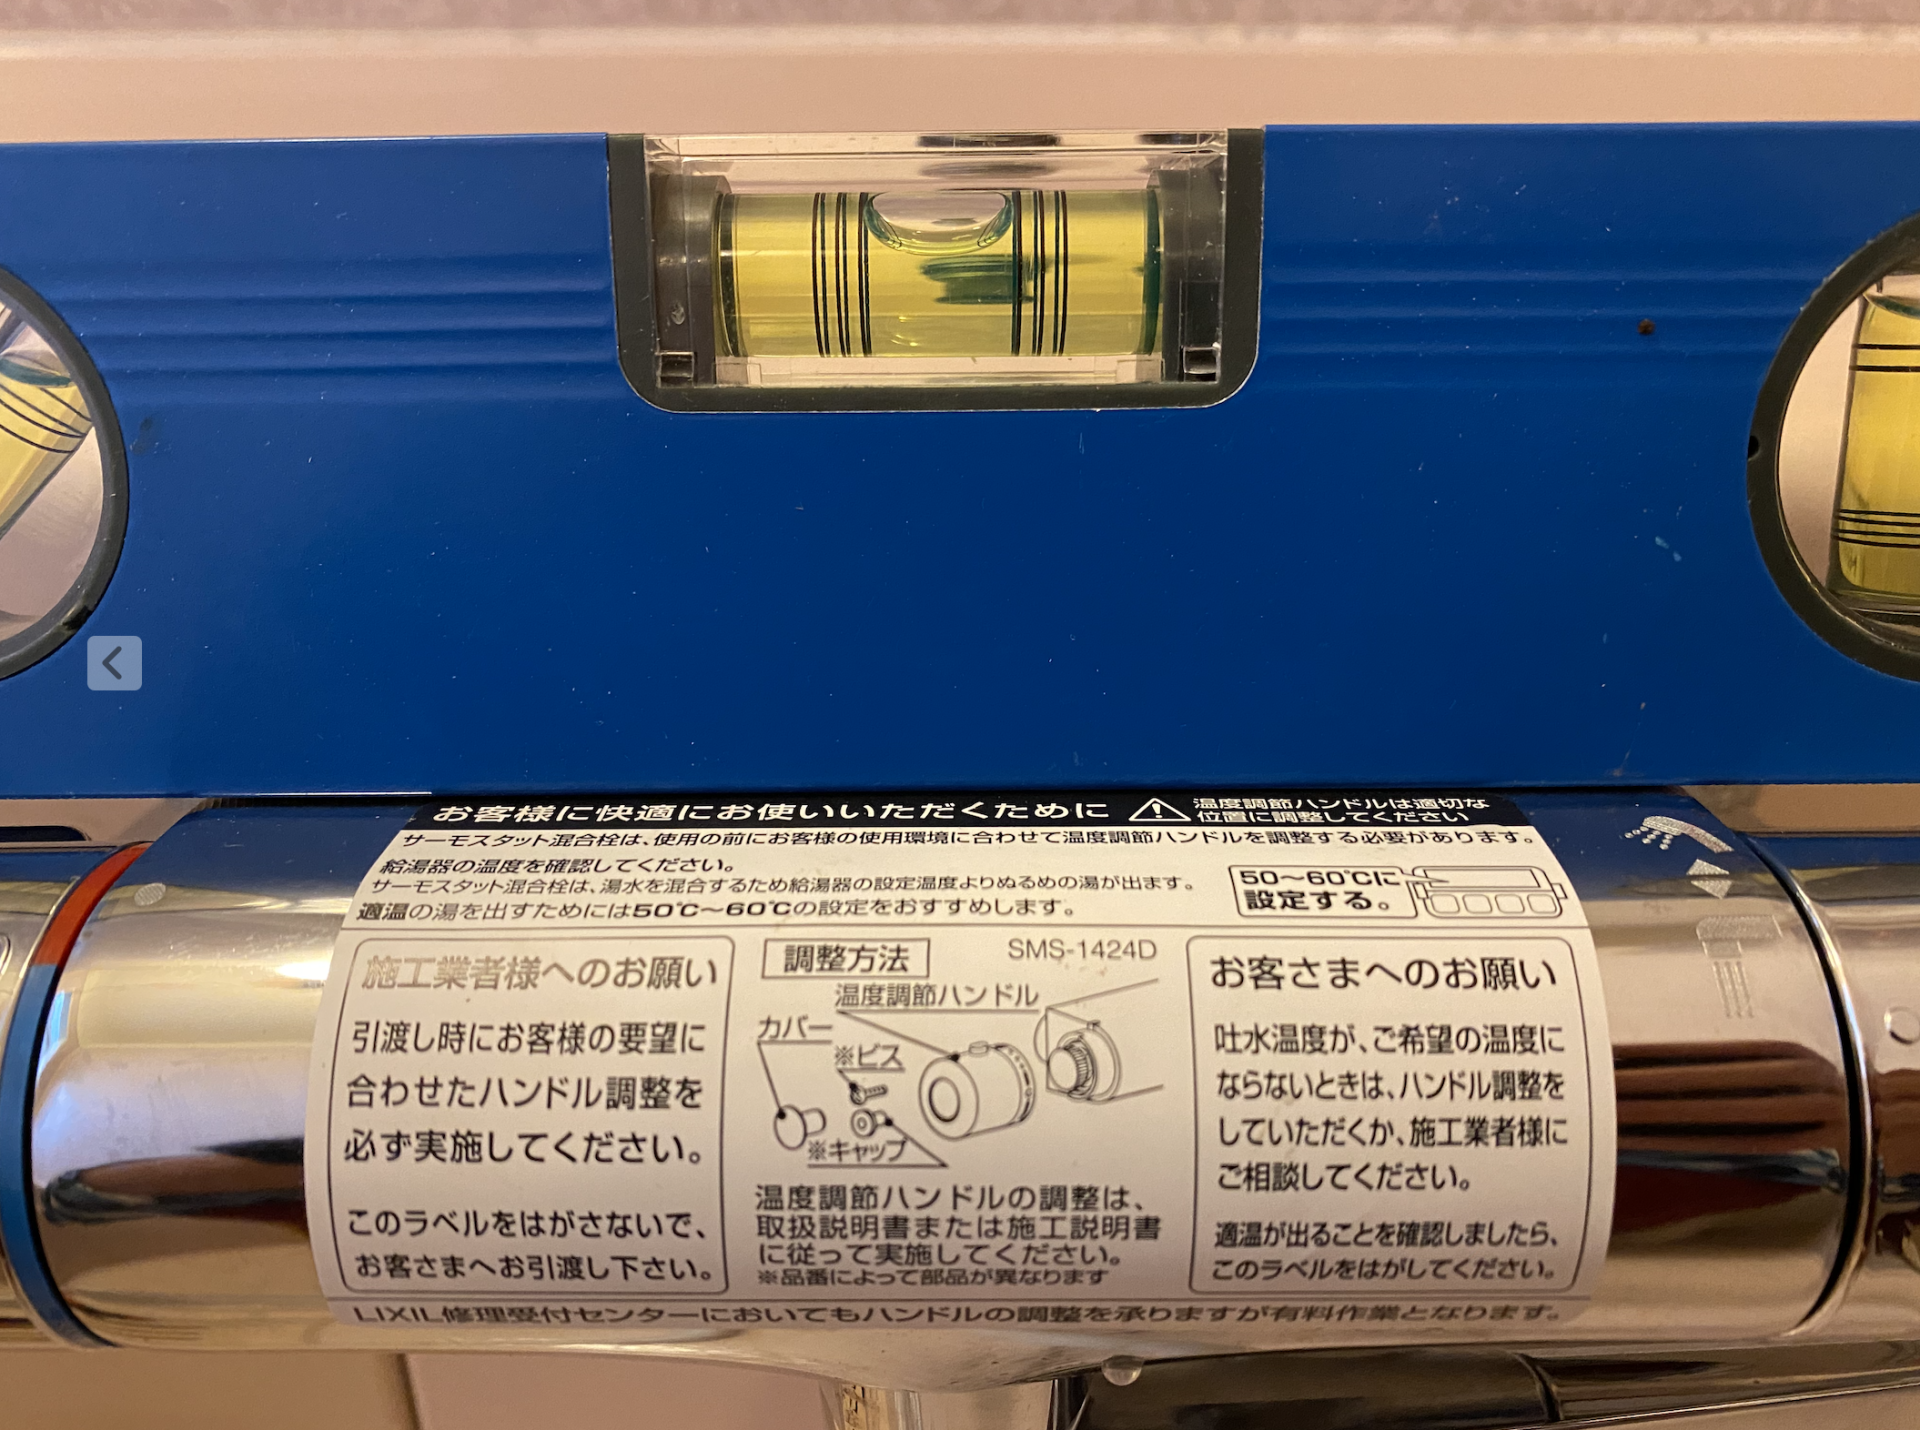
Mount it level, checking with a spirit level as you go.
Once installation was complete, we ran an operation test.
The whole job took about 30 minutes.
We think this is a highly cost-effective piece of maintenance.