
Overview
A shelf on the wall next to the kitchen was fixed with “Toggler” anchors (トグラー, a common drywall anchor in Japan). After we removed the shelf, the wall was left with a row of anchor holes, so we filled them with putty and rehung the wallpaper on the whole wall.
- Wallpaper: a leftover roll we had kept from a renovation five years ago
- Cost: about 3,000 yen for the putty, paste, and tools
The Original Shelf
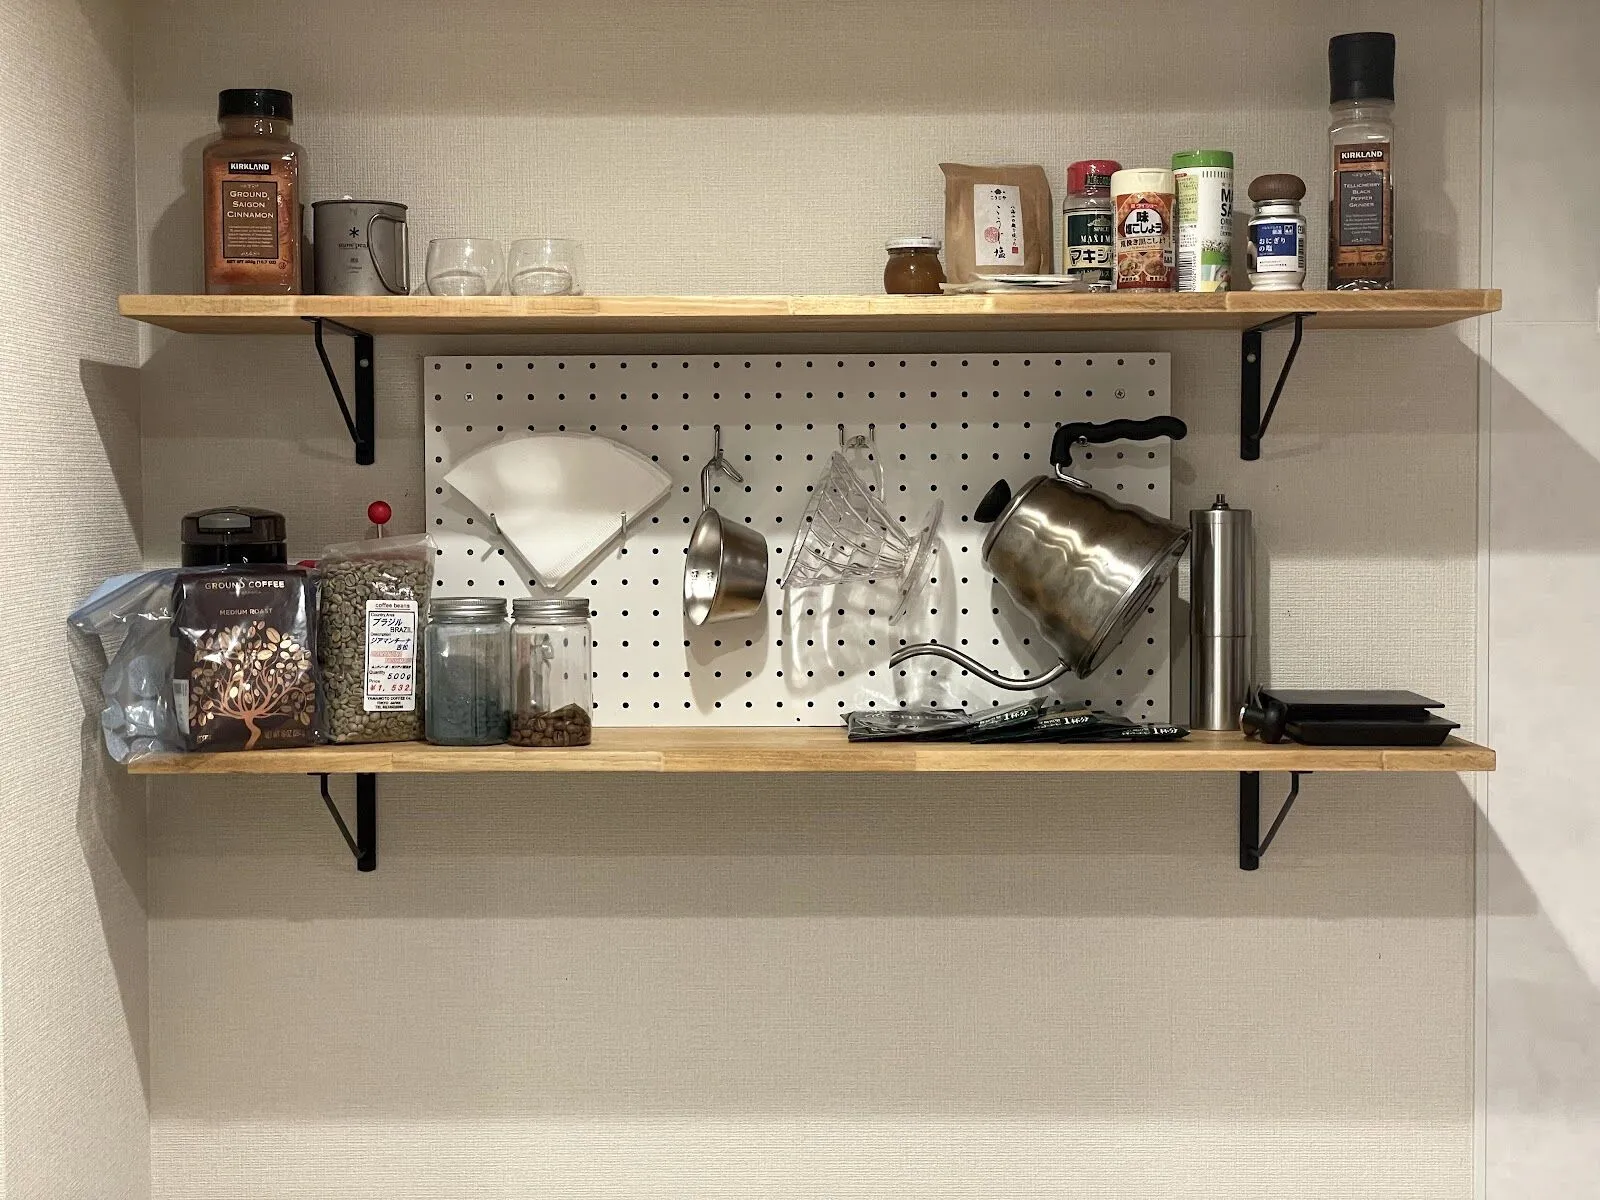
The shelf before removal (photo from May 2021). Two shelf boards and a pegboard were mounted on the wall, holding coffee gear and spices.
Condition Before the Work
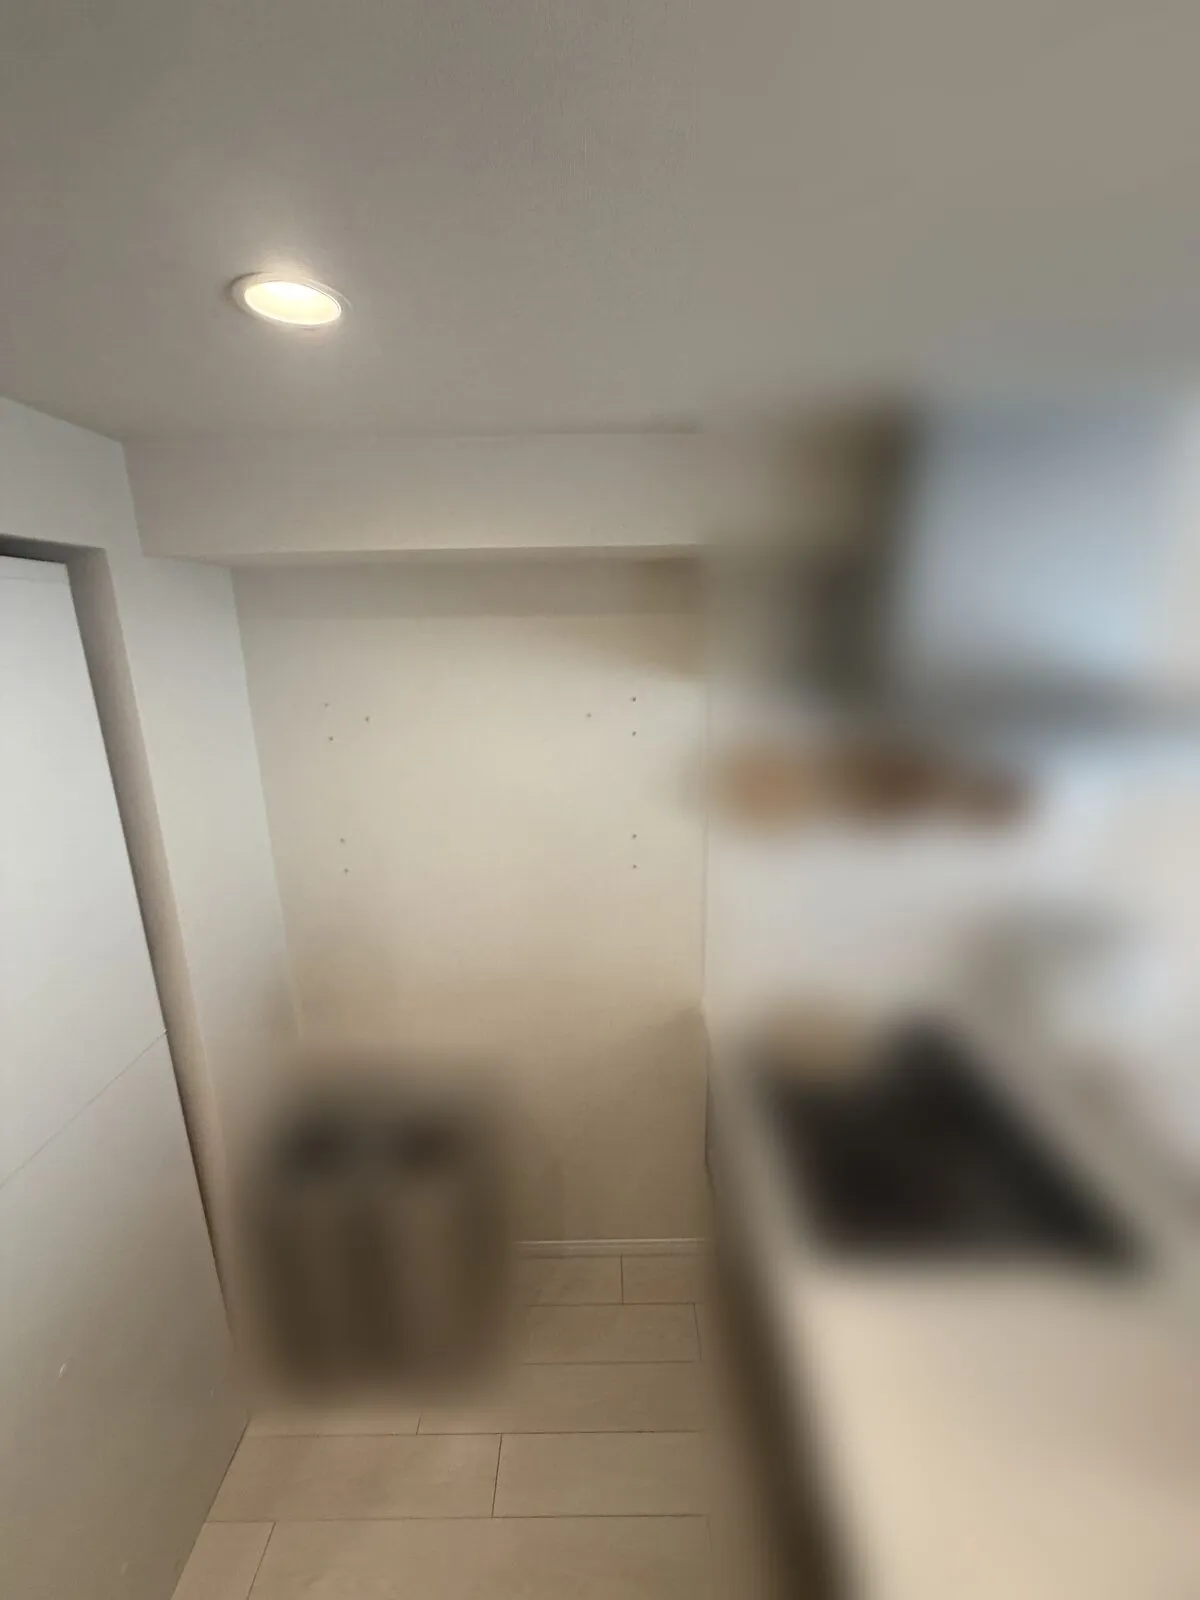
The wall right after removing the shelf. The holes are hard to see from a distance, but up close you can see them lined up.
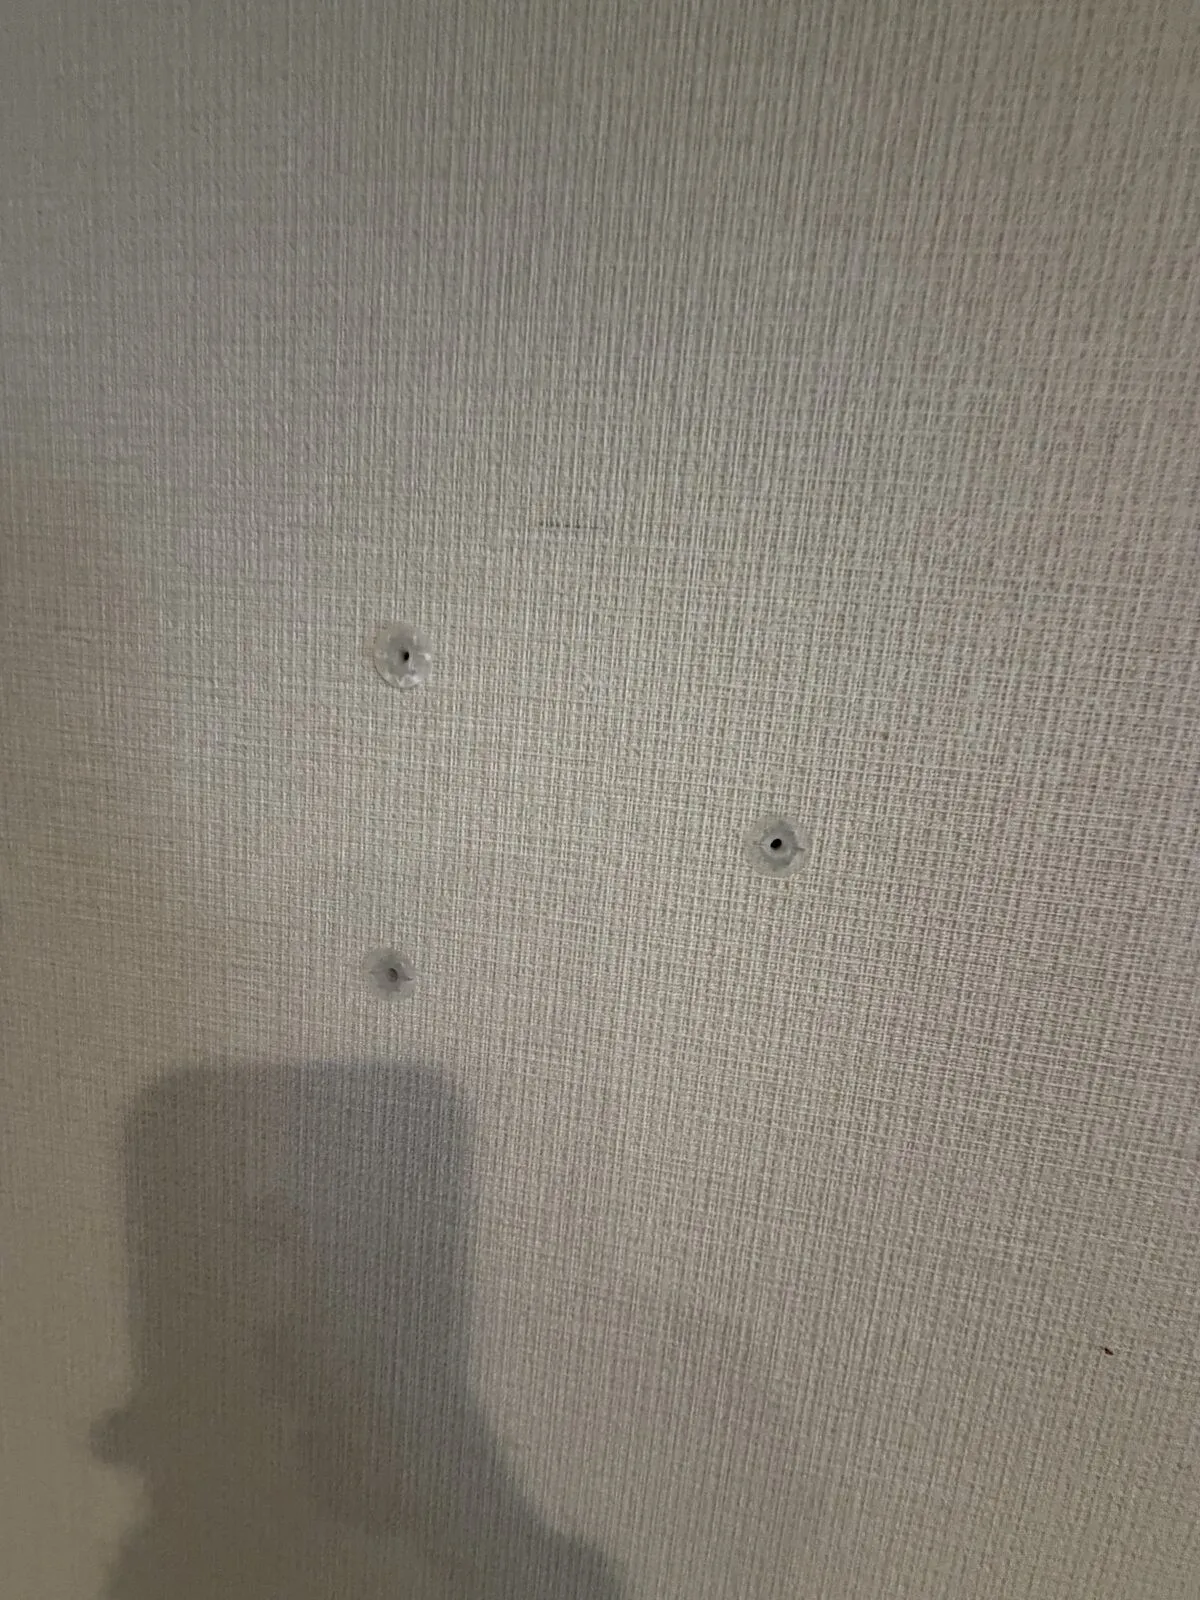
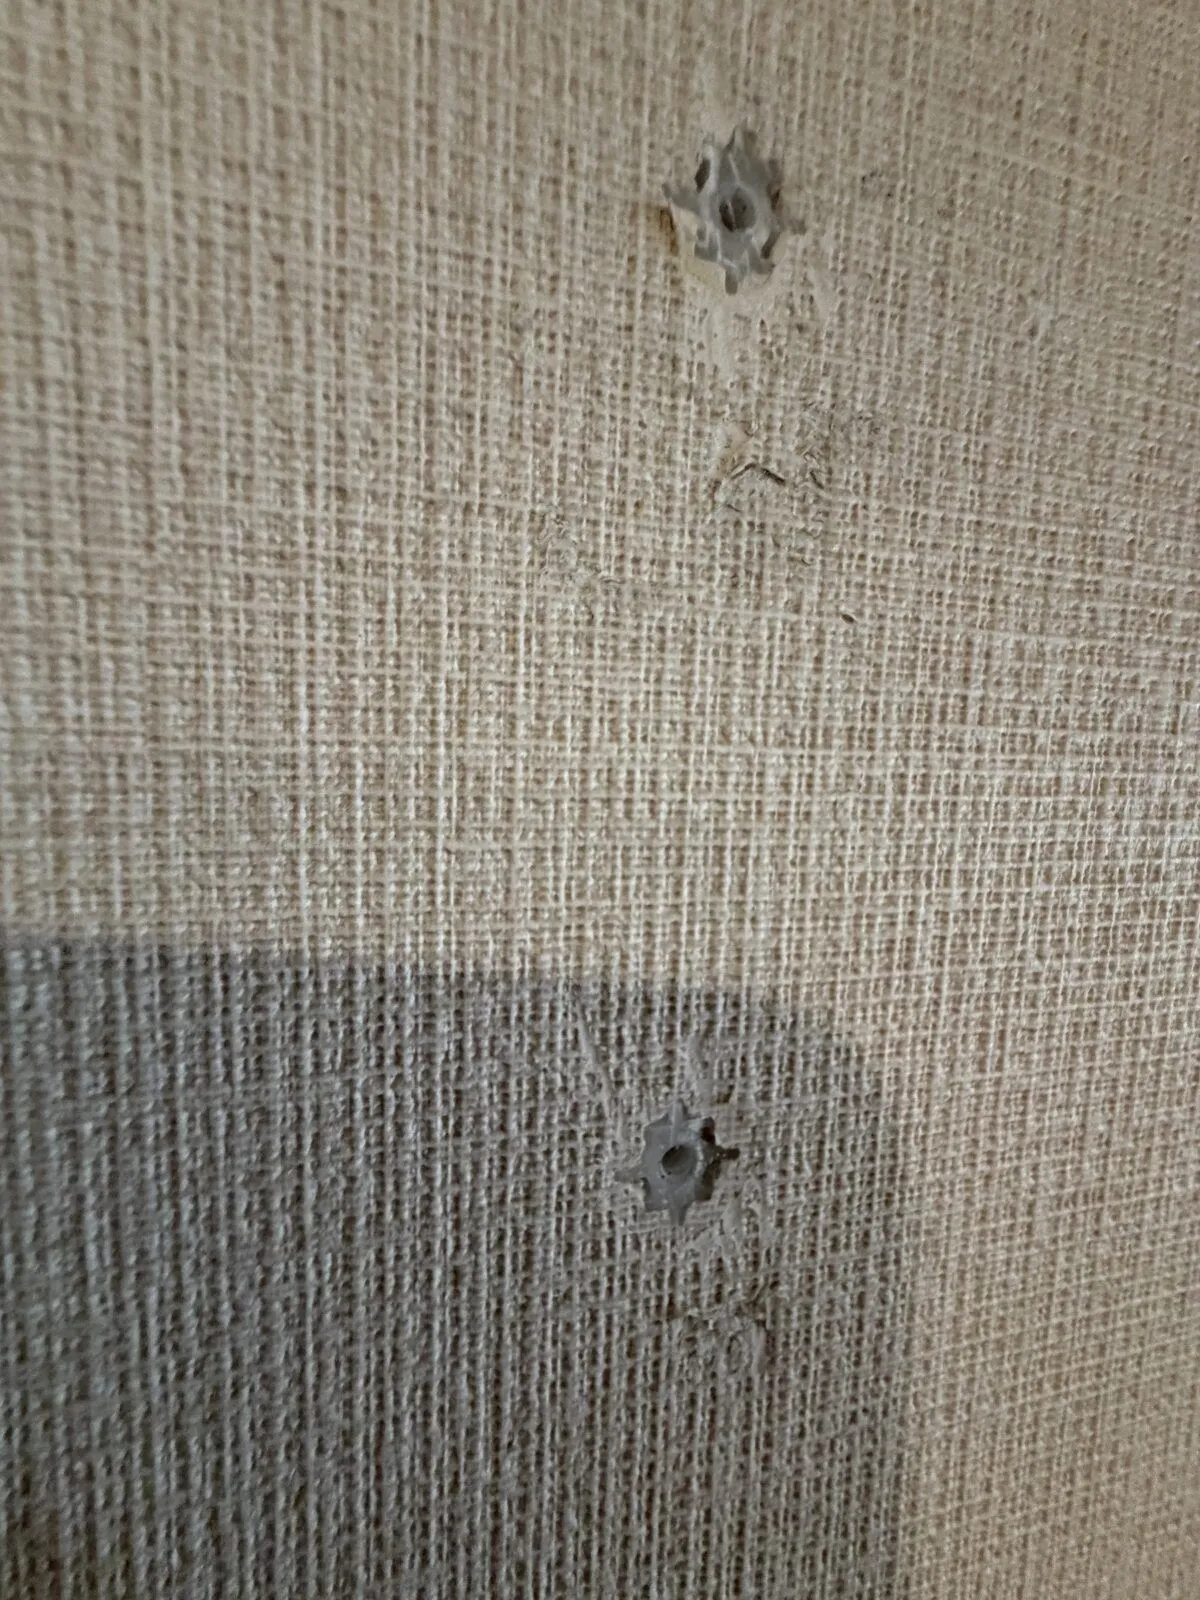
Toggle anchor holes are noticeably larger than screw holes, and the wallpaper around them is torn.
Steps
1. Peeling Off the Old Wallpaper
We peeled off the old wallpaper. Only the surface layer came off, leaving the backing paper on the wall.
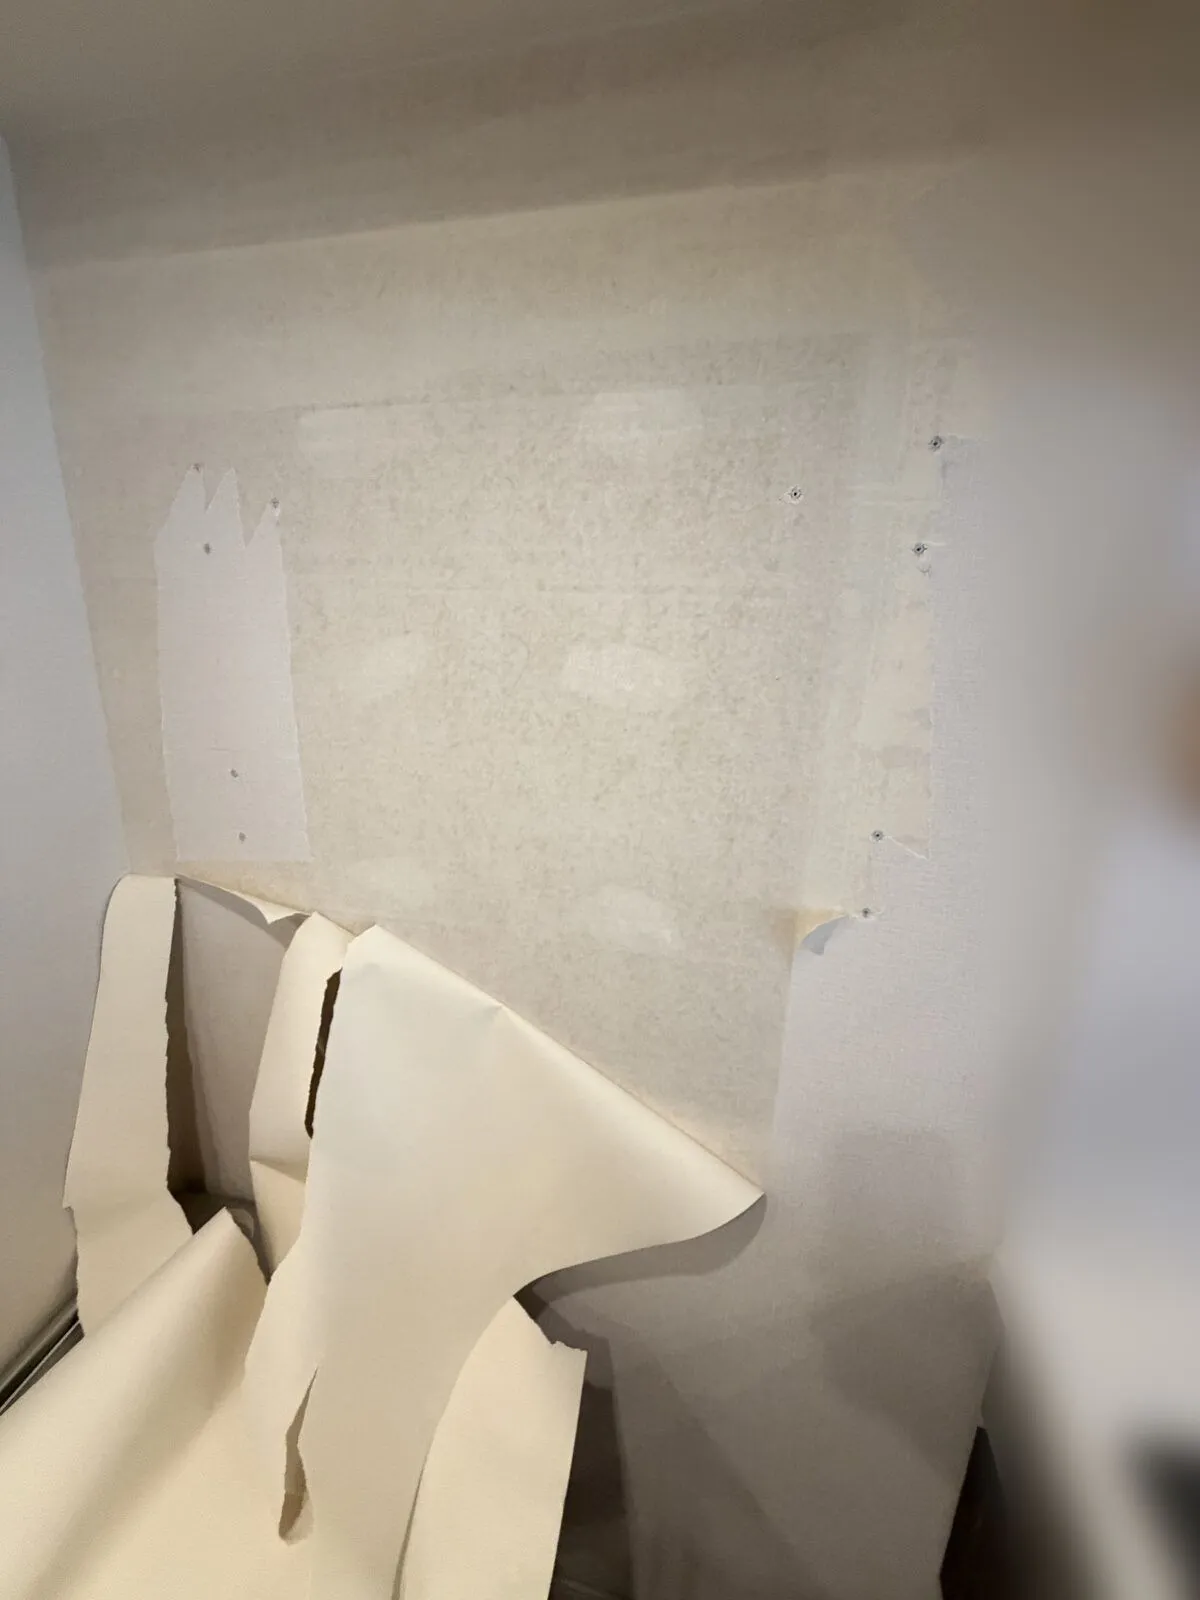
The anchor holes are clearly visible through the backing paper.
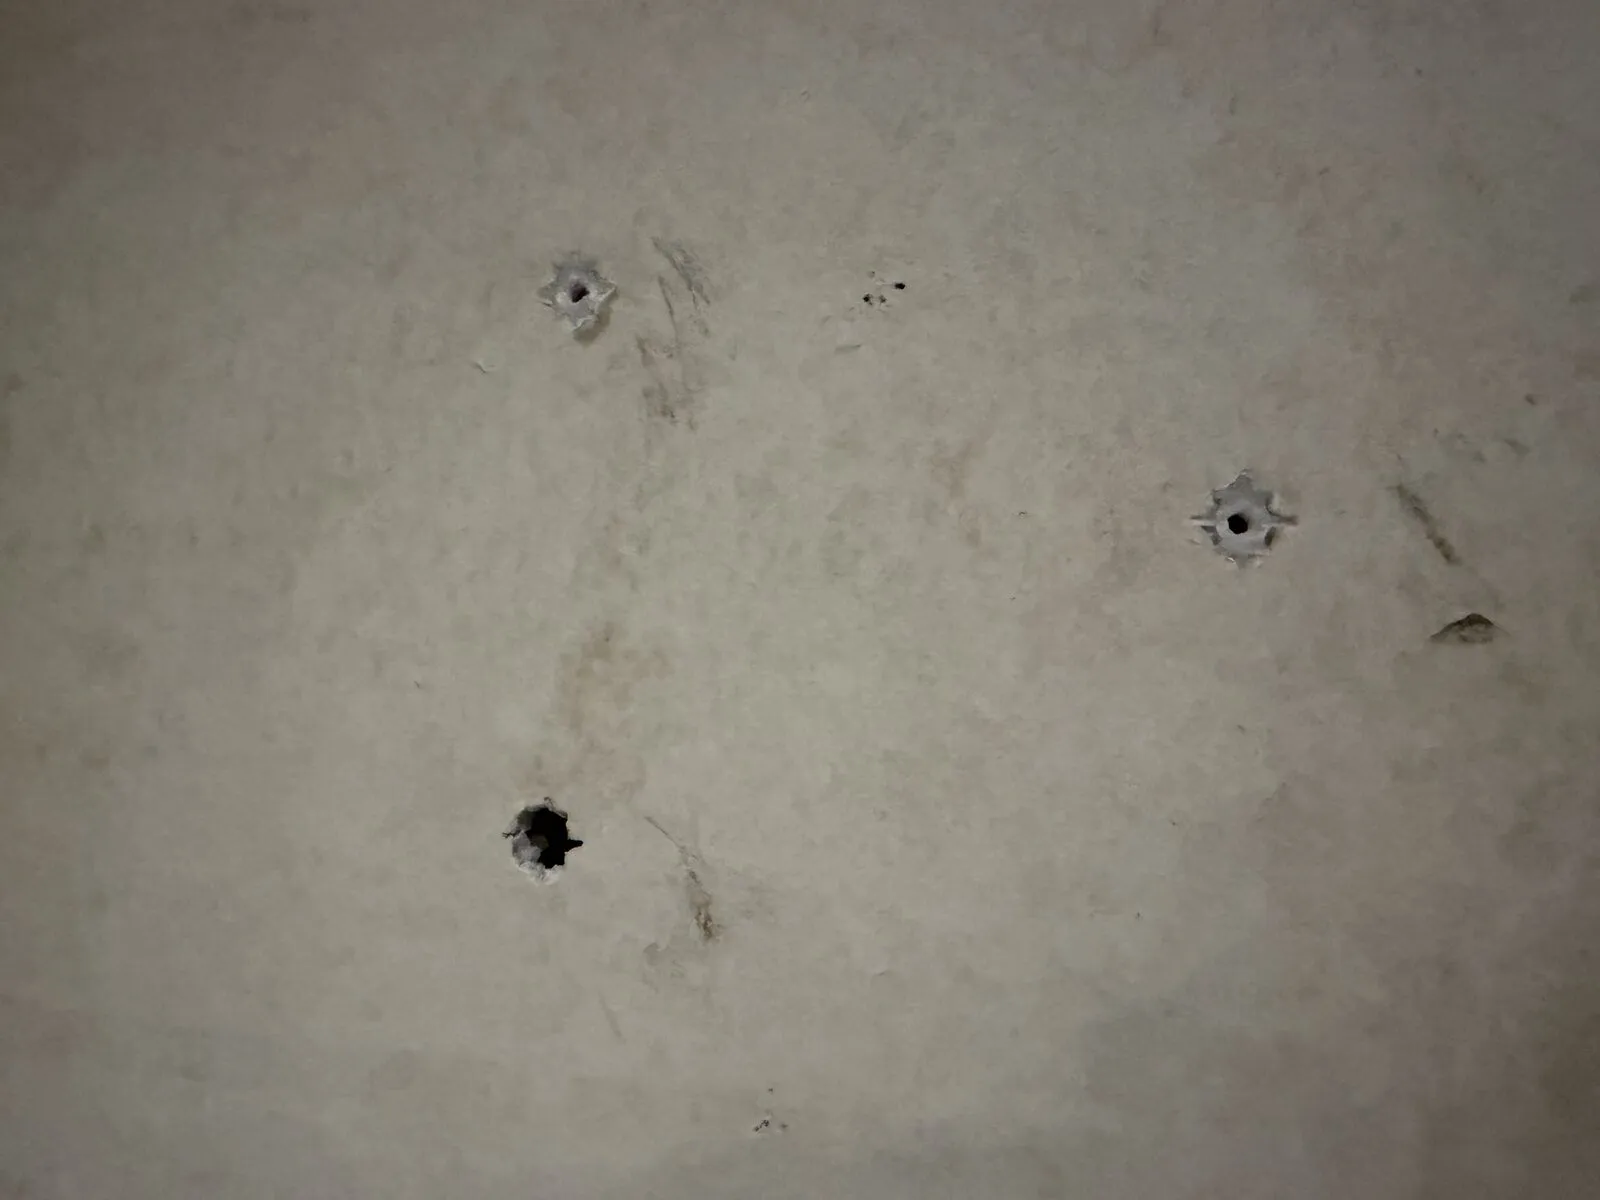
2. Filling the Holes with Putty
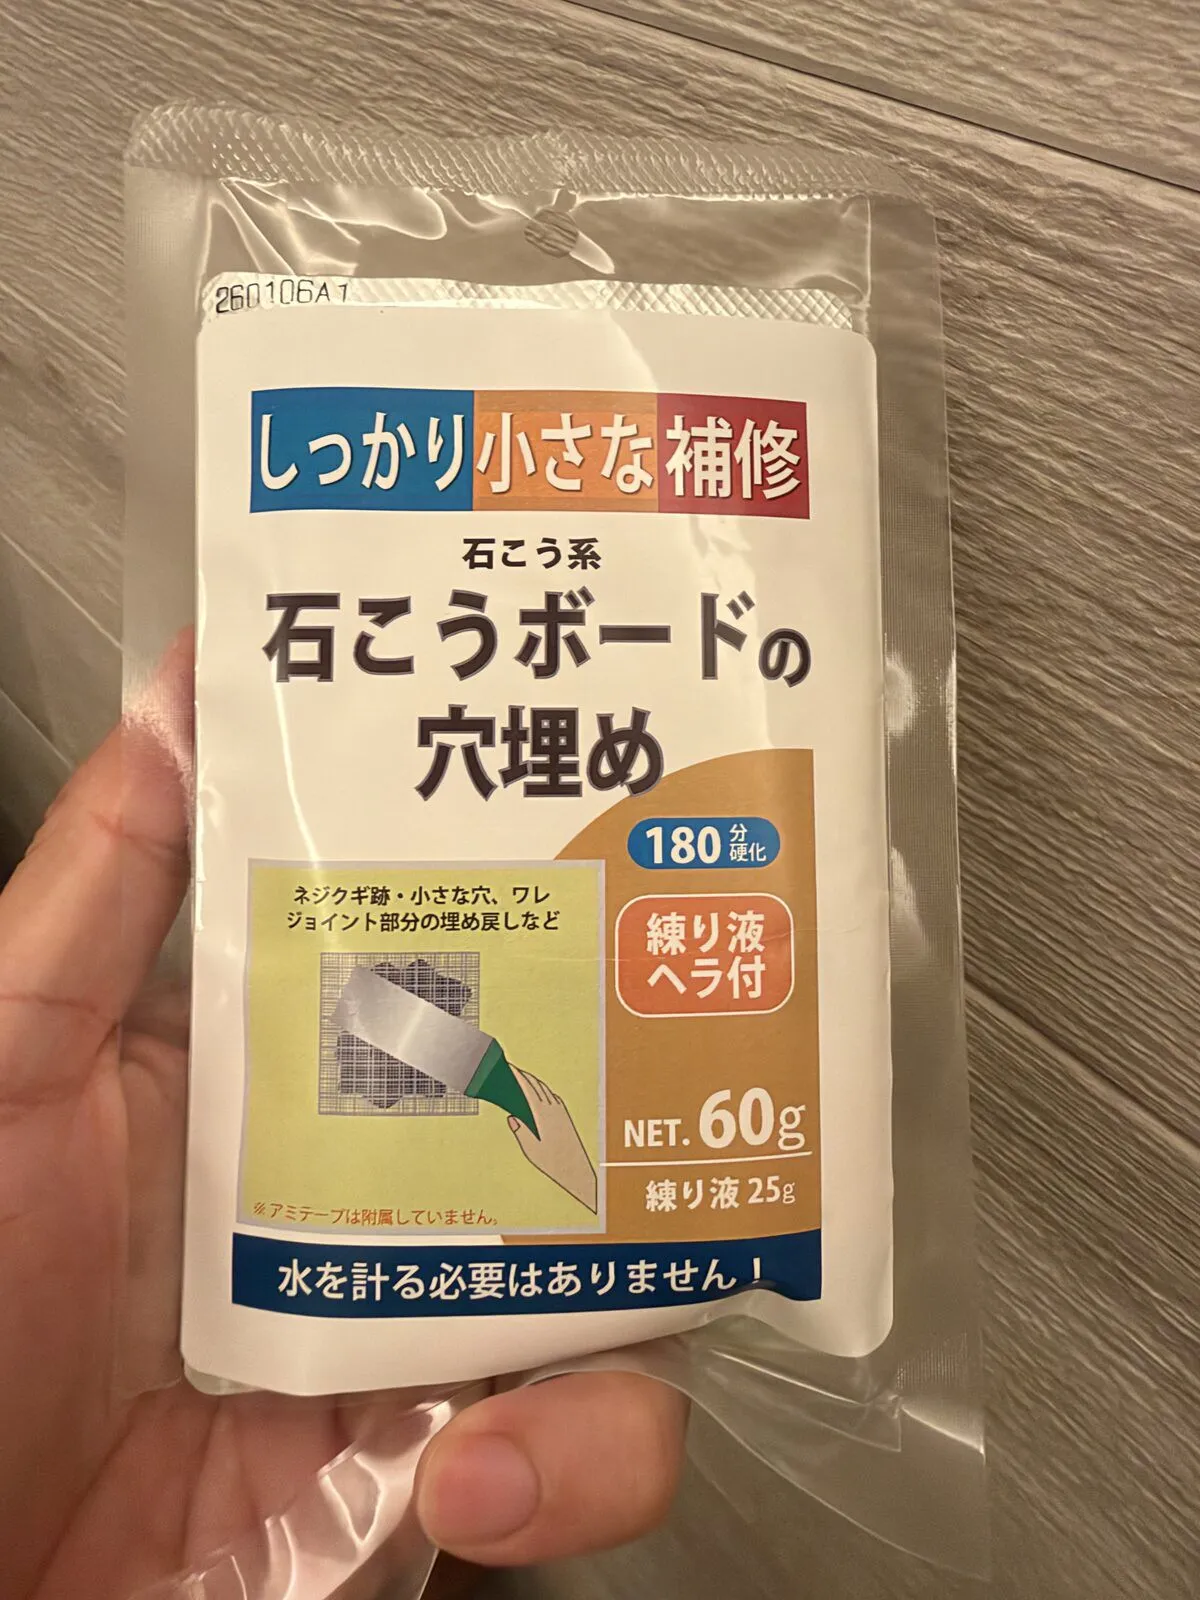
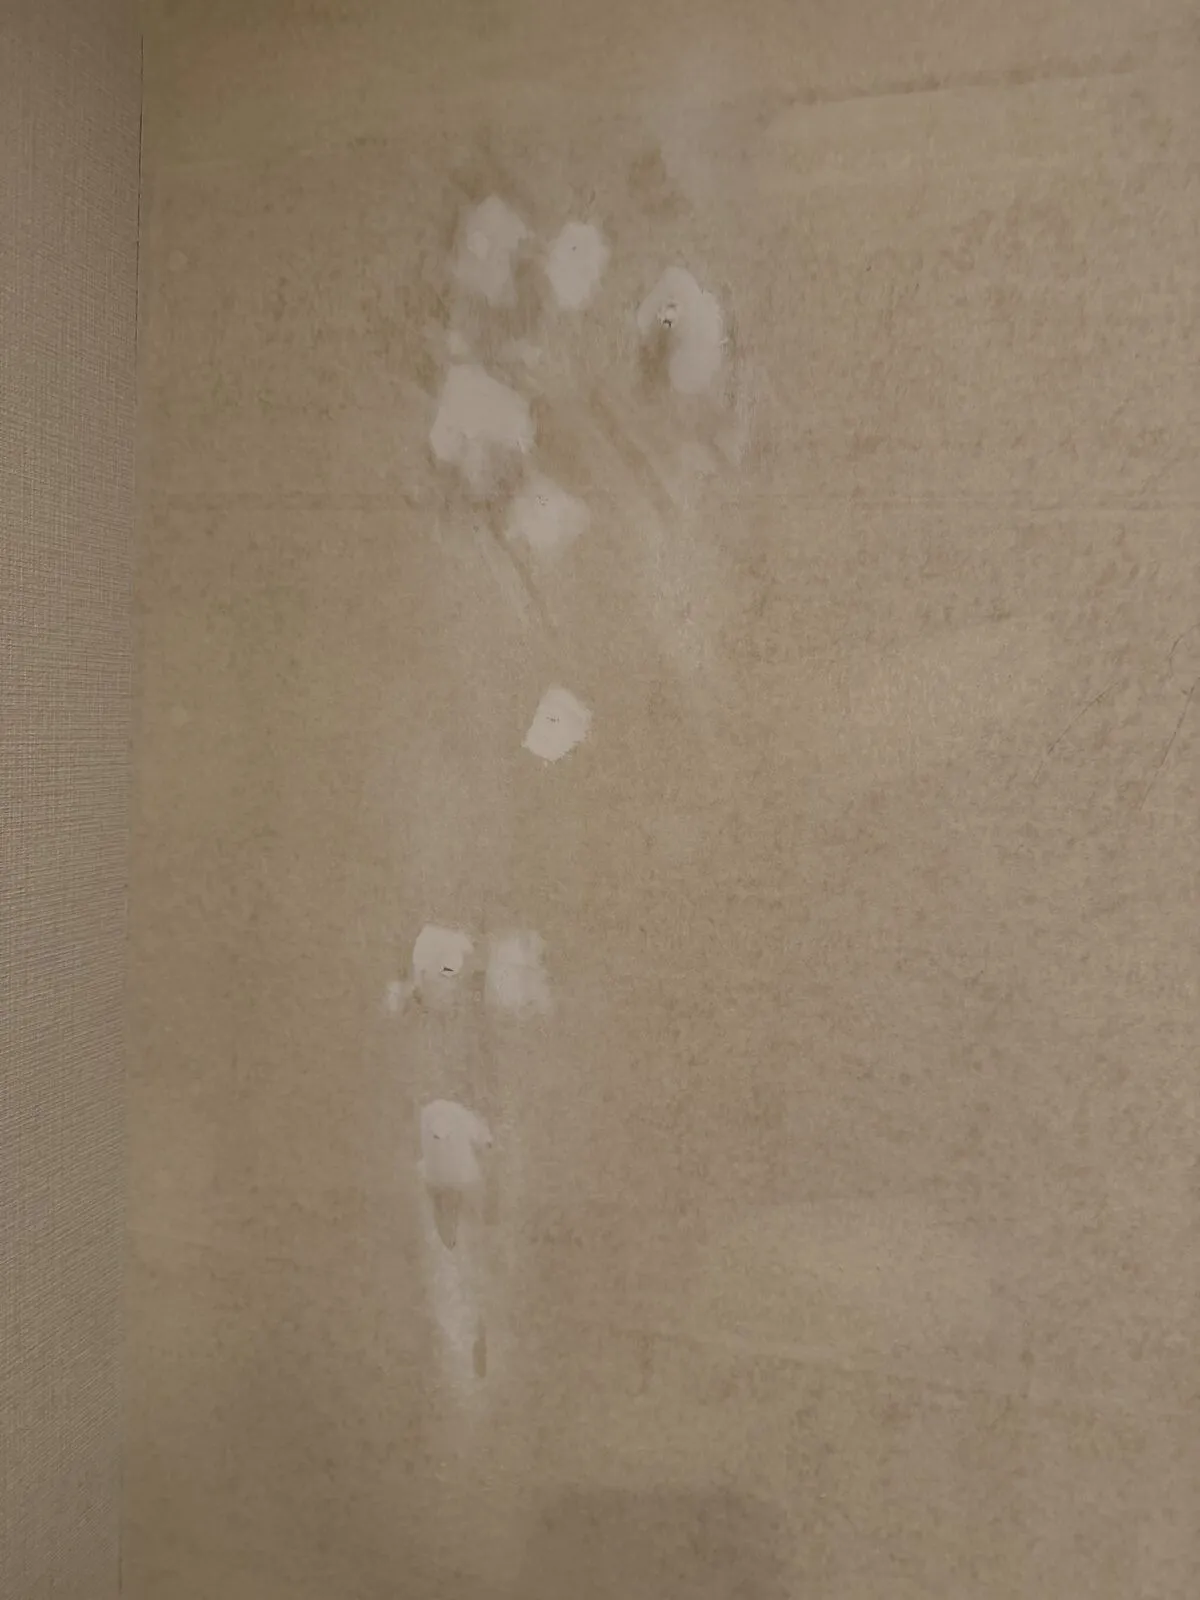
For the holes we used Kateikagaku’s gypsum-based drywall hole filler (石こうボードの穴埋め). It comes with the powder and the mixing liquid, so there is no need to measure water.

We mixed the powder and liquid in the cut-off bottom of a milk carton, which can simply be thrown away afterwards.
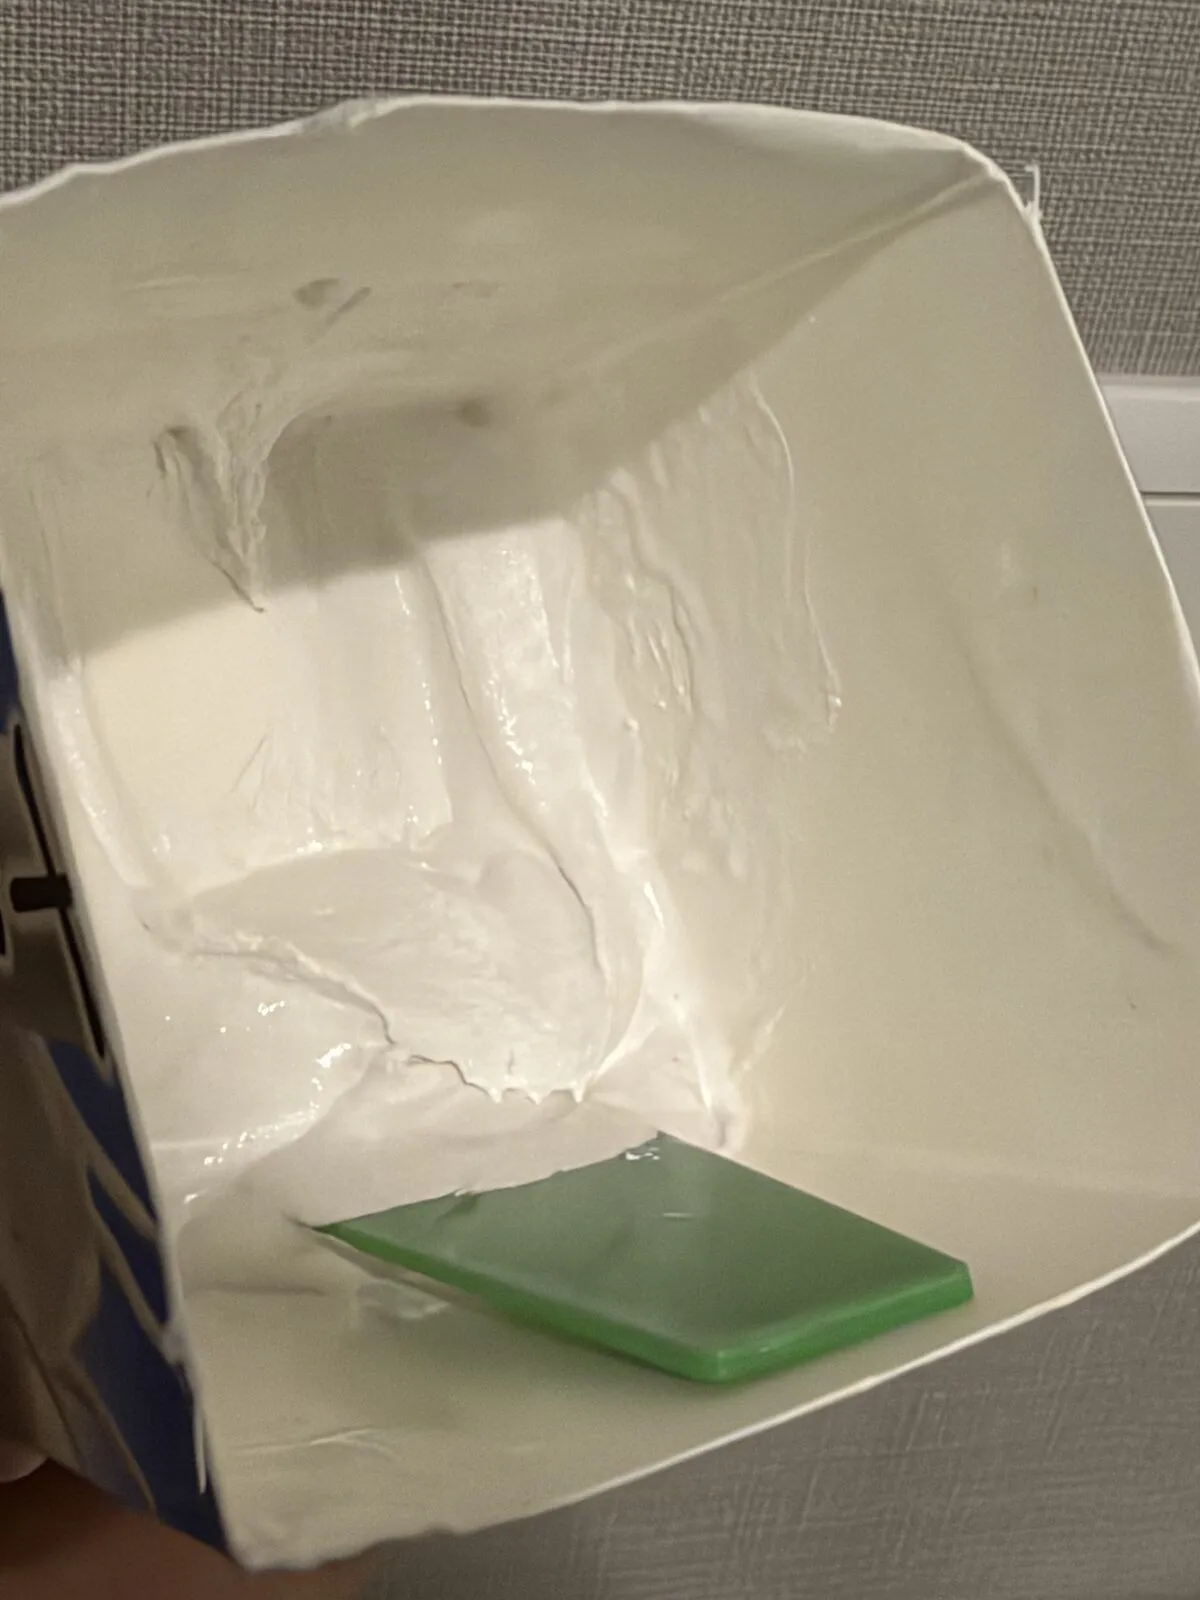
Note: Gypsum-based putty starts to set quickly after mixing. Get everything ready to fill all the holes before you start mixing, and work fast.
Press the putty into the holes with the included spatula.
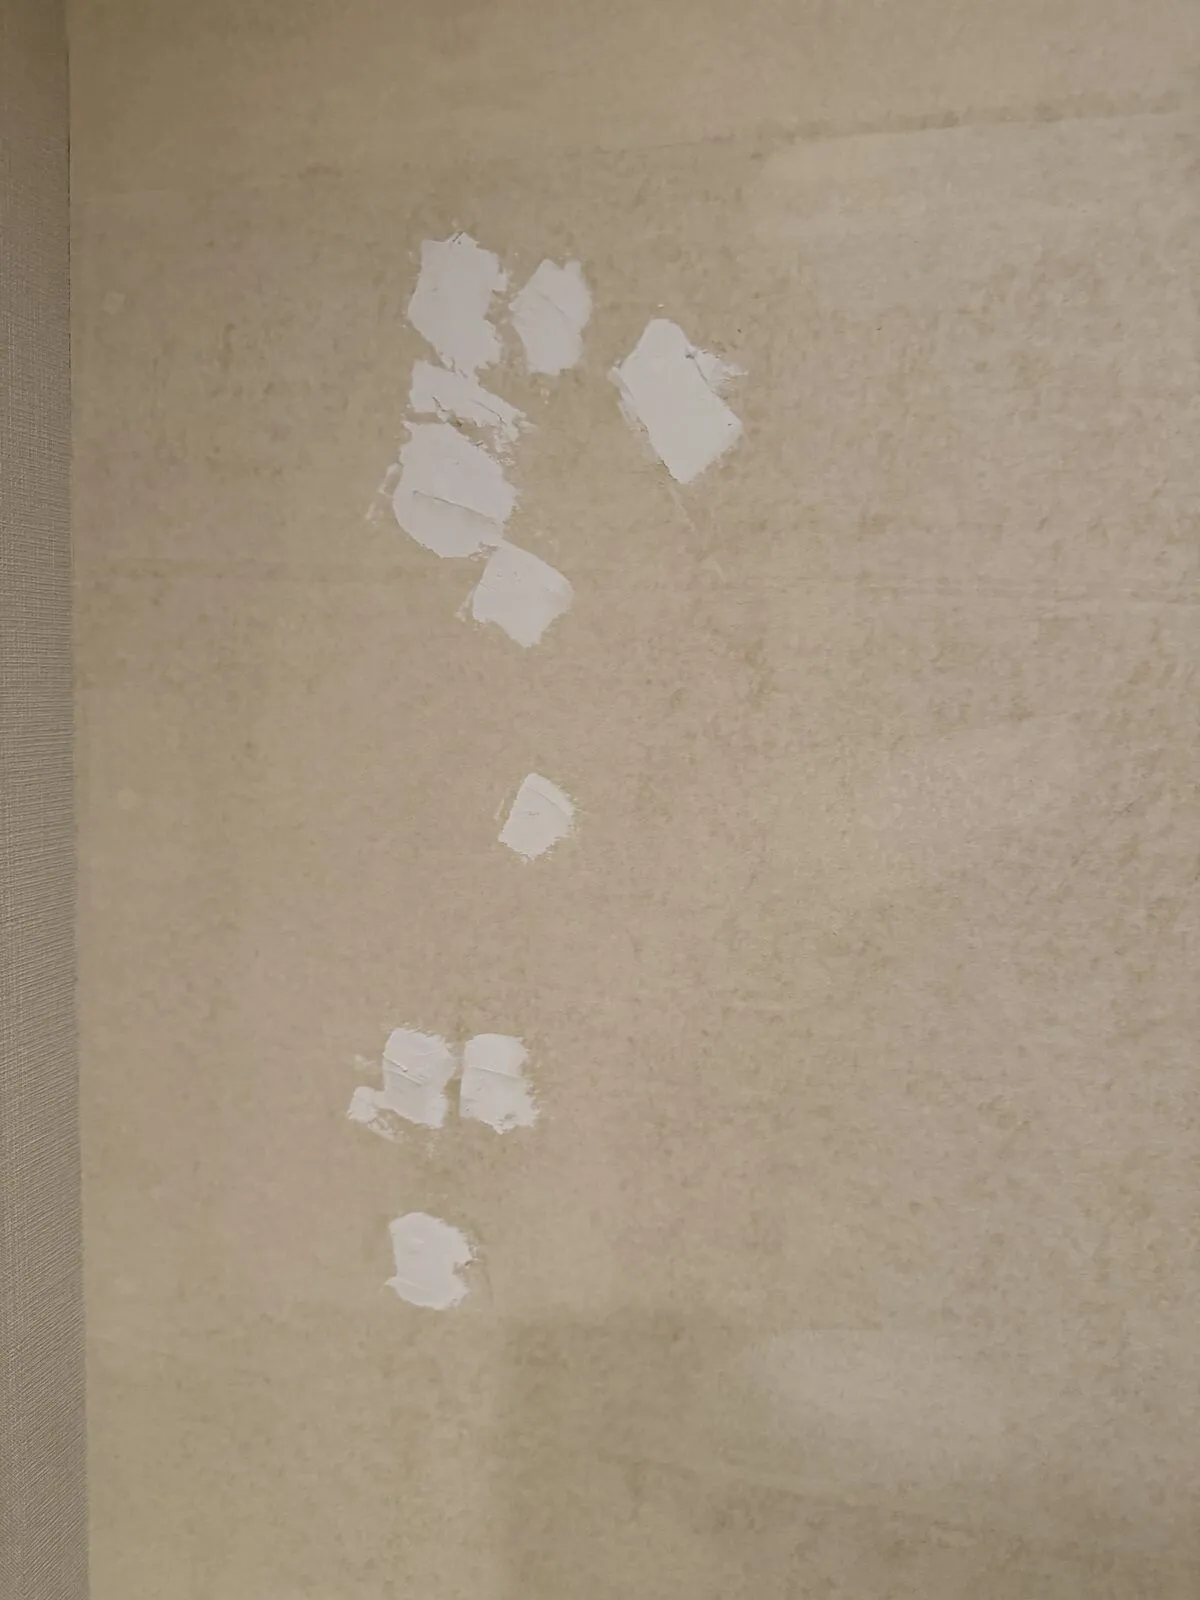
After drying. Keep the surface flat so no bumps show through the new wallpaper.
3. Cutting the Wallpaper
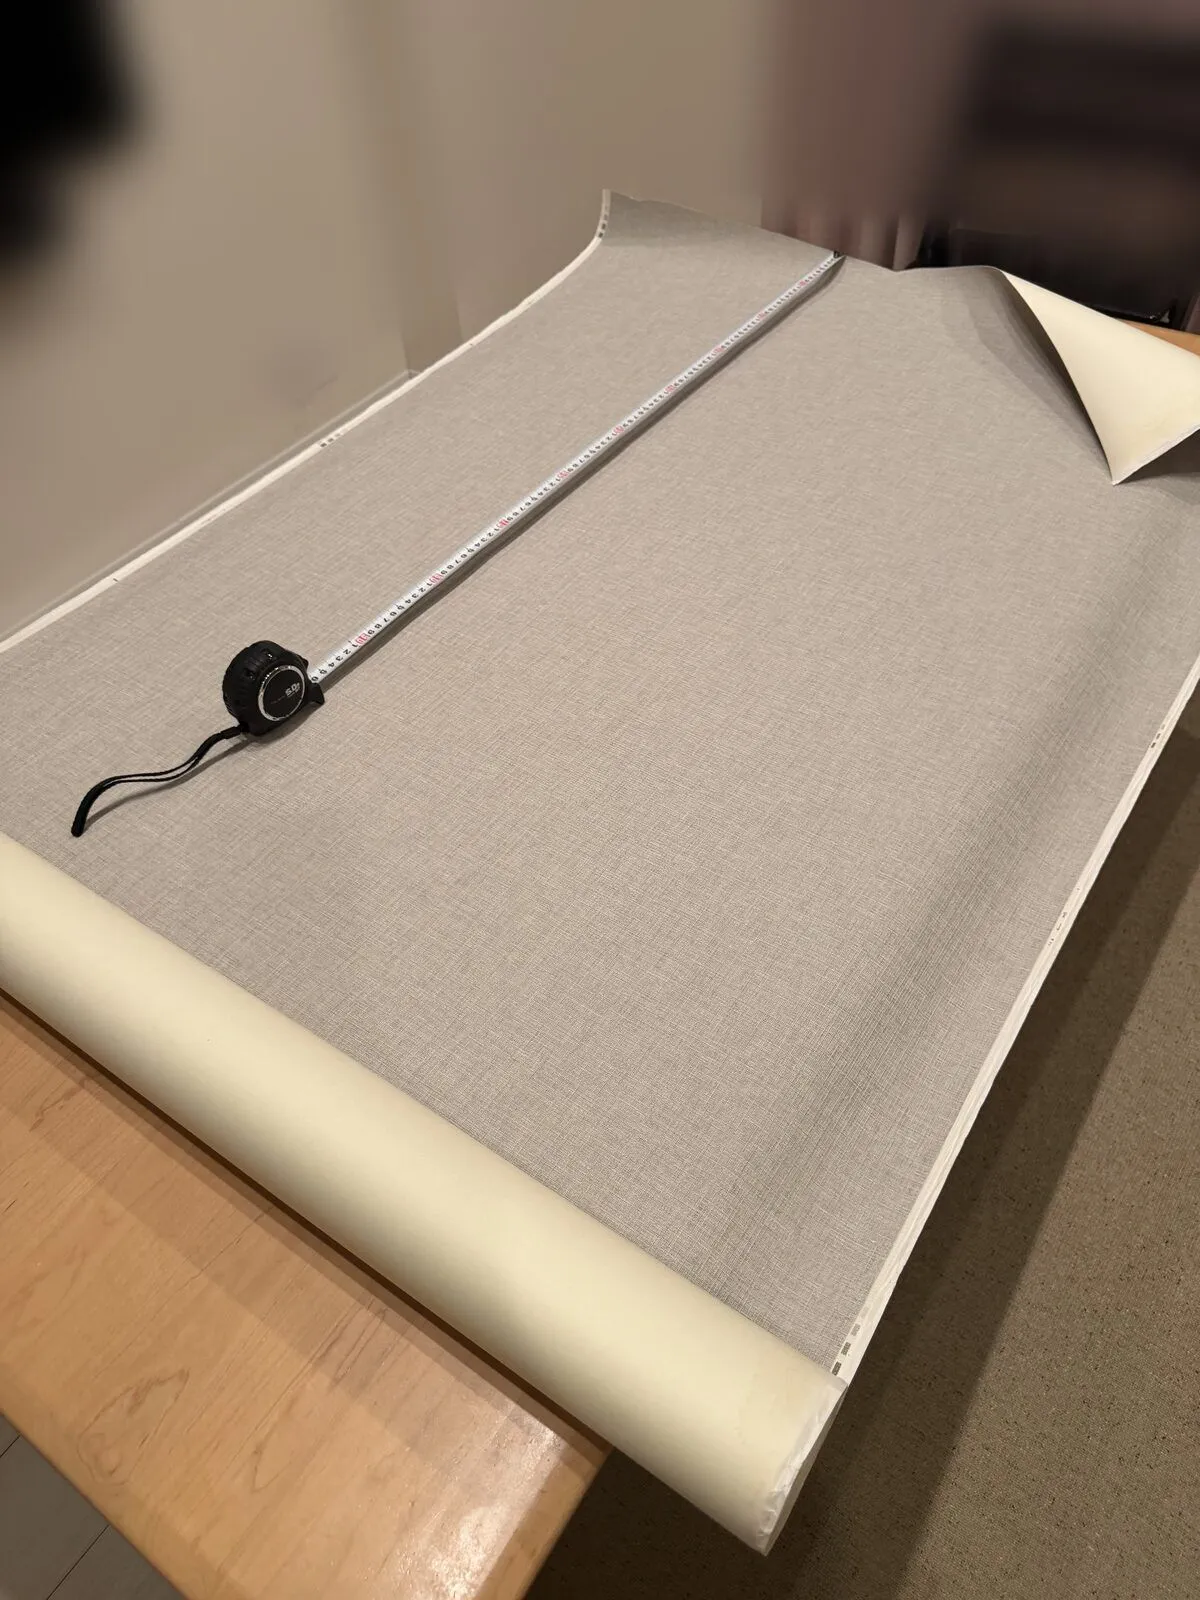
We used a leftover roll that we had kept since a renovation five years ago.
Measure the height of the wall with a tape measure and cut the paper.
4. Protecting the Floor and Applying Paste
We covered the floor with masking tape and plastic sheeting.
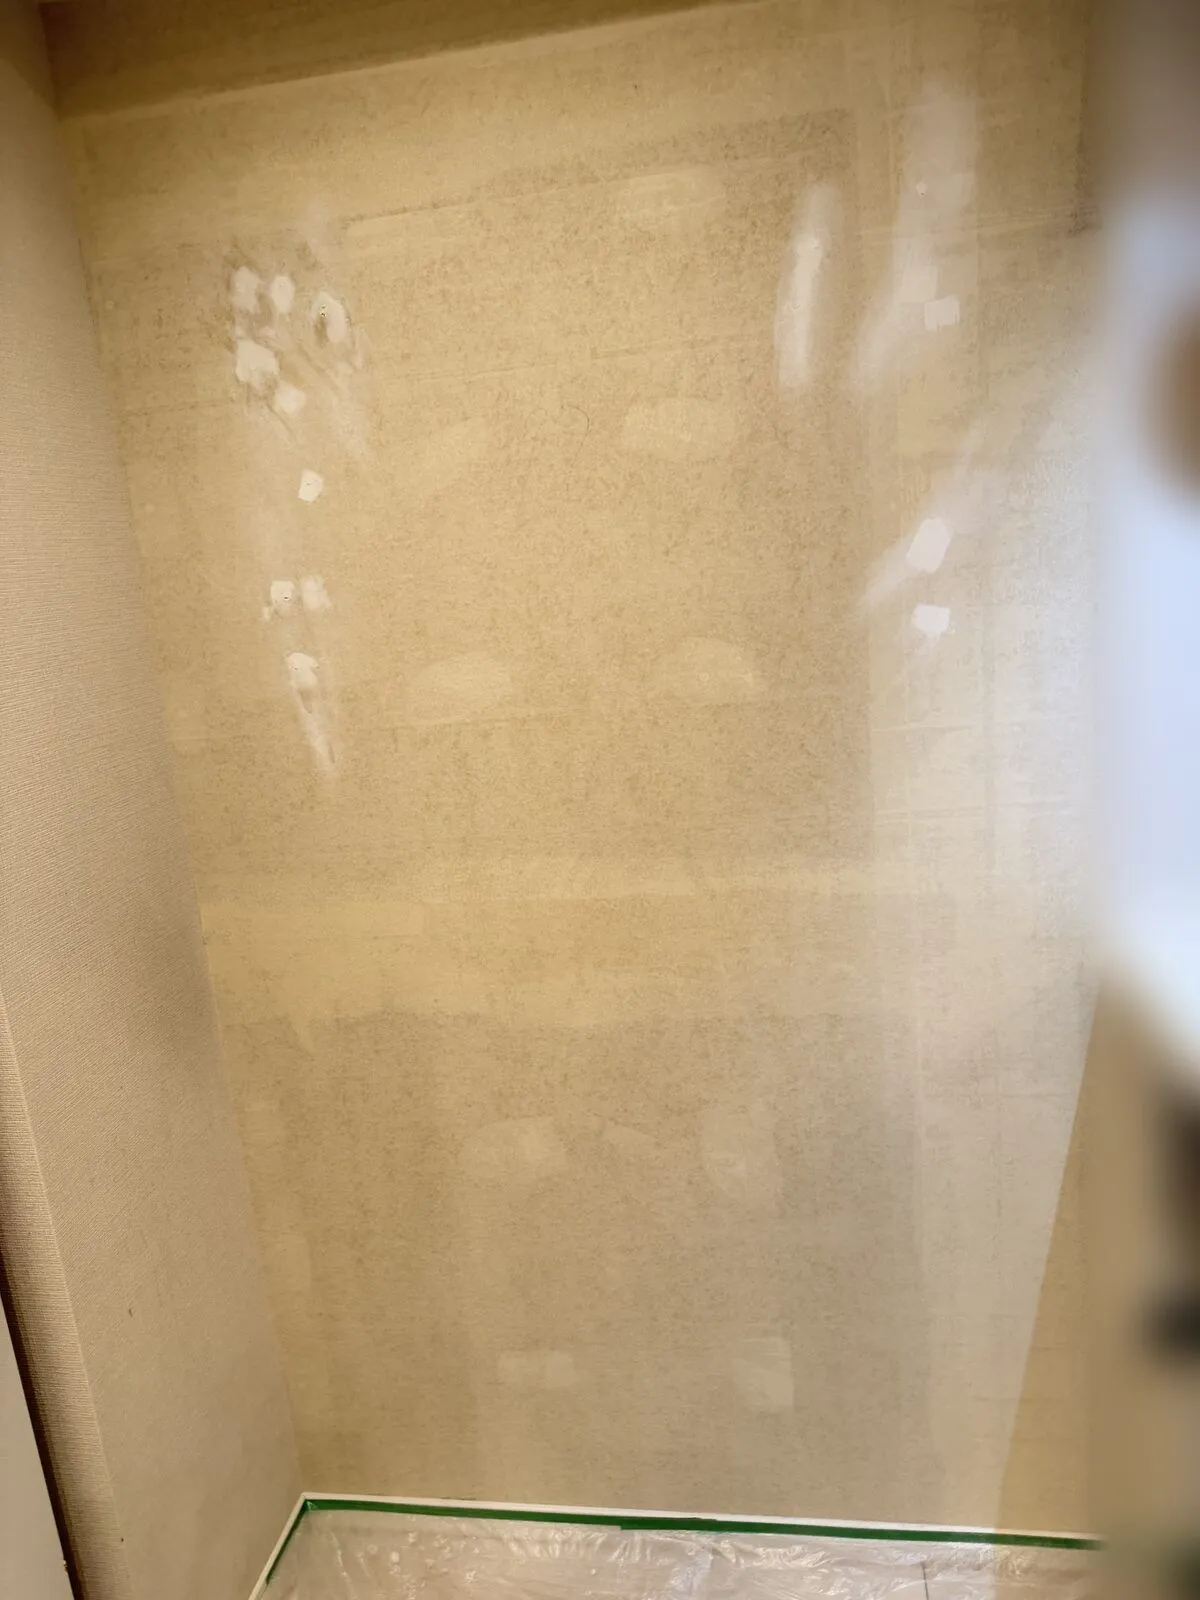
For the paste we used Asahipen wallpaper paste, which can be used straight from the container without diluting.

We applied the paste with a paste brush.

5. Hanging the Wallpaper
Hang the paper while pushing out the air with a smoothing brush or roller. We got our tools from a wallpaper tool set.

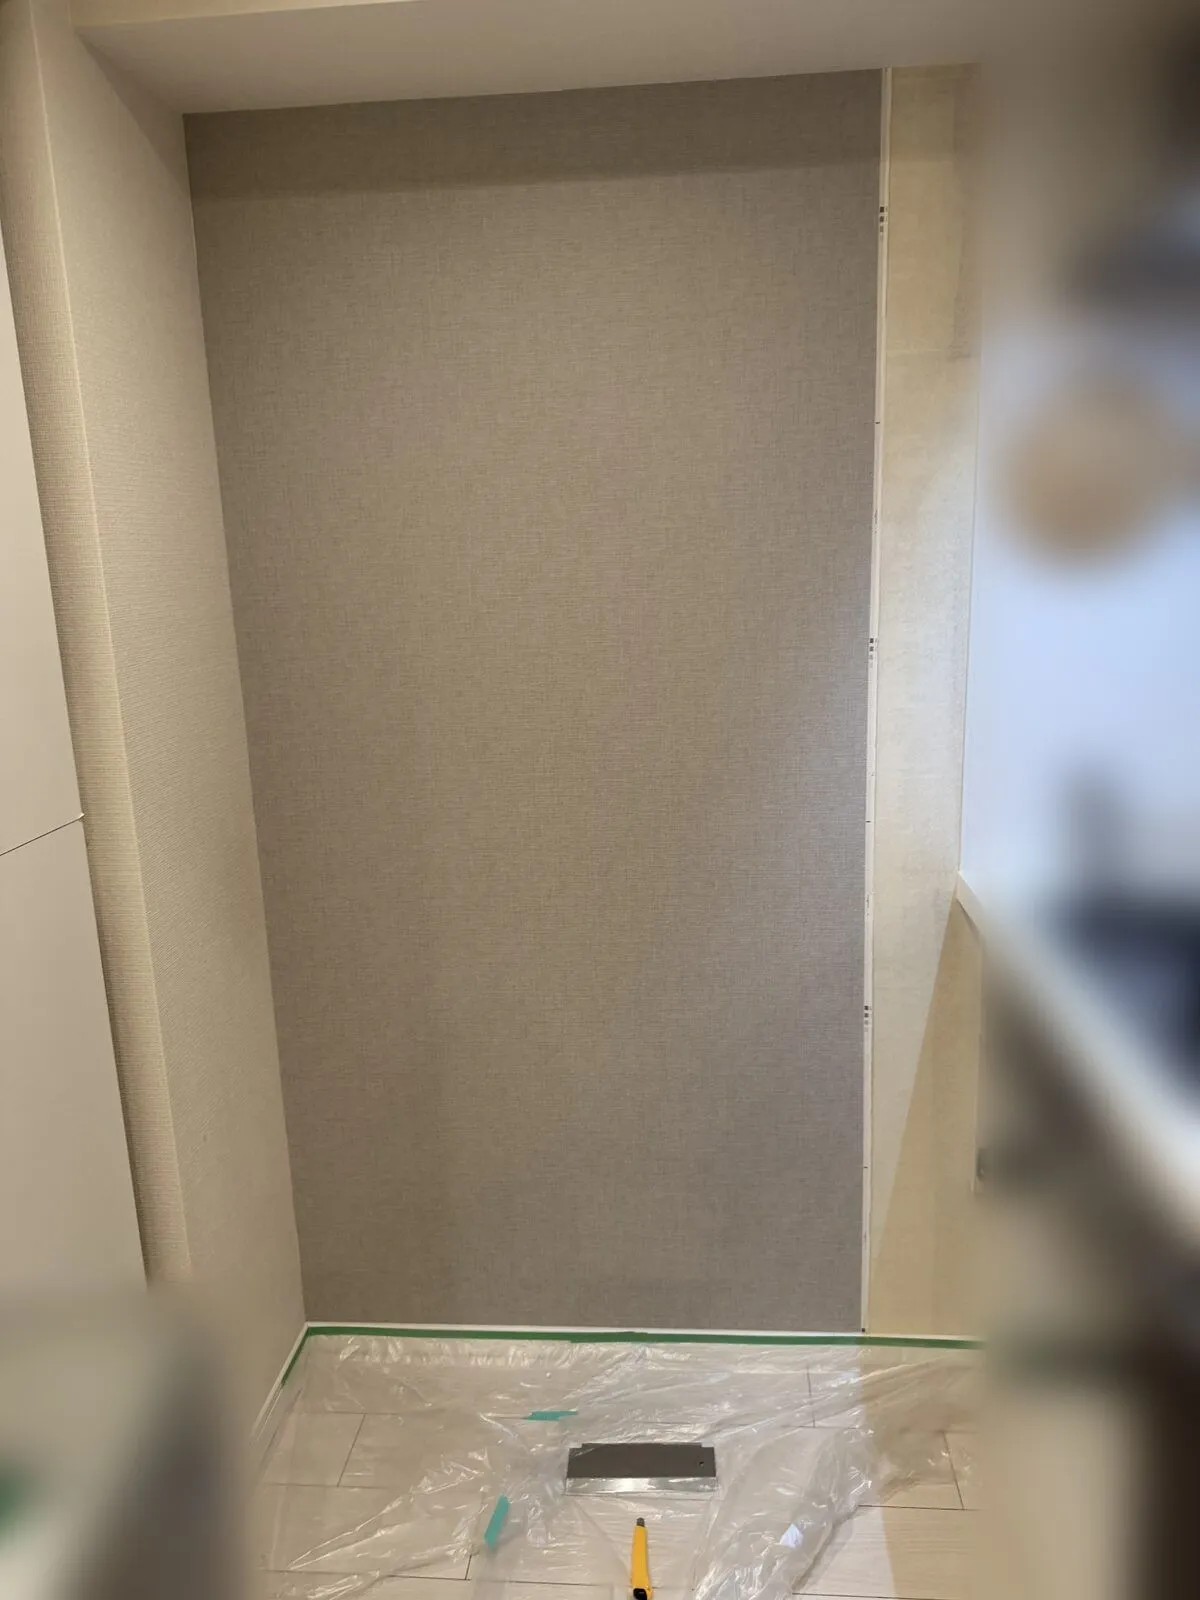
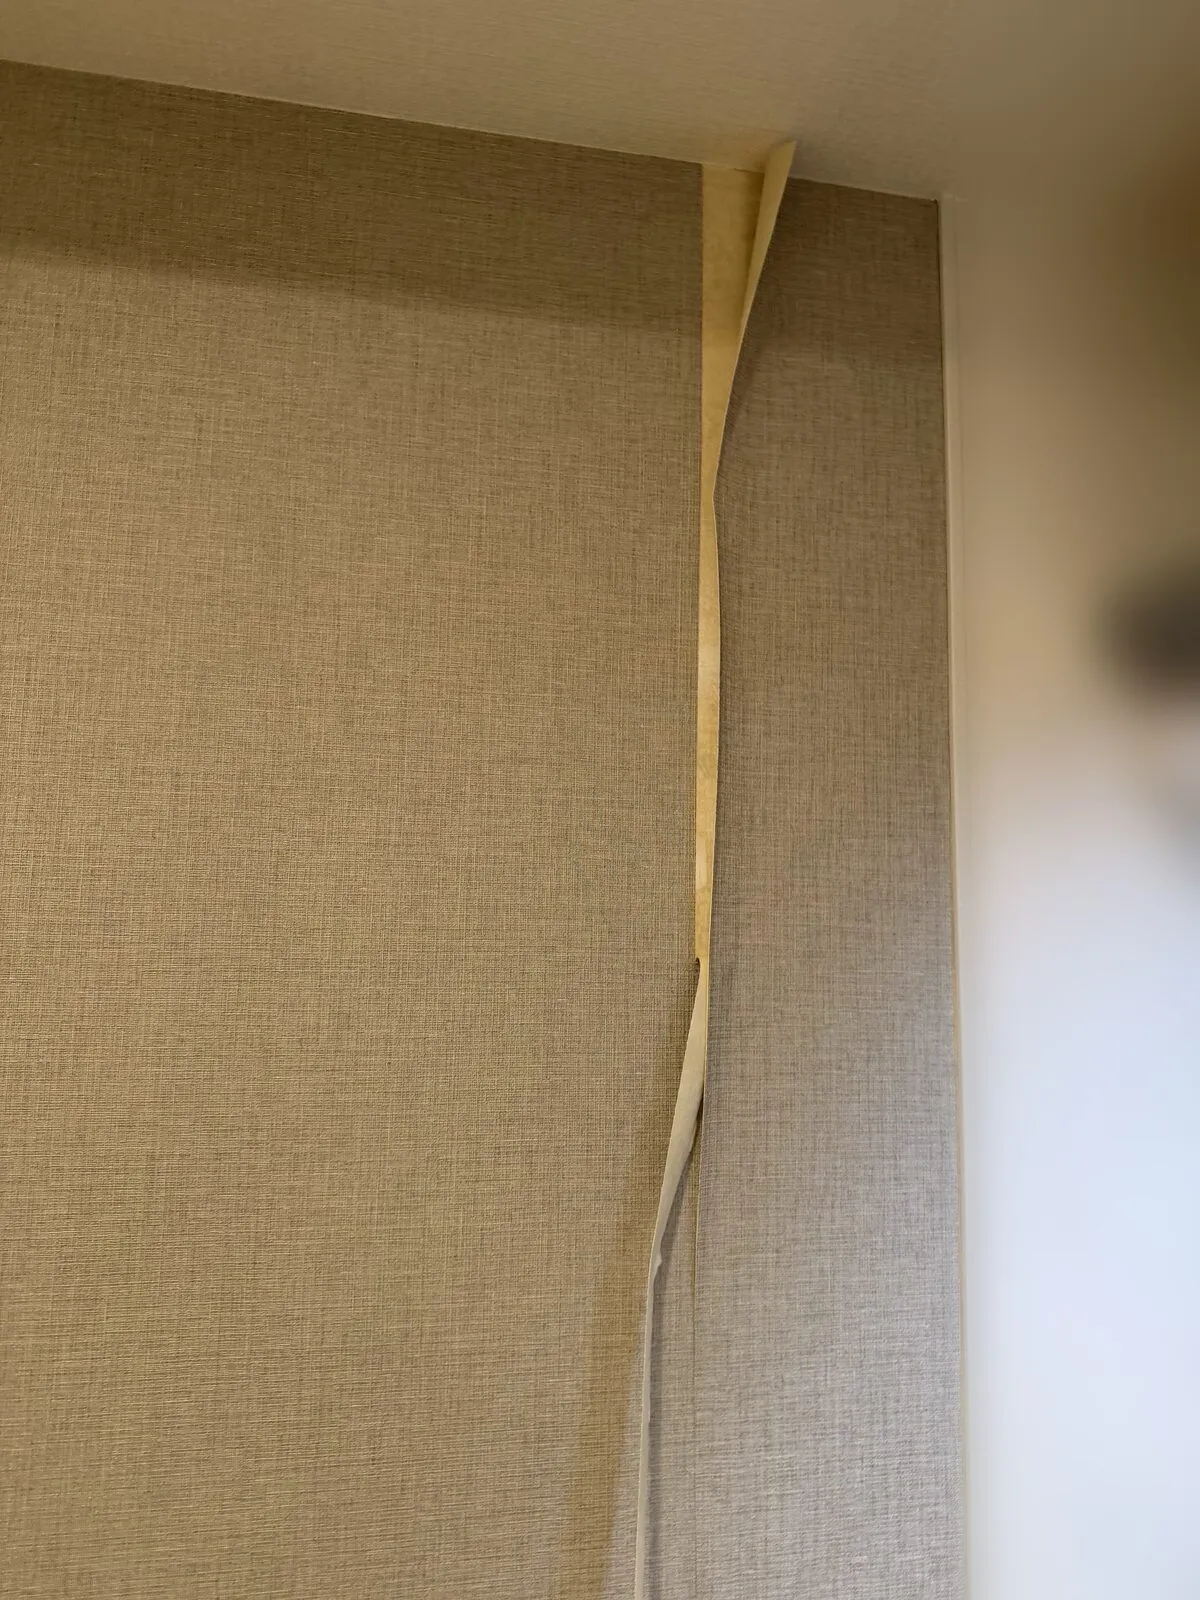
About joint tape: Normally you put joint tape on the wall under the seams before hanging, but we skipped it because the area was small. It caused no real problems. As long as you keep the selvage edge (耳) accurate when applying the paste, it works fine. To be safe, we went over the paper carefully with the roller at the end.
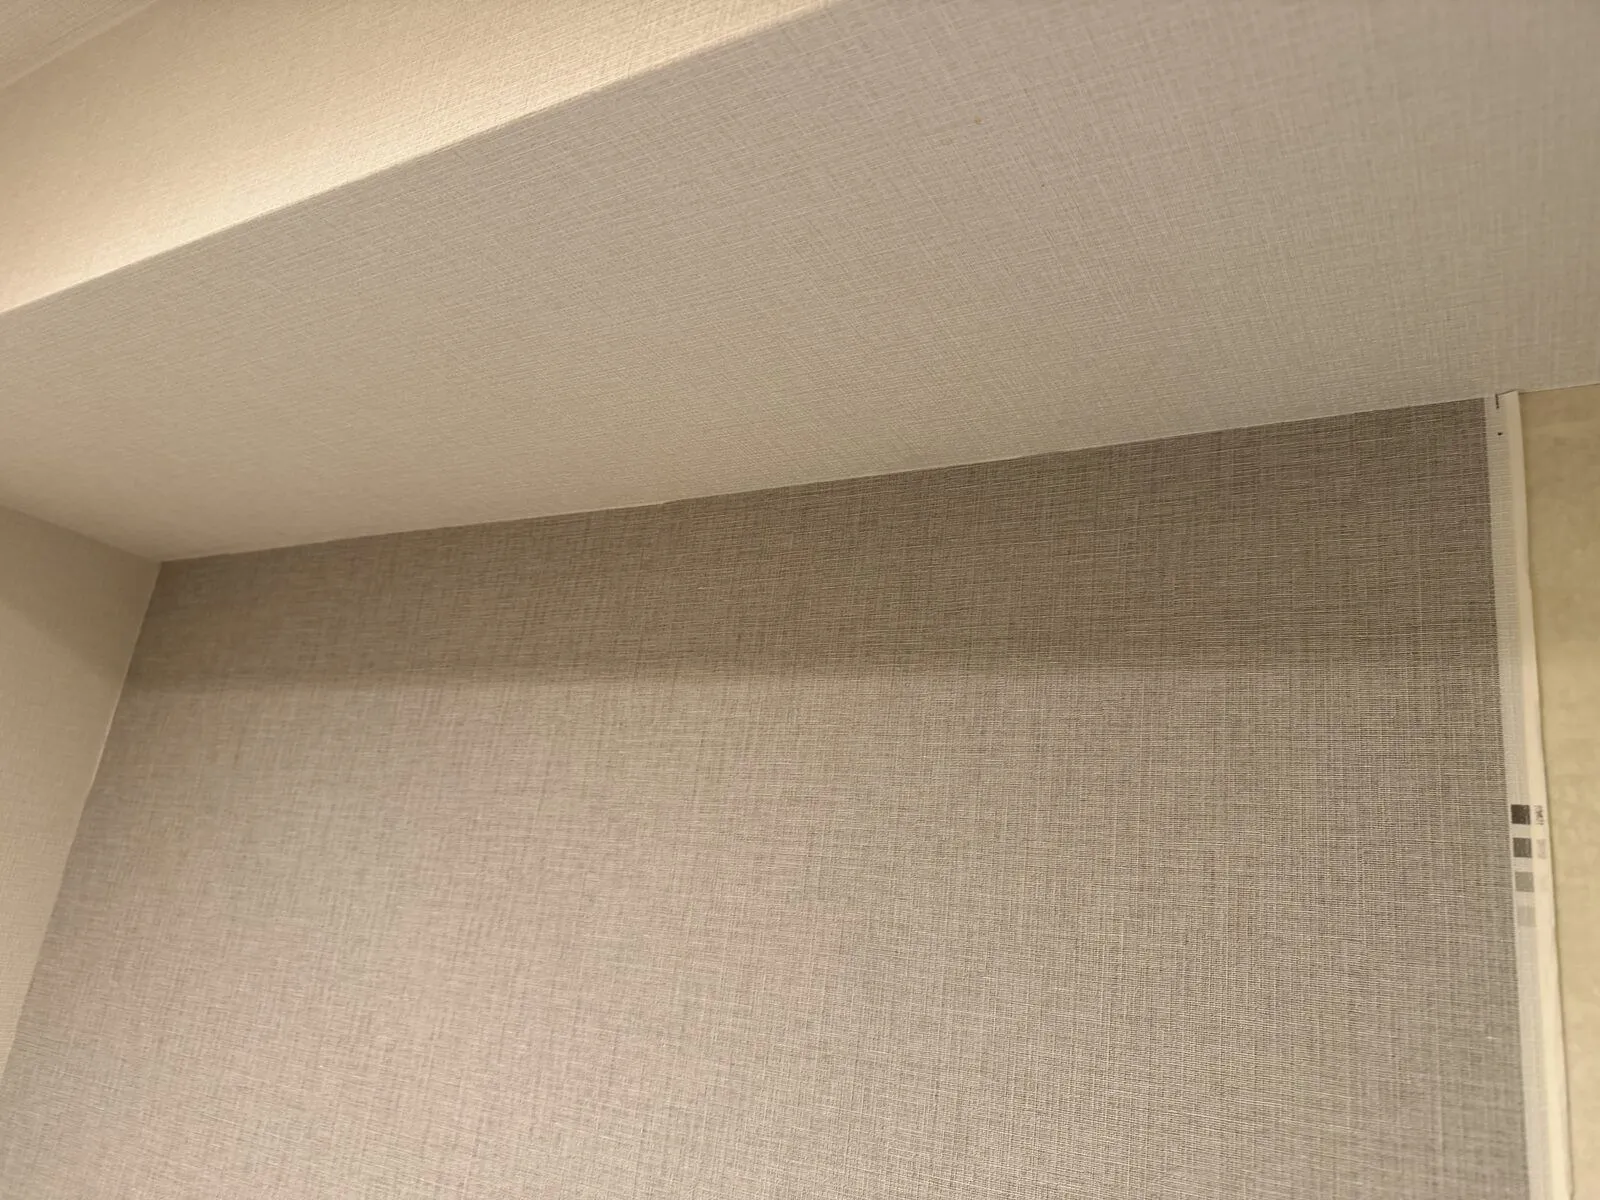
Trim the excess in the corners with a cutter, using a spatula as a guide.
Result
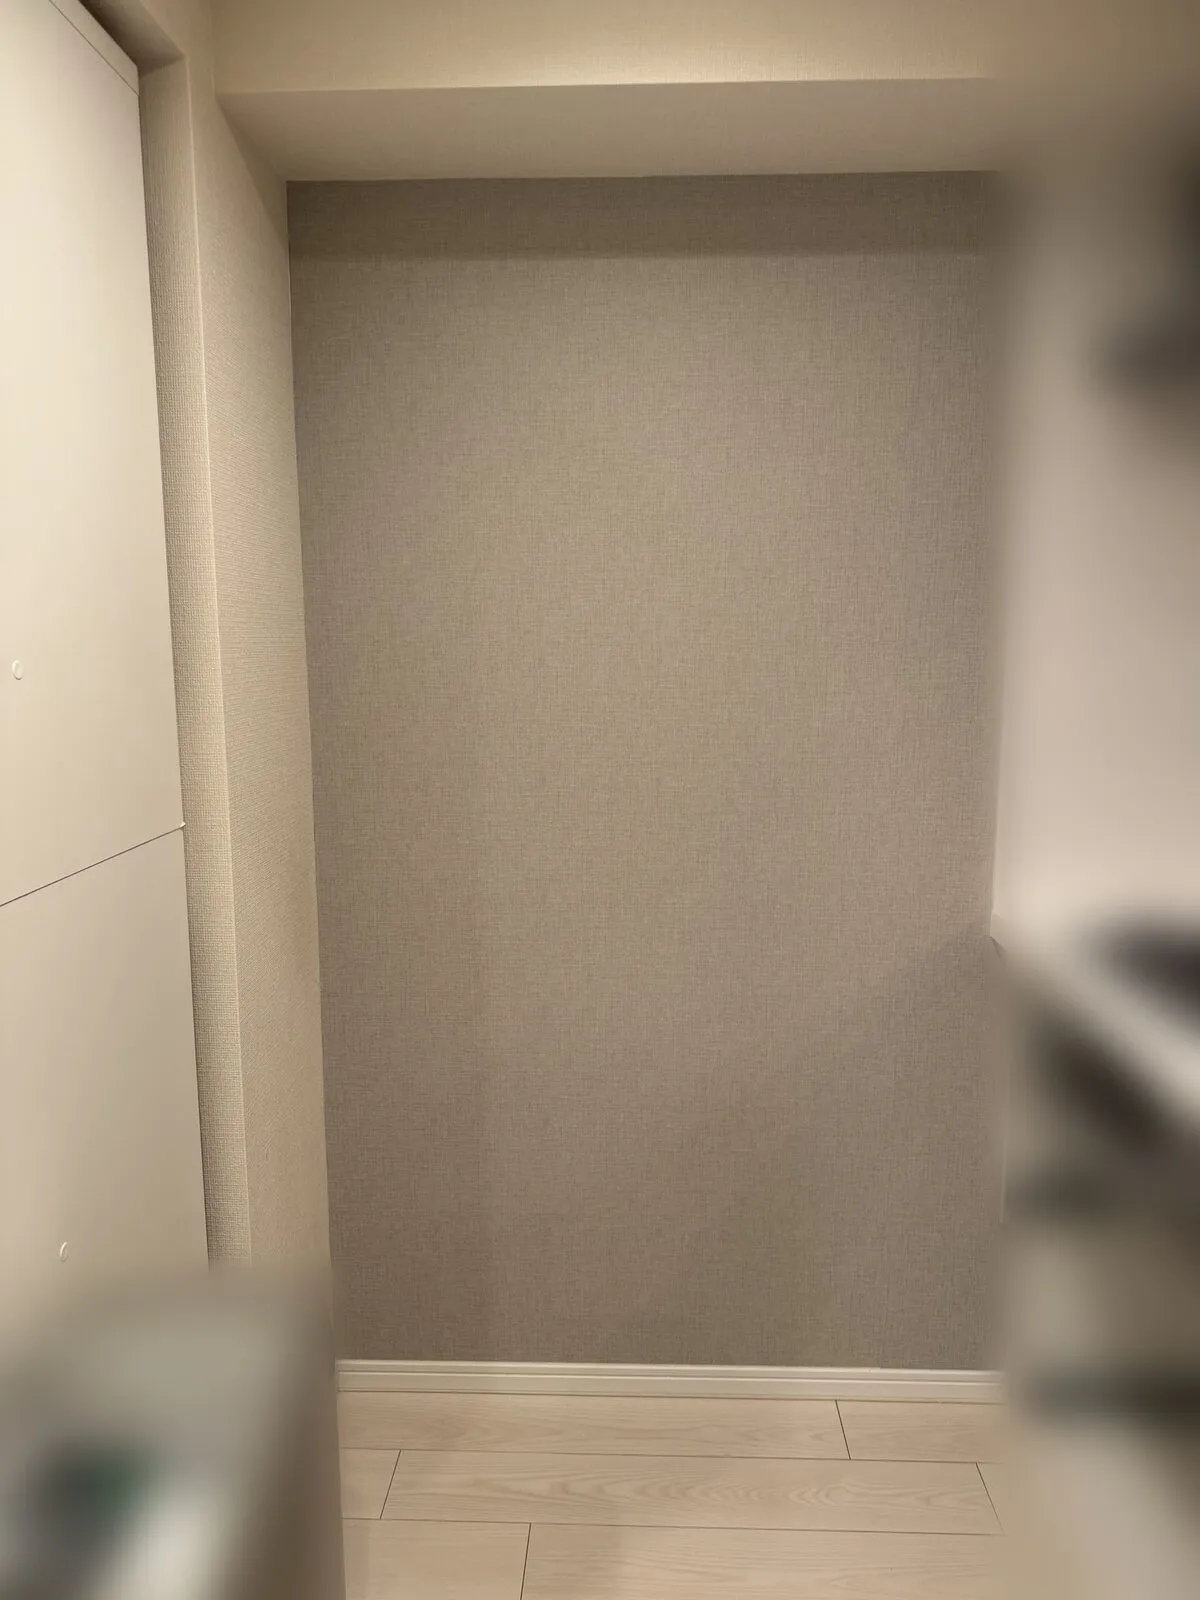
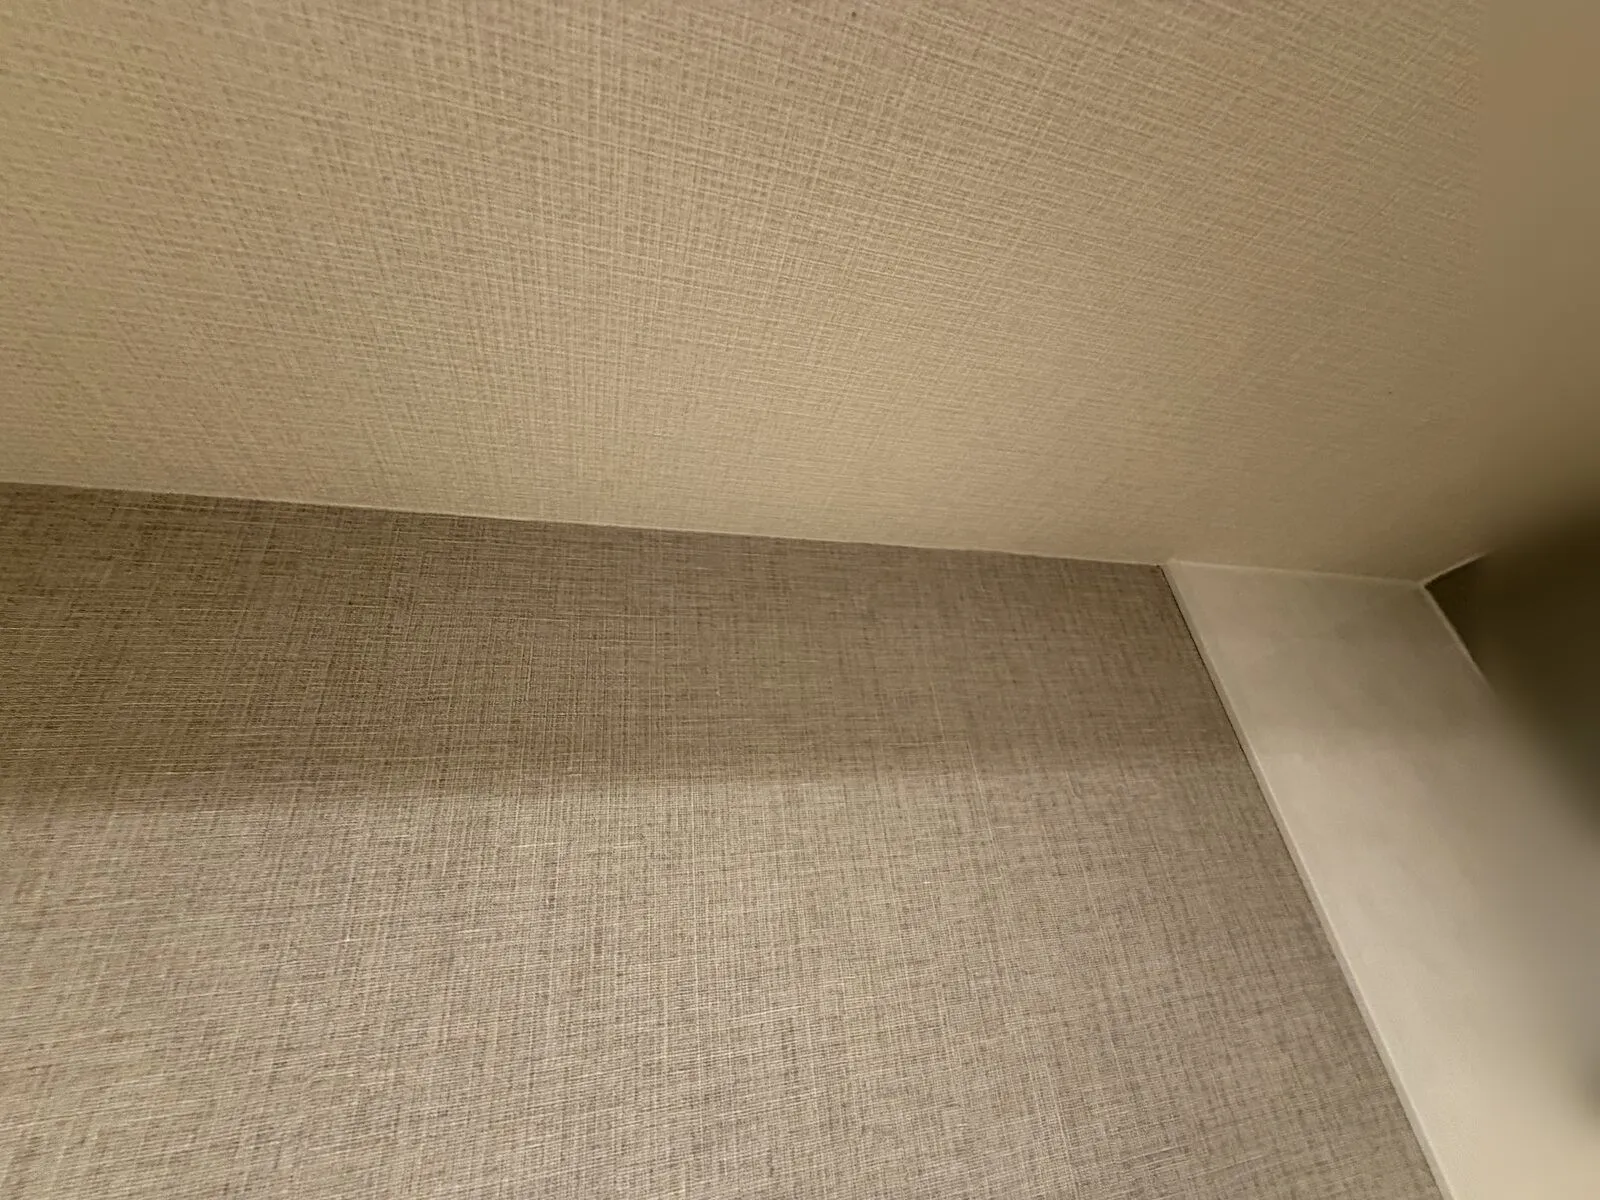
The toggle anchor holes are no longer visible.
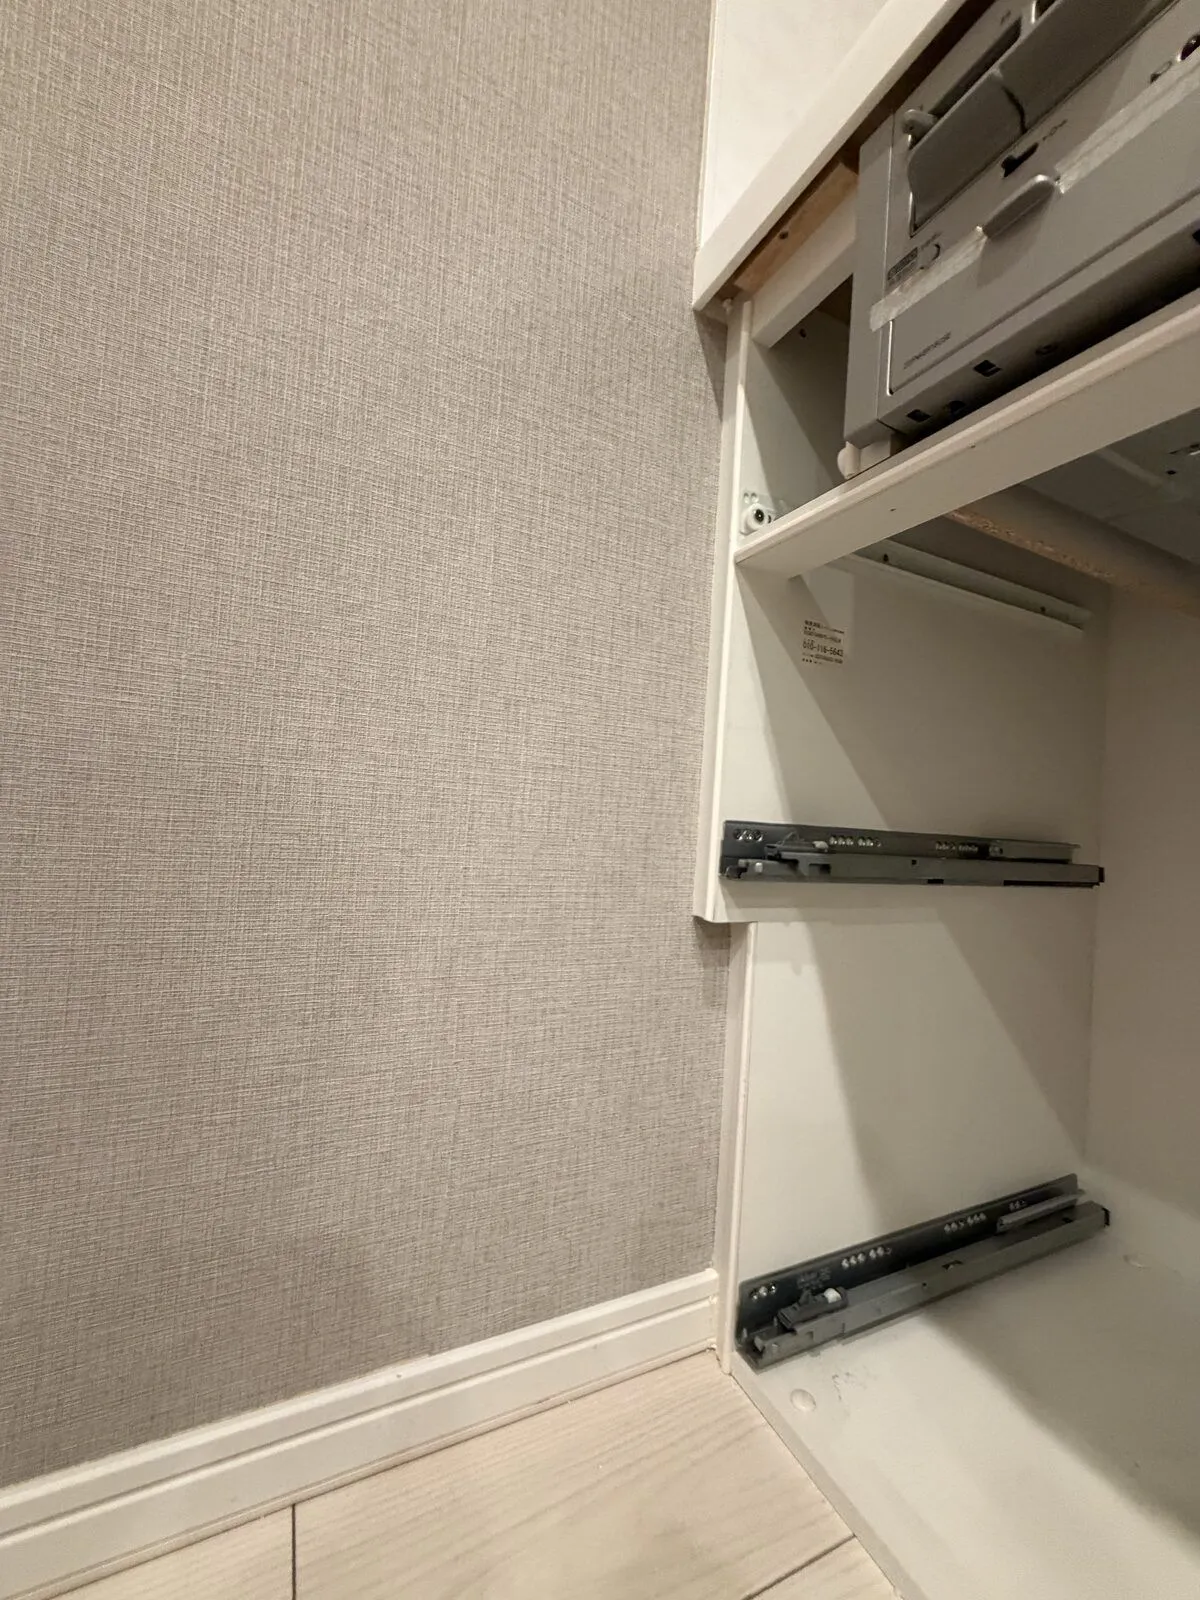
After the Work
For about two days after the work, a musty smell from where the wallpaper had been stored came out as the paste dried. After about three days it settled down to a level we no longer noticed.
Right after hanging, we could feel slight bumps from the paste when touching the wallpaper, but they became almost unnoticeable once it dried.
When professionals hung wallpaper for us in the past, it also looked slightly uneven right after the work, but we stopped noticing it after a few days. It seems best to treat the first few days after hanging as drying time.
Summary
Toggle anchor holes become almost invisible once you fill them with drywall putty and rehang the wallpaper. Because we had kept the leftover wallpaper from our renovation, the only costs were the putty, paste, and tools: about 3,000 yen.
For smaller repairs such as thumbtack holes and gaps in wallpaper, see “Filling Gaps in Wallpaper and Thumbtack Holes”.