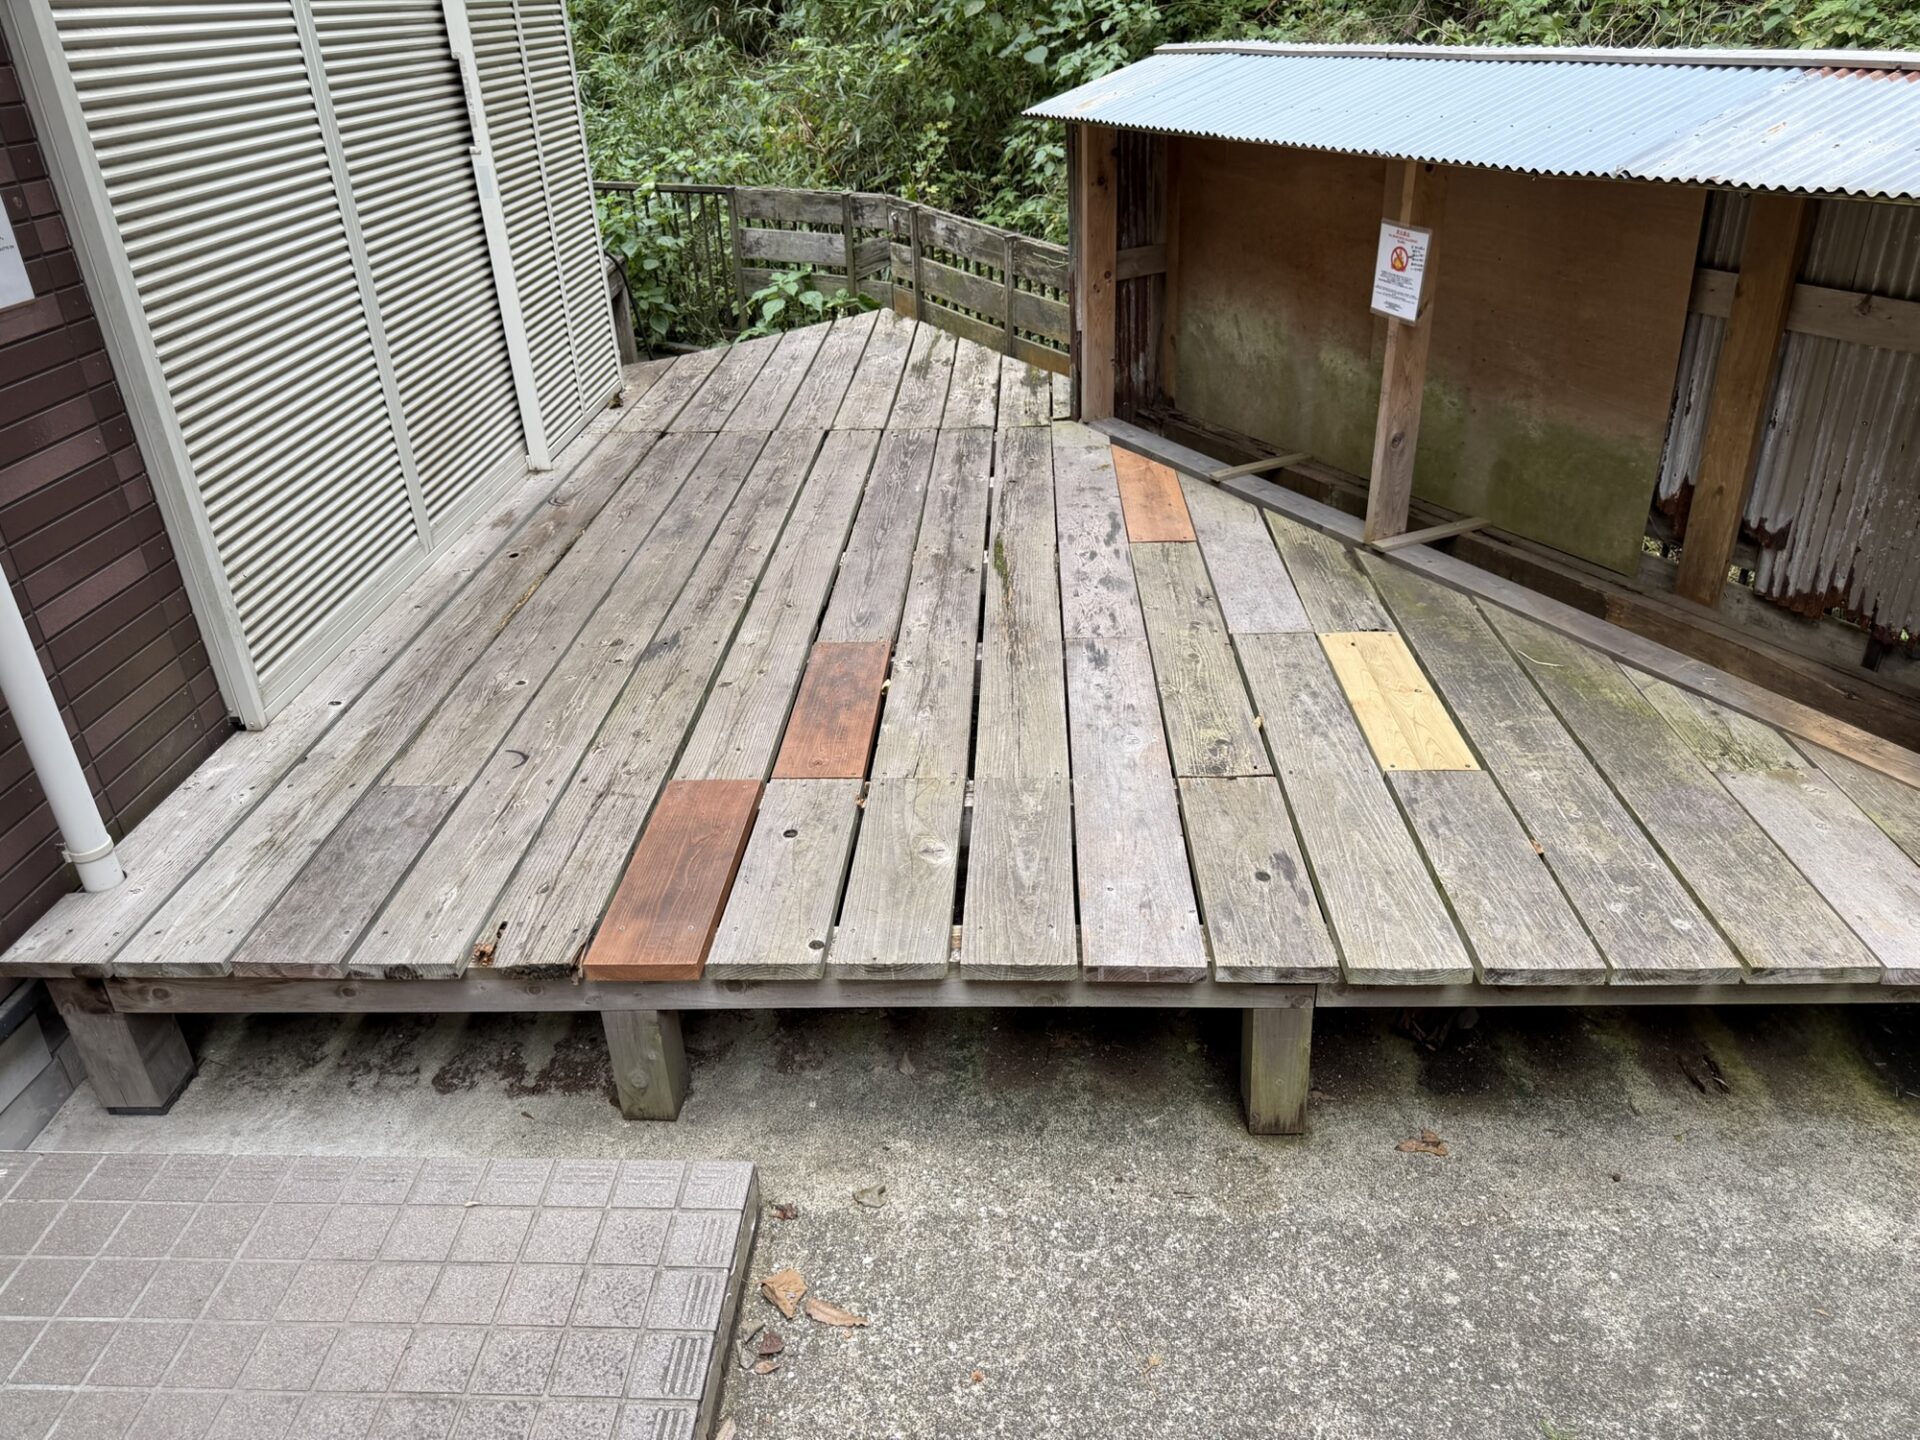

Overview
When we inspected the exterior wall while installing a Karaie, we found cracks and deteriorated caulking, so we repaired them ourselves.
Materials Used
The caulking we used this time was left over from another job. Ideally the color should match, but we used it as a temporary fix.
- Caulking: about ¥300
- Caulking gun: about ¥400

Note: Properly, a full replacement (removing the old caulking and applying new) is recommended rather than layering new caulking over the old, but this time we kept it to a light repair.
Procedure
1. Preparation
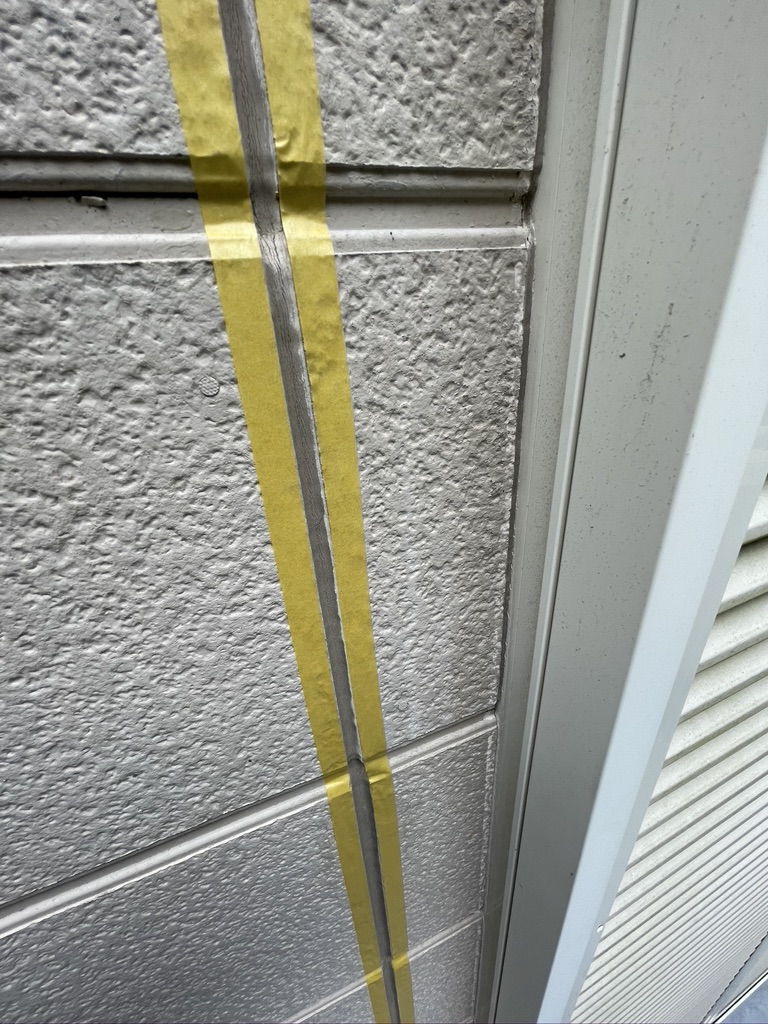
Protect the surrounding area with masking tape.
2. Applying the Caulking
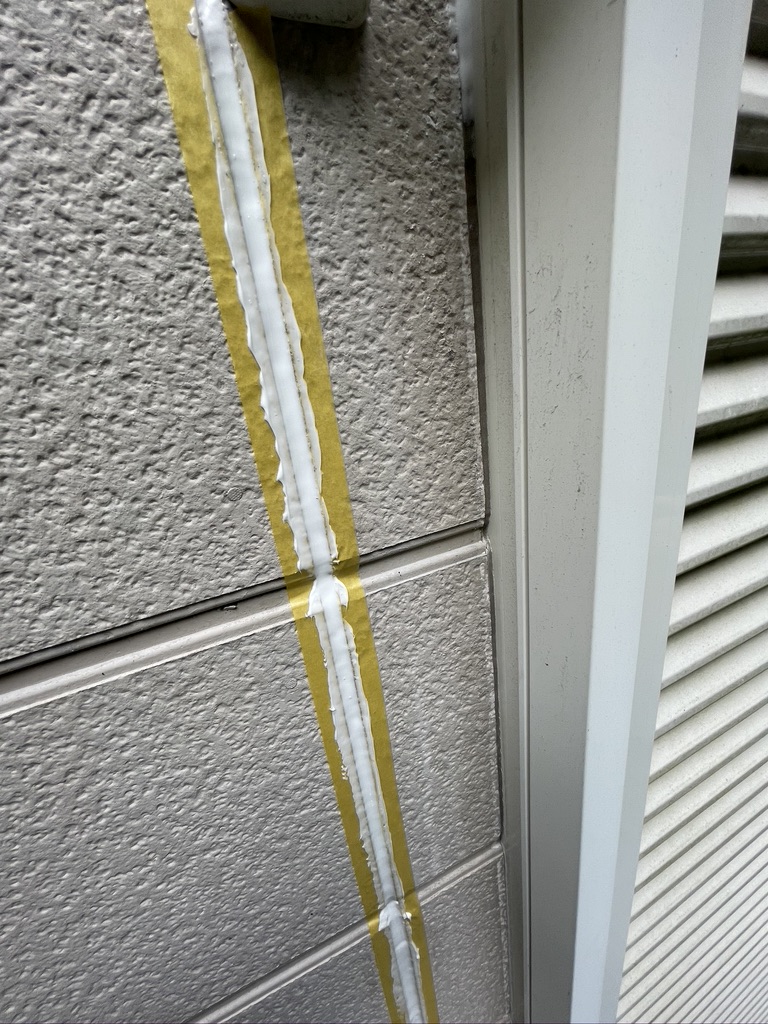
We filled the joint with the caulking gun and smoothed the surface by running a rubber-gloved finger along it.
3. Finishing
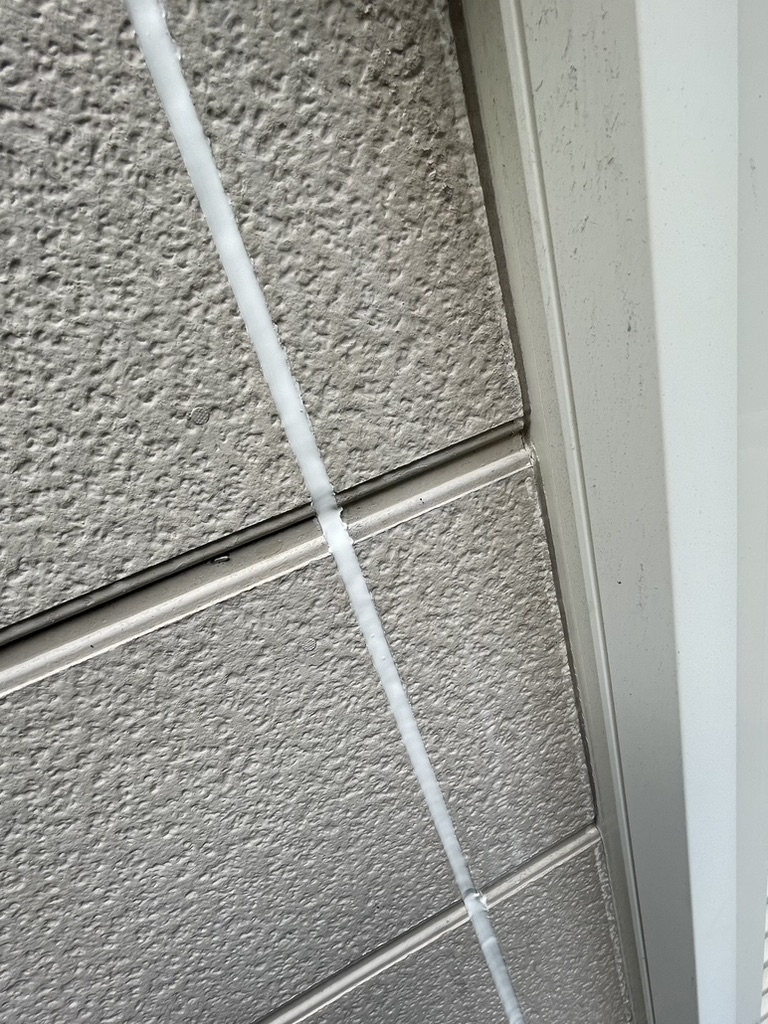
Peel off the masking tape and you’re done.
Problems We Found
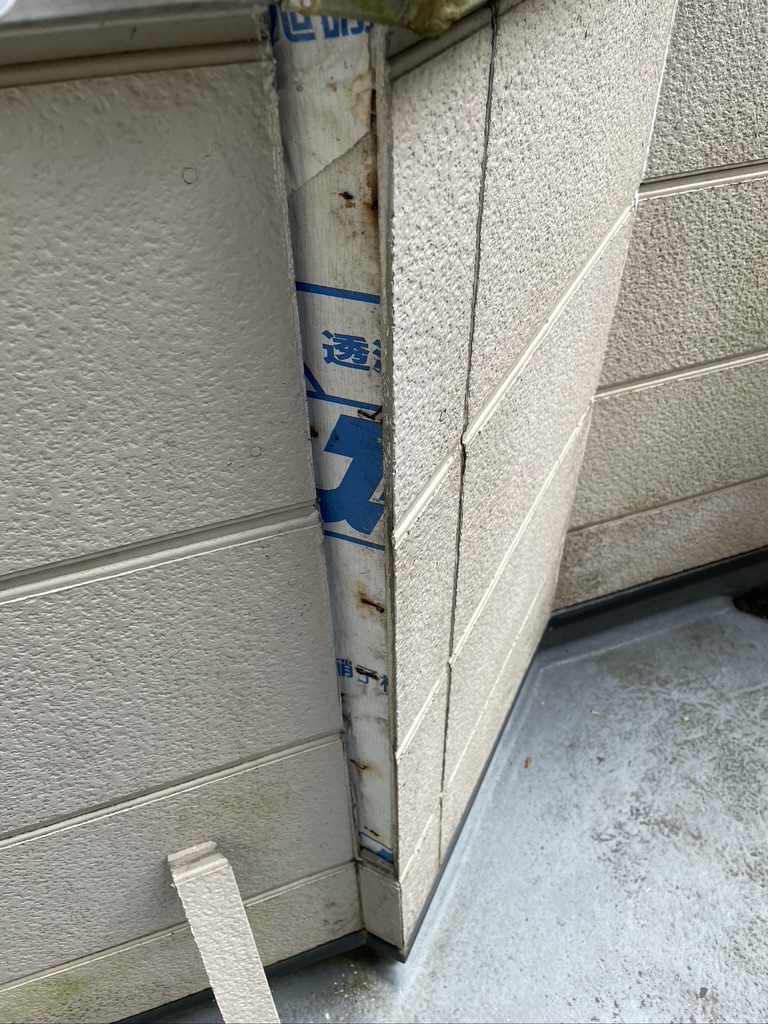
Some of the exterior wall panels were held in place only by the sealant, and one fell off when touched.
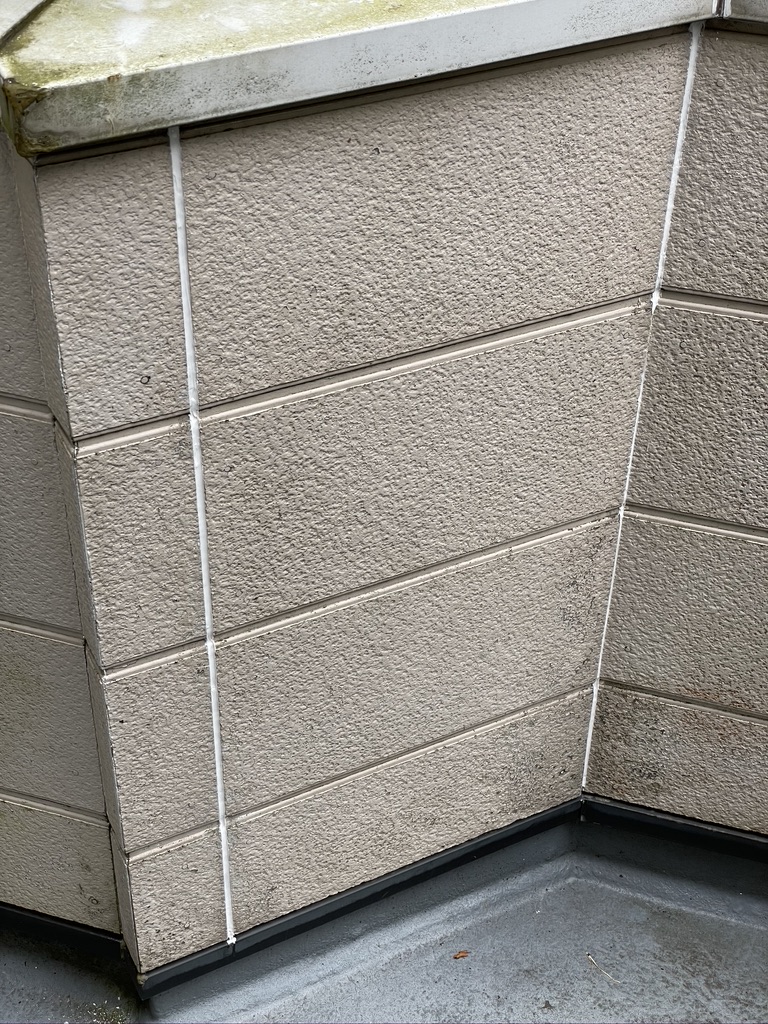
We repaired the balcony area in the same way.
Summary
In this 20-year-old building, we found this much deterioration even in spots that don’t get direct sunlight. A thorough repair will probably require a professional contractor.
A temporary DIY fix is possible, but for anything involving the building’s structure, we recommend having a professional inspect it and do the work.